
Getting Started
Create your first Vibe3D render
Upload a model view, choose your rendering settings, and review your first architectural visualization in Vibe3D. Start with a clear source image.
Export a clear image of your design, create a project, and upload it with Click to Upload Scenes. Open Render, choose Fidelity or Lumen, review the settings and credit amount, and select Render.
On this page
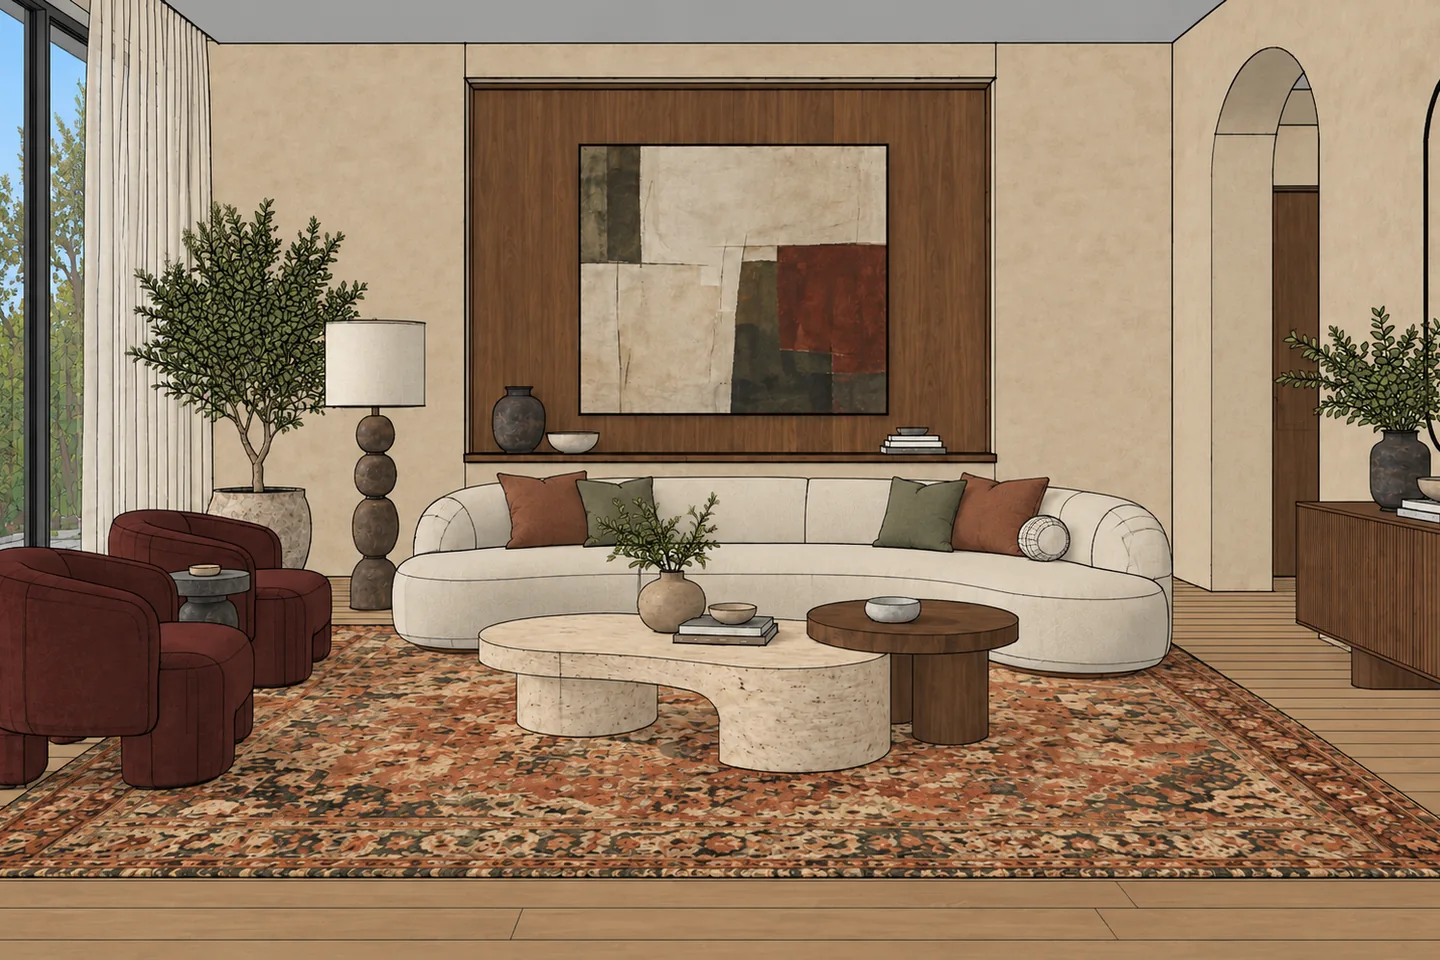 Original image
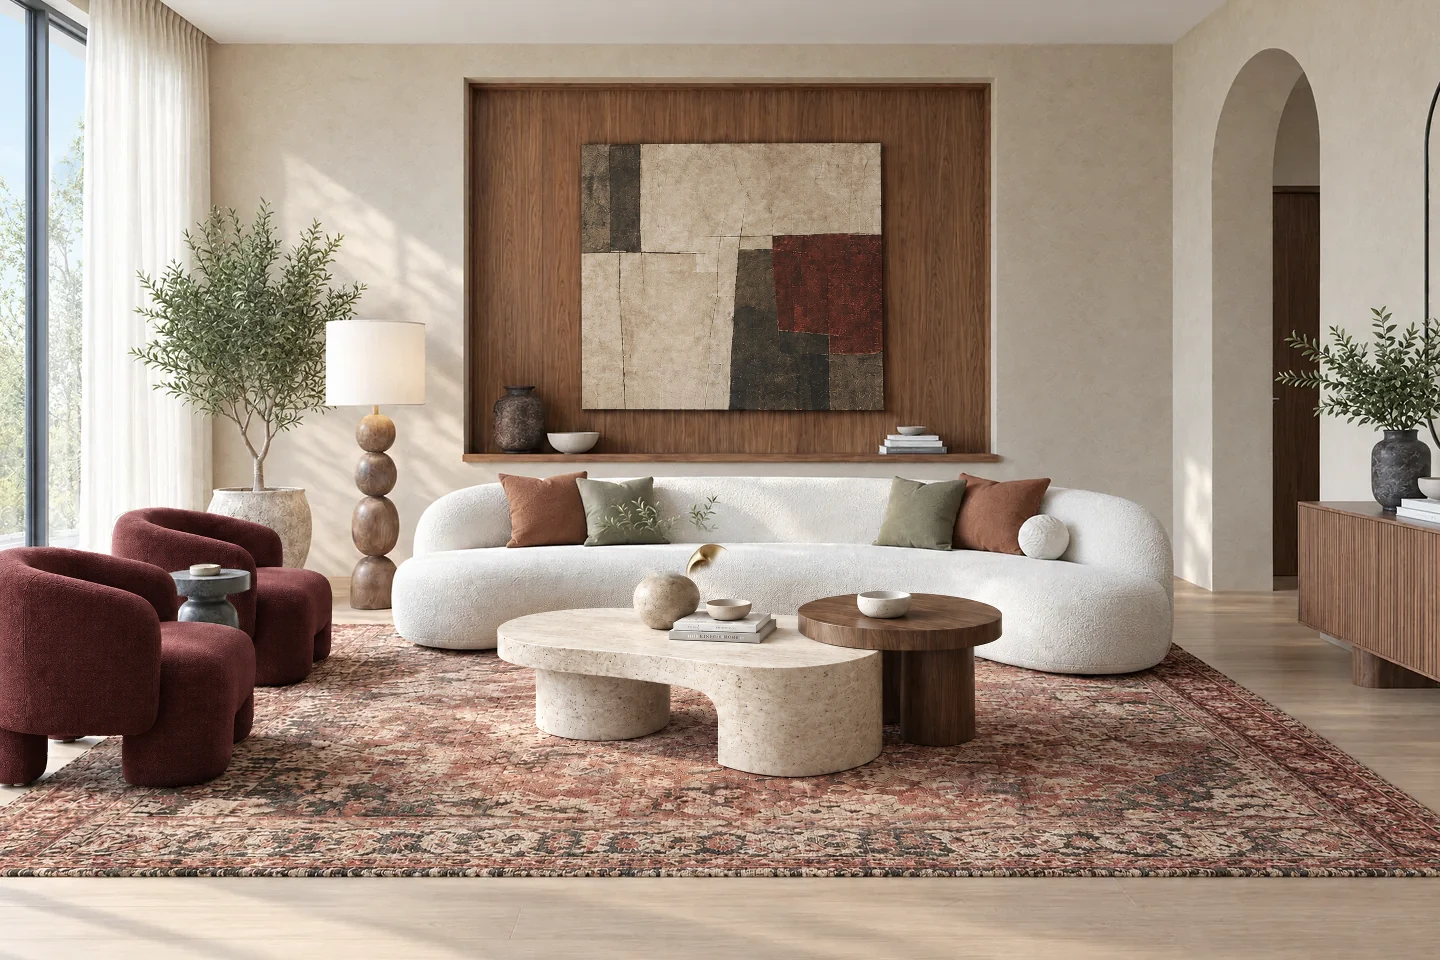 Vibe3D result
What you need
Start with a Vibe3D account and a JPG, PNG, or WebP image of your design. Both image dimensions must be at least 512 pixels. You can use an exported view or a clean screenshot from your modeling software. You are uploading an image, rather than the native model file.
Choose a view where the important walls, openings, and furniture are easy to read. Hide selection outlines, dimensions, and toolbars. Give the important surfaces visible material or color information. See preparing images if your model view is difficult to interpret.
Create a project and upload your view
- Open Vibe3D and sign in.
- On the projects page, choose New Project. If a project-type chooser appears, select Render 3D views.
- In the project, select Click to Upload Scenes and choose your image. You can also drag an image into the upload area.
- Wait for the upload to finish, then select your scene. Vibe3D identifies the scene category and shows the relevant controls.
Keep the original image on your computer. Upload preparation can resize or slightly crop an image, so inspect the stored view before continuing. If an important edge is missing, export another image with more breathing room.
Make the first render
- Open Render for the selected scene.
- Under Render Engine, choose Lumen or Fidelity. Lumen is initially selected. You can compare both later using the same source.
- Check Time of Day and any applicable scene settings. Start with a straightforward daylight version so that materials and geometry are easy to inspect.
- If Additional Instructions is shown, leave it empty for the first attempt unless there is a specific requirement that the image does not communicate.
- Review the credit amount and select Render. Wait for the result before submitting another request.
A detailed prompt is not a prerequisite. Your image already supplies the composition, design, and material cues. Avoid asking for a different layout while trying to evaluate how closely the render follows your source.
Check the result before moving on
Compare the output with the source. Look at window divisions, door openings, floor transitions, furniture positions, and the outline of the building. Check reflections and smaller objects at a useful viewing size.
AI rendering is a visualization process: an attractive image can still contain a design error. If the source is unclear, improve it and try again. If only one material or object needs adjustment, use Edit on the result instead of changing everything at once.
Select a version to return to it, and star the result you want to keep. You can adjust its color, download the finished image, or include it in a project export. Your other iterations stay available in the scene's version strip unless you archive them.
Choose your next step
For another model view, upload a separate scene in the same project. For a different finish, start a targeted edit. For a client delivery, follow presentations and exports.
If an upload or generation does not complete, use troubleshooting with the exact message shown. Avoid repeatedly submitting the same request while an earlier one is still processing.