
Projects & Presentations
Organize projects, scenes and versions
Create and name Vibe3D projects, upload scenes, compare generated versions, star useful results, and understand the difference between project and result archives.
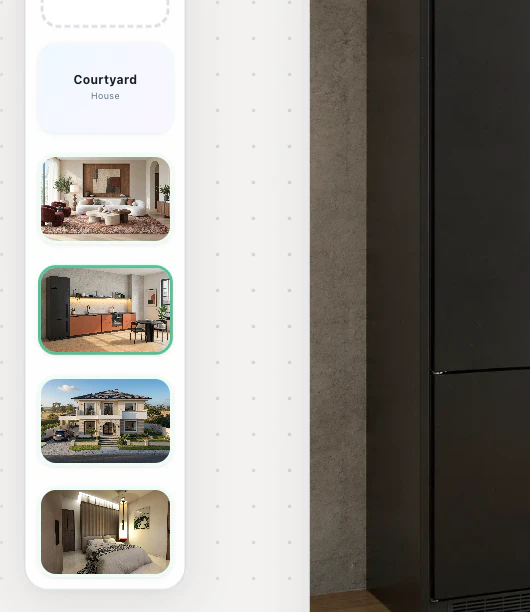
Use a project to group the views for one design. Each uploaded image becomes a scene, and generated alternatives appear as versions. Select the version you want to work from, star useful results, and use the project menu to rename or archive the project.
On this page
Understand the workspace
A project groups the work for a design or client brief. A scene is a view within that project, starting from an uploaded image. Versions let you revisit generated alternatives for a scene rather than treating every change as a separate project.
Use this structure to keep comparisons meaningful. For example, a living-room project might contain a wide view and a detail view, with several material or lighting versions of the wide view.
Create and name a project
- Open Projects.
- Choose New Project.
- If a starting-point menu appears, choose Render 3D views for the standard image-rendering workflow.
- In the new project, use Click to Upload Scenes to add your images. You can also drag and drop supported images.
- Give the project a recognizable name and description.
The title view lets you adjust the project name, description and cover. Use names that help you identify the client, space or design stage without including sensitive information you would not want visible in a presentation.
For supported files and image preparation, see supported inputs and your first render.
Work from the intended version
Select the scene, then choose the version you want to inspect or modify. Before starting an edit, enhancement or lighting change, confirm that the displayed version is the intended baseline.
Use Compare when reviewing the original and result. Check architectural openings, furniture, materials and camera composition, not just overall realism. The design-preservation guide provides a repeatable checklist.
When comparing several options, return to the same baseline for each alternative. This helps avoid an unintended change from one attempt becoming the starting point for the next.
Star the useful results
Star favorite versions to build a shortlist without losing the alternatives. To send just that selection, use project export with Only Starred. To save one still, download the image.
Rename, archive and restore projects
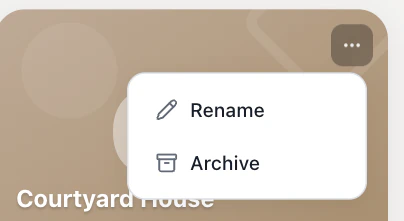
The project card menu offers Rename and Archive. Rename changes the project name while keeping its scenes and renders. Archive removes it from the active list; use the Archived tab to find it and Restore to return it to the project list.
Archiving a generated result is a different action. The result-archive dialog explains that it leaves the scene's versions and cannot currently be brought back through that workflow. Read the dialog before confirming, and download important images first.
Keep a clear handoff
Before sharing, check the title, cover and selected outputs. Keep original model exports and approved material references in your own project records. Choose a project link for a whole-project review or a scene link for one view.