
Architectural Workflows
Create a living room render from a model view
Build a living room visualization in Vibe3D, from camera and material preparation to rendering, focused edits, lighting review, and download.
Upload a clear image of your living room model, generate a first render, and inspect the layout before changing materials or lighting. Refine one decision at a time, then download a version that still matches the design.
On this page
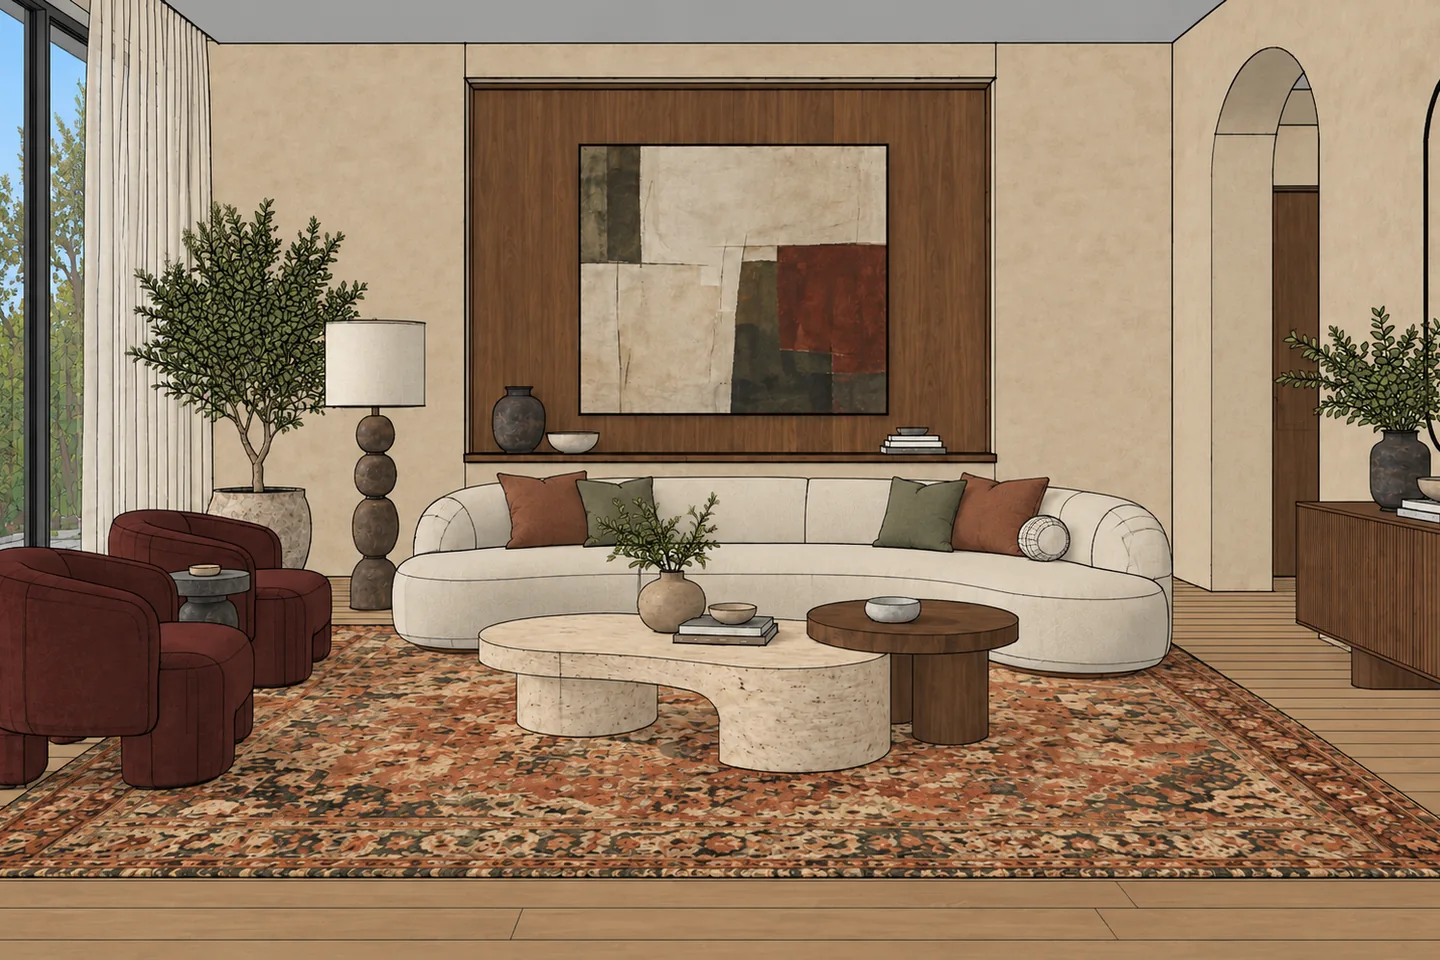 Original image
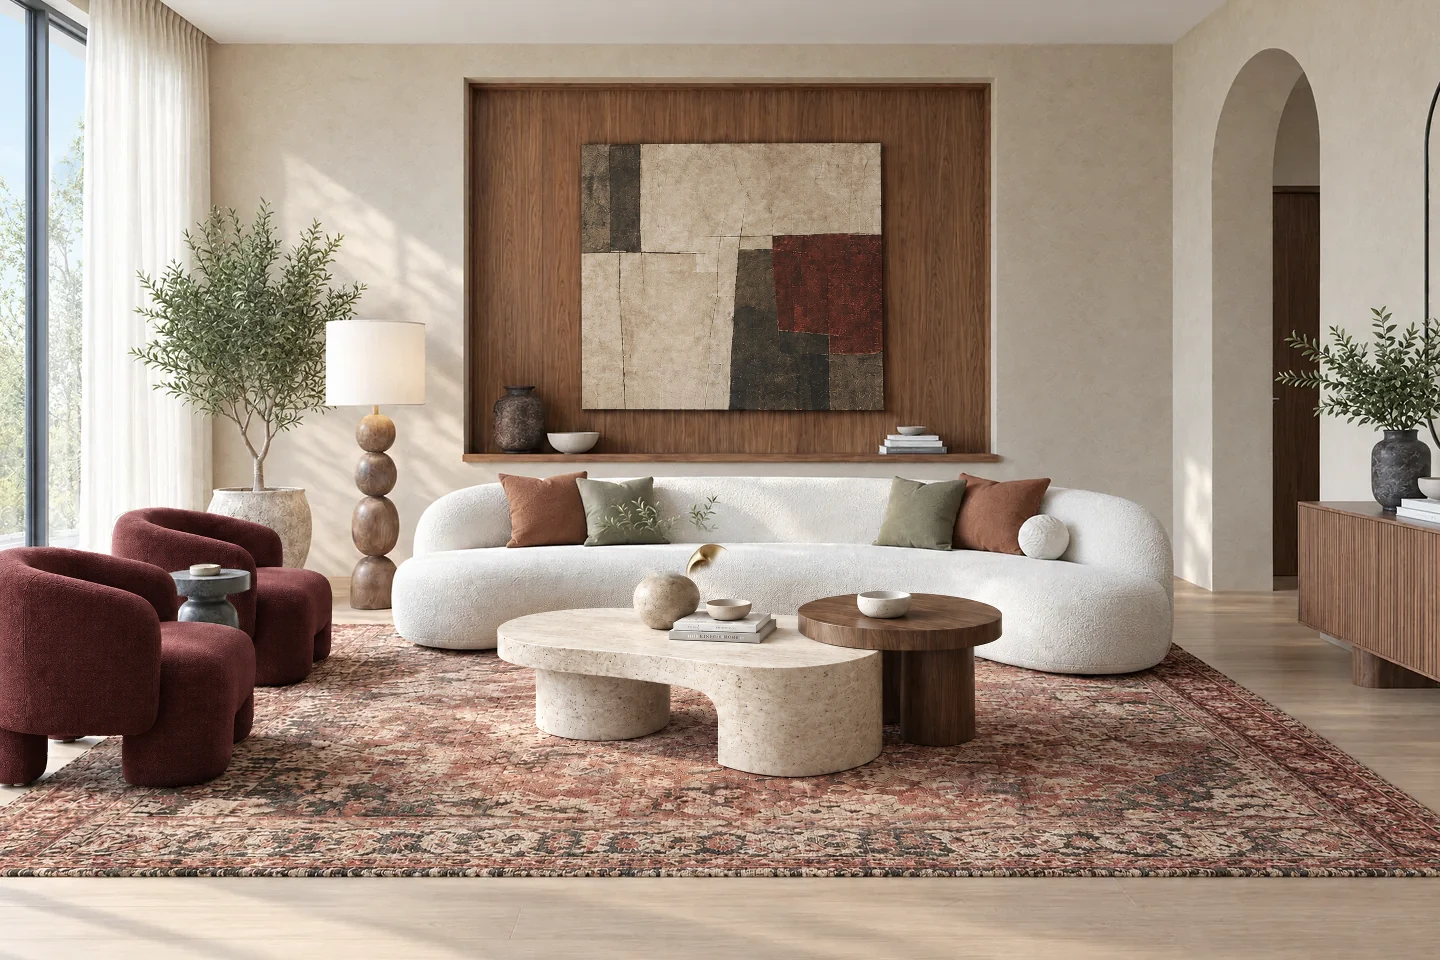 Vibe3D result
Set up a readable room view
This workflow is for an interior designer reviewing a furnished living room, rather than an empty room that needs a new layout invented. Prepare a view that shows the seating group, the main opening, and enough floor to understand circulation. Keep the camera away from walls and large foreground objects that obscure the proposal.
Give the sofa, floor, walls, and curtains distinct appearances in the model. Their colors need not be perfect, but the image should communicate which surfaces are different. Check that chair legs, table edges, and glazing frames are visible. An object that disappears into a dark or low-resolution source may be reinterpreted in the result.
Export or capture the view as JPG, PNG, or WebP. Remove software panels, selection highlights, and annotations. Keep a copy of this input for comparison; preparing images covers the general checks.
Generate a baseline render
- Sign in to Vibe3D and create or open your project.
- Choose Click to Upload Scenes and add the living room image. Wait for the upload to finish, then select the scene.
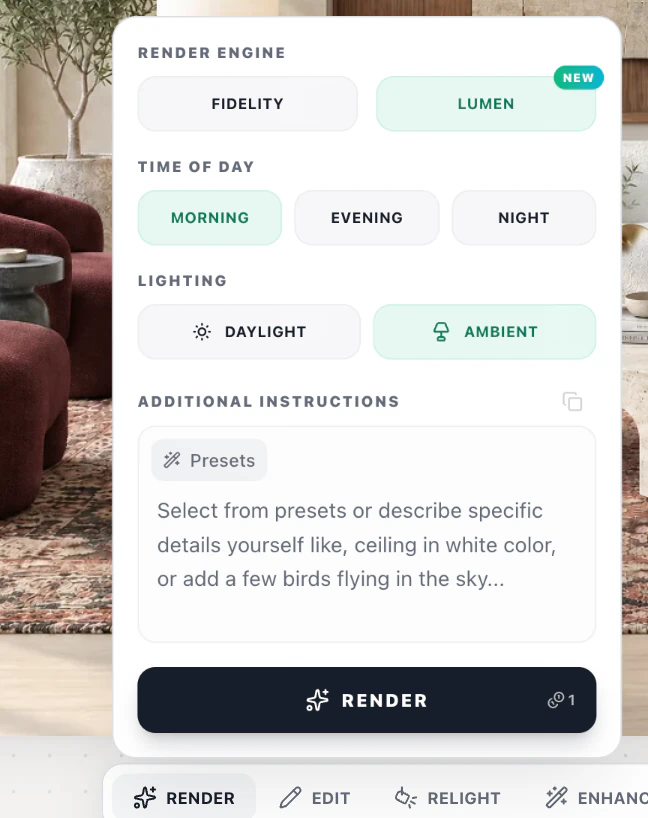
- Open Render and choose Fidelity or Lumen.
- Review the interior Lighting choices. Daylight is the natural-light option; Ambient is the artificial-light option shown in the render panel. Choose the one that fits your review.
- Leave Additional Instructions empty for an initial reading of the model, or add a specific requirement that the source cannot express.
- Check the credit amount on Render, run it, and inspect the finished image.
Do not judge the result only by its lighting. Confirm the sofa still faces the right way, the passage to the adjacent room remains open, and the window arrangement matches the source. Use Compare to make these differences easier to see.
Resolve a material decision
Suppose the room layout is useful but the sofa finish needs changing. Select the result, choose Edit, and click the sofa or drag a rectangle around the relevant area. In the annotation, describe the requested change and use Submit edit.
Change the selected sofa upholstery to a warm off-white woven fabric. Keep its shape, cushions, legs, and position, and retain the surrounding room finishes.
Treat this as a starting instruction, not a promise of an exact fabric match. Check the new version for seams, cushion proportions, and changes to nearby tables or rugs. If the selection includes too much of the room, tighten the target and make the request more specific. The editing guide explains the annotation controls.
Explore the lighting after the layout is settled
For an interior image, Relight prepares lighting controls that let you adjust Time of Day, Direct Lights, and Indirect Lights. Start the Relight action when it is available and wait for preparation before moving the controls. Review the credit and access information in the app before starting.
Try daylight first, then reduce the natural light and adjust artificial-light intensity and temperature. Compare the options for a specific purpose: whether the seating area feels comfortable, whether a feature wall is readable, or whether the evening version still communicates circulation.
Relighting is an image visualization tool, not a lighting calculation. Do not use its brightness or warmth controls as measured illumination levels, fixture specifications, or evidence of compliance.
Finish the client review
Check the selected image at full size. Look at glass reflections, furniture joins, patterned fabrics, and contact between objects and the floor. If an important design detail changed, return to a suitable earlier version or improve the model image instead of stacking more edits on an unreliable base.
Use Download → Download Image for the chosen result. For the review meeting, keep the source image and a small set of clearly labeled options. A daylight baseline and an evening variation usually communicate more than a long sequence of nearly identical attempts.