
Getting Started
Prepare a design image for better results
Prepare clear model views for Vibe3D: choose a composition, show materials, remove overlays, and inspect your image before generating a render.
Use a clear model view with readable geometry, intentional materials, and a settled camera composition. Remove UI overlays and selection highlights, export a supported image, and inspect it before uploading.
On this page
Settle the design and camera first
A source image is the clearest way to communicate the design you want to visualize. Decide what the view needs to explain: an overall room, a facade, a relationship to landscape, or a particular finish. Avoid trying to show the whole project in one cramped frame.
Choose a composition in your design software and keep enough context around the subject. For an interior, make room boundaries and major furniture legible. For an exterior, keep the building outline, openings, ground relationship, and roof edges easy to distinguish.
Camera decisions are best made in the source model. A prompt cannot reliably reconstruct geometry hidden behind a wall or outside the image.
Make surfaces readable
Show the intended material colors and major finish boundaries. A uniformly white model can be useful for conceptual exploration, but gives less information about the intended surface finish than a clearly materialized view.
Avoid nearly identical colors where two surfaces need different treatment. Keep structural edges visible without excessive line clutter. If glass makes an opening hard to interpret, adjust the viewport presentation so the frame and surrounding construction remain legible.
Do not add unrelated objects solely to make the image look busy. Every visible element gives the rendering process more information to interpret, including accidental entourage or temporary design options.
Remove things that are not part of the design
Before exporting, hide toolbars, selection outlines, axes, dimensions, text labels, and construction guides where appropriate. Make sure the cursor or an open menu does not cover a feature.
When a clean export is available, prefer it to a screenshot of the entire application window. If you use a screenshot, crop out application chrome while keeping the design and enough surrounding context.
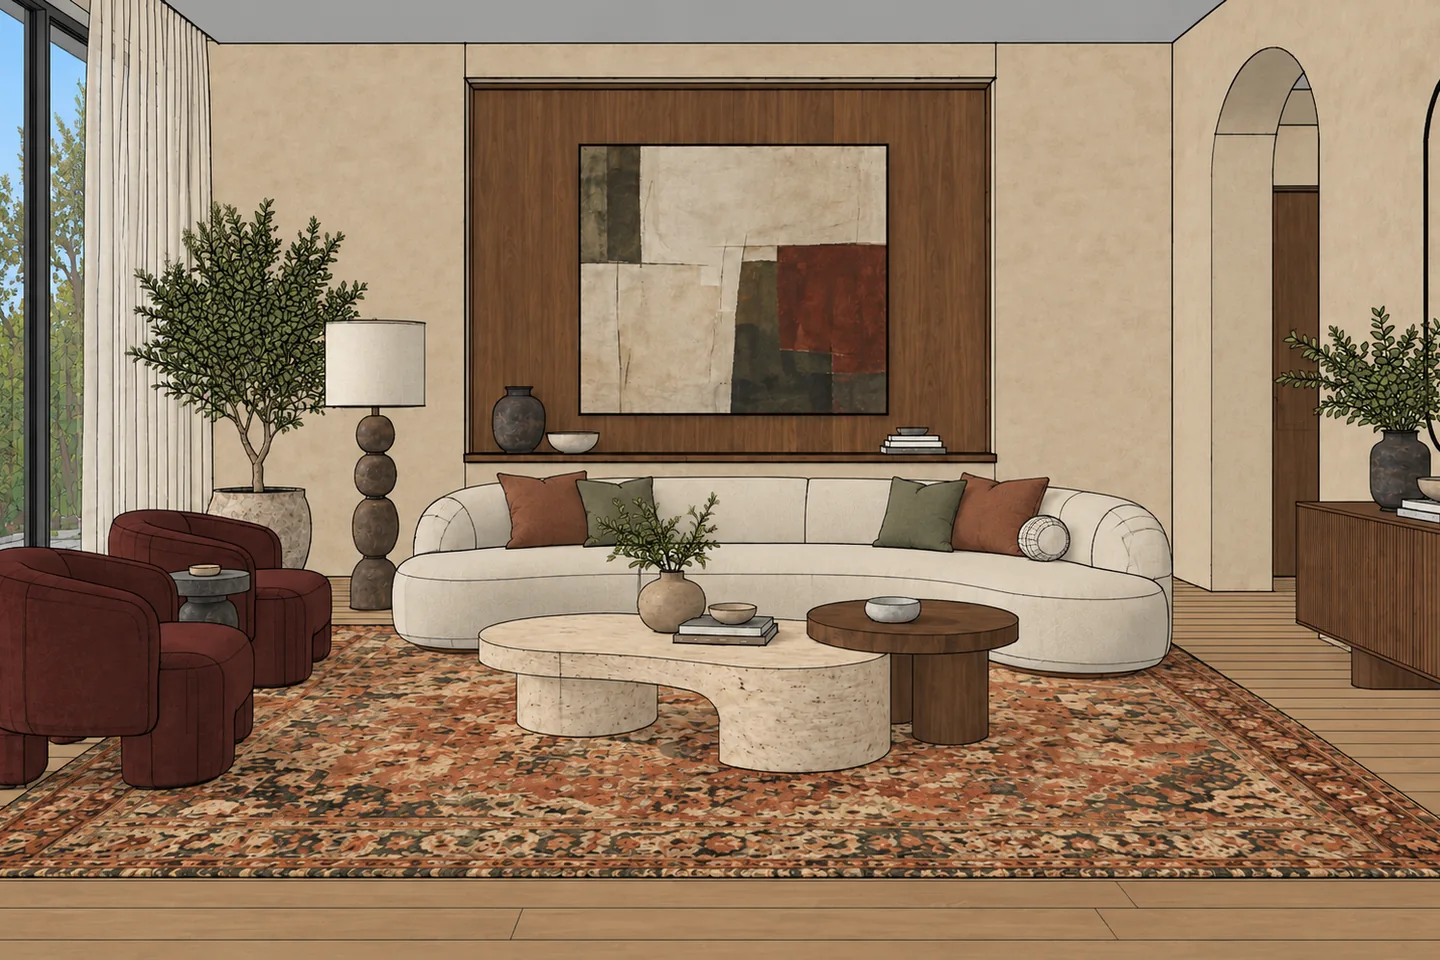
A clean export keeps the room and its material boundaries in frame without selection outlines or toolbars.
Check the exported image
- Save a JPG, PNG, or WebP image. Both dimensions must be at least 512 pixels.
- Open the saved image outside your modeling application.
- Check fine edges and important material boundaries at a useful viewing size.
- Confirm the correct design option and camera were exported.
- Keep an unchanged source copy, then upload the image to Vibe3D.
Inspect the uploaded scene too. Upload processing may change its size or framing slightly. If a building edge or ceiling detail has been clipped, create a source with a little more margin.
Separate preparation problems from rendering choices
If an opening is unclear in the input, try improving that input before adding a long prompt. If a source clearly communicates the design but the result changes a detail, use the comparison checks in preserving your design.
Use Additional Instructions for a specific requirement that the view cannot communicate clearly, such as a desired mood. Start with one controlled change so you can understand what helped.