
AI Rendering
Write useful architectural rendering prompts
Use optional instructions to communicate one clear design requirement in Vibe3D, save useful presets, and avoid prompts that conflict with your source image.
Begin with the source image and leave Additional Instructions empty if it already communicates the design. When needed, add one clear requirement, identify what should stay consistent, and compare the result with the original.
On this page
When a prompt helps
An architectural model view already communicates shape, placement, color, and composition. You do not need to redescribe everything it shows. When Additional Instructions is shown in Render, use it for a particular intention the image cannot express clearly, such as the desired lighting mood.
For a first attempt, consider leaving the field empty. You can then identify a specific gap between the result and your brief. This gives your next instruction a purpose, instead of accumulating adjectives without knowing which one matters.
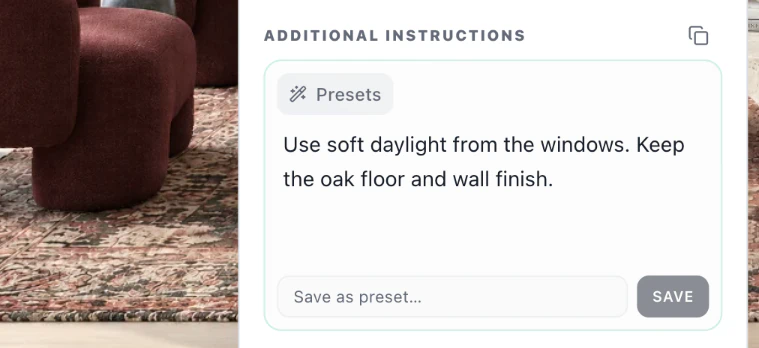
Describe the change and its boundaries
A useful instruction says what should change, identifies the subject, and states the important context to retain. Avoid mixing a new layout, new furniture, new materials, and new lighting in a single experiment.
For an interior daylight study, an example instruction is:
Use soft natural daylight to make the room's materials readable. Keep the existing furniture arrangement, window positions, and camera composition.
This expresses the intended result; it does not guarantee preservation. Review windows, furniture, and the room boundary after generation. The prompt is an example starting point, not a tested recipe for every scene.
Match the instruction to the tool
Choose the control that fits the task:
| What you want to do | Where the instruction goes |
|---|---|
| Clarify the initial render | Use Render → Additional Instructions. The desktop field accepts up to 500 characters. If time of day is the only decision, use the time-of-day control. |
| Change a particular finish | Open Edit, mark the surface, and put the request in that annotation. Attach a swatch if the appearance matters. |
| Show a detail of the existing design | Mark the subject in Close-Ups. Use Detail shot instructions for the framing or feature you want to see. |
| Move through a finished view | In the desktop Flythrough Builder, select the clip and use Motion Prompt. |
For example, after selecting a floor area:
Replace the selected flooring with light oak planks in a matte finish. Retain the floor perspective and keep the adjacent furniture and walls unchanged.
Do not expect selection to eliminate all unintended changes. Inspect the boundaries and the rest of the image after the edit. A reference image can communicate a material appearance more clearly than a long list of texture adjectives; see material references.
Keep your experiments comparable
Change one important requirement at a time. Keep notes on the source view, chosen engine, settings, instruction, and the result you prefer. If you change the camera and prompt together, the comparison becomes less useful.
The Render panel's Presets area includes Curated and Saved options. Follow the Presets guide to apply them, save your own instructions, or copy a selection to another scene. A saved instruction is still context-dependent: check that it does not introduce an old project's material or atmosphere into a new scene.
Avoid contradictory requests
A prompt asking to preserve every detail while replacing the room layout gives conflicting directions. Resolve the intended design in the model where possible, then use Vibe3D for its visualization.
Do not rely on instructions to establish exact dimensions, prove material performance, or correct hidden geometry. For more contextual examples, open the prompt library.