Let's be honest, a raw SketchUp model on its own is... well, a bit flat. It's a fantastic tool for getting the bones of a design right—the layout, the scale, the massing—but it doesn't really sell the vision. To do that, you need to bring it to life, and that's where SketchUp rendering software comes in. These plugins are the secret sauce, turning basic geometry into visuals so realistic you could almost step into them.
Why Bother Rendering in SketchUp Anyway?
You might wonder if it's worth the extra step. Absolutely. A rendering engine closes the massive gap between a technical model and an image that actually stirs some emotion. It's the difference between showing a client a blueprint and showing them their future home.
Think of high-quality renders as more than just pretty pictures. They're heavy-lifting tools in your design process.
-
No More Confused Clients: A photorealistic render makes everything click. Suddenly, clients get the material choices, understand how the afternoon light will fill the room, and see the design just as you imagined it. It cuts down on so much back-and-forth.
-
Spotting Problems Early: Seeing your design with realistic materials and lighting is a game-changer. You can catch clashes, test out different finishes, and refine your ideas on the fly, long before anything gets built.
-
Your Best Marketing Asset: Let’s face it, stunning visuals win projects. Great renders are pure gold for your portfolio, website, and social media, showing potential clients exactly what you're capable of.
This isn’t just a niche skill anymore; it’s central to the industry. The 3D rendering market in India alone is expected to hit around USD 171.1 million in 2024. What's really telling is that software makes up a whopping 87.32% of that figure. That tells you everything you need to know about how vital these tools have become in professional workflows.
Real-Time vs. Offline Rendering
As you start looking at SketchUp rendering software, you'll quickly notice two main camps: real-time and offline.
Real-time engines, like Enscape, are all about speed and instant feedback. You can walk through your model and see changes happen live, which is incredible for working sessions with clients or for quickly iterating on design ideas.
Offline renderers, like the legendary V-Ray, are the heavyweights. They take their time, crunching complex calculations to produce the absolute best quality possible. These are what you turn to for those final, polished images destined for a magazine cover or a marketing brochure.
Of course, a great render starts with a great model. Solid BIM modeling practices create the clean foundation you need. If you're looking to brush up on the basics, our own tutorial on SketchUp is a great place to start.
Getting to Know the Top Rendering Contenders
Jumping into the world of SketchUp rendering software is a bit like meeting a new crew. Each one has its own personality, its own way of doing things, and its own set of strengths. Before we get into a heavy feature-by-feature breakdown, let's do a quick meet-and-greet with the main players. Knowing what makes each one tick will help you figure out where they'll slot into your workflow.
First up is V-Ray, the seasoned professional of the bunch. Think of it as the industry standard for when you need absolute photorealism. For architects and visualisation artists crafting those hero shots for marketing campaigns—where every single reflection and shadow has to be flawless—V-Ray is usually the answer. It gives you an incredible amount of control, but that power definitely comes with a steeper learning curve.
The Real-Time Revolution
Then you have the real-time crew, the tools built for speed and instant feedback. Enscape is a fan favourite here, loved for its lightning-fast performance and how snugly it fits right inside SketchUp. You can literally walk through your model and make changes on the fly, which is a game-changer for client meetings and iterative design.
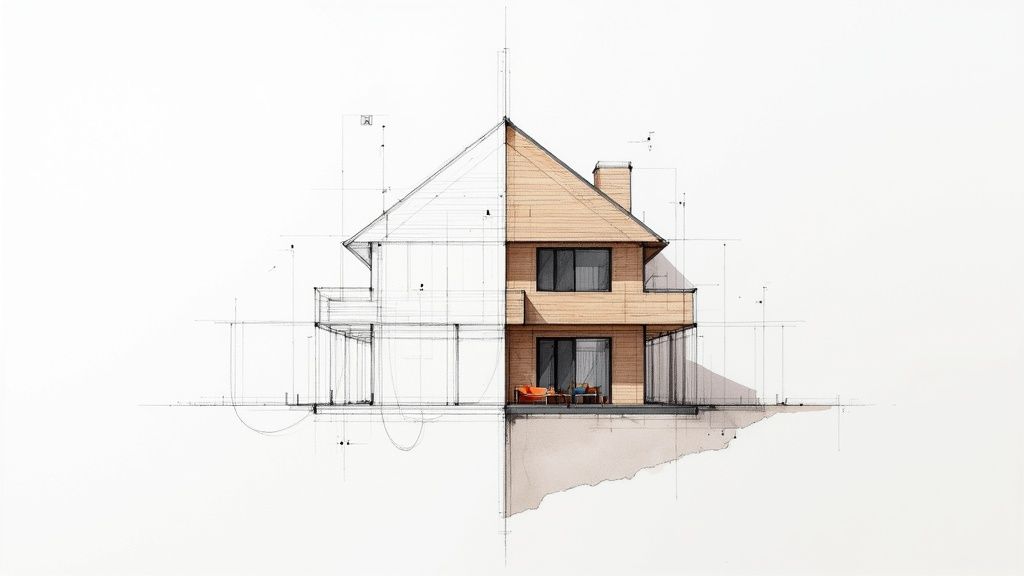
All of these powerful renderers operate from the same familiar launchpad: the clean, simple SketchUp interface.
This intuitive modelling space is where the magic begins, allowing you to build the foundation for the stunning visuals we're about to explore.
In a similar vein, Lumion is the go-to for creating rich, atmospheric environments, especially for big outdoor scenes. Its killer feature is its absolutely massive library of high-quality assets. If you need to fill your scene with realistic trees, people, and other environmental bits without wasting days hunting for models, Lumion is a beast. It’s all about helping you build a complete, living world around your SketchUp model, and doing it fast.
Ultimately, the best software really depends on what you're trying to do. Are you polishing a single, perfect image for a brochure, or are you exploring design ideas live with a client? Your answer will almost always point you to the right tool.
Newcomers Shaking Things Up
The rendering world doesn't stand still, and new tools are constantly pushing the envelope. Take D5 Render, for instance. It leans heavily on modern GPU ray-tracing to produce incredible real-time results. It’s quickly built a loyal following for its beautiful output and a feature set that just keeps getting better, making it a serious contender against the established giants.
This rapid growth isn't happening in a vacuum. The demand for high-quality visuals is exploding everywhere, especially in developing markets. For instance, the visualisation and 3D rendering software market in India is expected to grow at a CAGR of over 20% between 2025 and 2031, fuelled by the booming construction, real estate, and media sectors. This shows just how critical rendering has become for selling a design vision. You can get the full picture on this market growth in this detailed report.
Each of these renderers brings a different philosophy to the table. For a wider look at all the tools out there, have a peek at our guide on the top architectural visualisation software. Now, let’s get down to the nitty-gritty and see how these contenders really stack up against one another.
A Practical Look at Features and Workflow
Picking the right SketchUp rendering software is about more than just a feature checklist. It’s really about how a tool fits into your day-to-day work. A flashy feature on a website means nothing if it’s a pain to use when you're up against a deadline. This is where we get into what actually matters: the workflow.
We’re going to compare V-Ray, Enscape, Lumion, and D5 Render on the things that make a real difference: how they feel to use, how long it takes to learn them, the constant battle between speed and quality, their built-in asset libraries, and how they handle lighting. Let's move past the marketing fluff and look at the practical side of things.
User Interface and Learning Curve
How fast can you go from a blank model to something that looks halfway decent? This is usually the first big test.
V-Ray has a reputation for being a powerhouse, and for good reason. But with that power comes a seriously dense interface packed with settings, sliders, and technical jargon. It’s built for pros who want to tweak every last detail, but mastering it is a real commitment. For a newcomer, digging through complex menus just to set up a basic light can feel pretty overwhelming.
Enscape is the complete opposite. It lives right inside your SketchUp window with a simple toolbar. The magic is its live-preview window—you see every change you make, instantly. That direct feedback makes learning incredibly fast. Honestly, if you know your way around SketchUp, you can get a great-looking render out of Enscape in less than an hour.
This infographic does a good job of showing where each tool sits in the grand scheme of things.
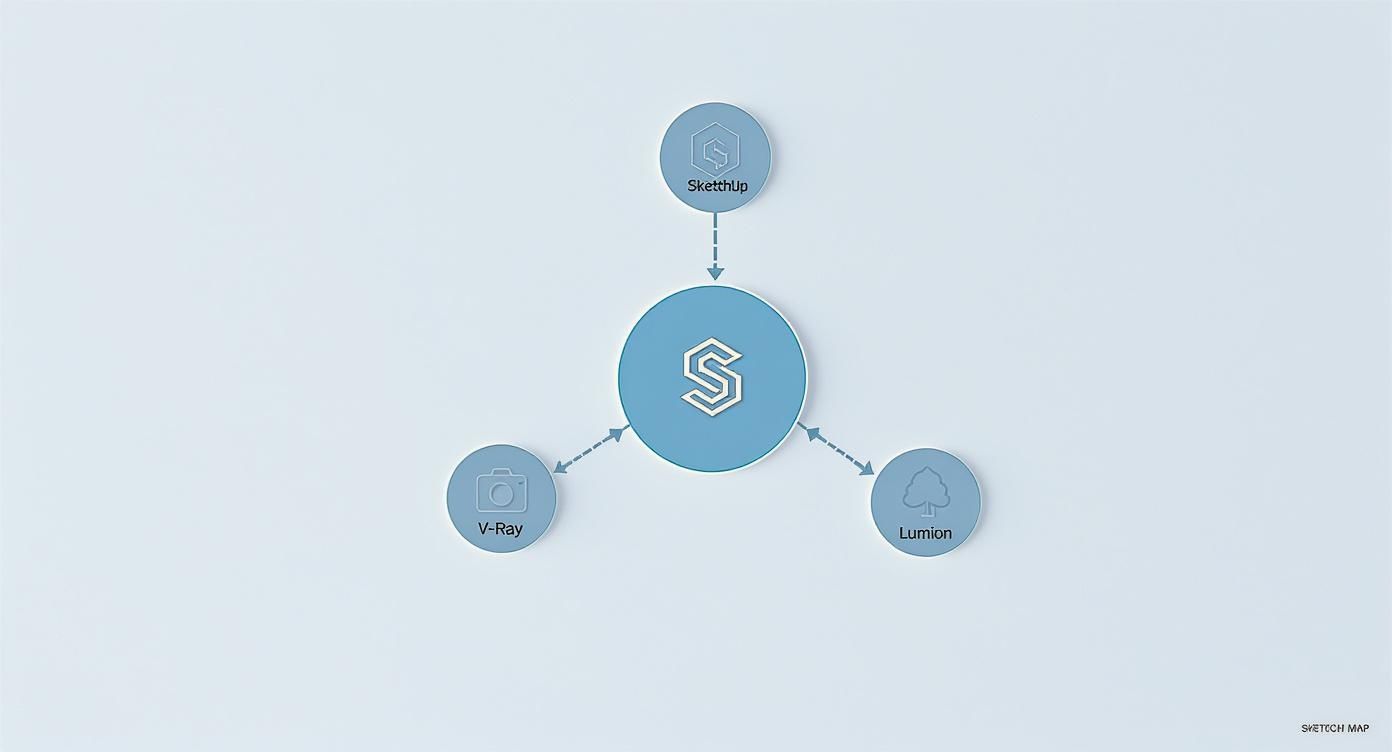
You can see how they're split by what they do best: V-Ray for that painstaking quality, Enscape for pure speed, and Lumion for its incredible asset collection to build out entire environments.
The Speed vs. Quality Trade-Off
Every rendering engine has to make a choice between how fast it can spit out an image and how photorealistic that image is. There's no escaping this trade-off.
-
Enscape & D5 Render: These are your real-time champions. Their whole deal is instant feedback. Change a material, move the sun, and you see the result right away. This is a lifesaver for client meetings and quick design checks. The quality is fantastic for most daily work, but it won't quite capture the super-subtle light bounces you’d get from an offline renderer.
-
V-Ray: This is a classic offline, physically-based renderer. It meticulously calculates how light behaves, giving you unmatched photorealism. The price you pay is time. A single, high-res image can take anywhere from a few minutes to a few hours.
-
Lumion: Lumion tries to find a middle ground. You get a fast, real-time viewport to build your scene, and the final renders come out pretty quickly, though not instantly like Enscape. Its main goal is to help you create a complete, stunning scene without a huge time investment.
Think about it like this: a client is looking over your shoulder and asks, "What would that floor look like in a darker wood?" With Enscape, you can show them in seconds. But for that one hero shot for the marketing brochure, V-Ray’s obsessive control will deliver that extra 10% of realism that stops people in their tracks.
Asset Libraries: Your Workflow Accelerator
A render is only as believable as the stuff you put in it. A great asset library can literally save you hundreds of hours of modelling or searching for objects online.
When it comes to assets, Lumion is the undisputed king. Its library is massive, with thousands of high-quality, ready-to-use models of everything from hyper-realistic trees to animated people and cars. For big exterior scenes where you need to fill the world with life, it's an absolute game-changer.
Enscape has a very respectable and constantly growing library, too. Its assets are clean, simple, and optimised to look good without bogging down your model, which is perfect for its real-time workflow.
V-Ray’s library, which you access through Chaos Cosmos, is also huge and full of incredibly detailed models. The workflow can be a bit more manual, though, requiring more careful placement compared to Lumion's 'paint-on' tools for scattering objects across a landscape. The demand for rendering is only growing. Globally, the 3D rendering and visualisation market is booming, with the Asia-Pacific region, including India, growing the fastest. In 2024, software made up 77% of the Indian market's revenue, pushed by architecture and real estate firms needing powerful visualisation tools.
SketchUp Rendering Software Feature Matrix
To give you a clearer picture, here’s a breakdown of how these tools stack up side-by-side on some of the most important features.
| Feature | V-Ray | Enscape | Lumion | D5 Render |
|---|---|---|---|---|
| Workflow Integration | Separate window/frame buffer | Fully integrated inside SketchUp | Stand-alone application | Stand-alone with live-sync |
| Rendering Type | Offline (CPU/GPU Hybrid) | Real-time (GPU) | Real-time (GPU) | Real-time (GPU, Ray Tracing) |
| Ease of Use | Difficult, steep learning curve | Very easy, intuitive | Easy, focused on scene building | Moderate, modern UI |
| Asset Library | Excellent (Chaos Cosmos) | Good, growing library | Massive, best-in-class | Good, cloud-based |
| Lighting Control | Expert-level, granular | Simple and effective | Good, style-based presets | Advanced real-time controls |
| Best For | Photorealistic stills, ultimate quality | Quick iterations, client presentations | Large exterior scenes, animations | High-quality real-time visuals |
This matrix helps highlight the core philosophies: V-Ray is about control, Enscape is about speed, Lumion is about environment creation, and D5 is pushing the boundaries of real-time quality.
Lighting Controls: Simple vs. Sophisticated
Lighting is what makes or breaks a render. How each program approaches it says a lot about who it's designed for.
Enscape keeps lighting straightforward. You get a few simple sliders for sun brightness and artificial lights. It's built to give you beautiful results fast, without you needing to be a lighting technician. This is ideal for designers who just want to nail the mood and move on.
V-Ray, on the other hand, gives you a professional lighting studio. You can control every tiny detail of a light source—its shape, colour temperature, decay, and even load in real-world photometric (IES) data. This level of control is non-negotiable for creating truly convincing and nuanced lighting, especially for tricky interior scenes.
If you're looking to get a handle on the fundamentals, our guide on how to render in SketchUp is a great place to start. It covers the core techniques that apply no matter which software you end up choosing.
Understanding Hardware and Performance Demands
Let's be honest: your choice of SketchUp rendering software is only as good as the computer you run it on. Even the most incredible plugin will feel clunky and slow on an underpowered machine. Thinking about hardware isn't just for tech nerds; it's the key to picking a tool you'll actually enjoy using.
At the heart of it all is a fundamental split between two types of rendering engines: those that use your CPU and those that rely on your GPU. They both get the job done, but they use completely different parts of your computer to do the heavy lifting. This one choice has a massive impact on the kind of performance you can expect.
CPU-Based Engines: The Traditional Powerhouses
CPU-based renderers, with V-Ray being the classic example, lean on your computer’s central processing unit. Think of the CPU as the "brain" of your PC, built to handle a huge variety of complex, one-after-the-other tasks. When you click 'render', the CPU gets to work, meticulously calculating every light bounce, reflection, and shadow to build a final, photorealistic image.
The upside to this method is its incredible precision and accuracy. The downside? It can take a while. You really need a powerful CPU with plenty of cores and a high clock speed to get your renders back in a reasonable amount of time.
GPU-Based Engines: The Real-Time Champions
On the other side of the fence, you have GPU-based engines like Enscape, Lumion, and D5 Render. These tools put your graphics processing unit (GPU), or graphics card, to work. A GPU is a specialist, packed with thousands of tiny cores all designed to handle countless tasks at the same time—which is perfect for the demands of real-time rendering.
This is exactly why Enscape feels so incredibly fast. It's using your GPU to show you changes almost instantly. If you’ve got a modern gaming laptop with a recent NVIDIA or AMD graphics card, you'll feel like a creative superhero. But try to run it on an older machine with just the basic integrated graphics, and you'll hit a performance wall pretty quickly.
A common mistake I see is people investing in powerful software without thinking about the hardware needed to run it. A mid-range GPU will give you a far better experience with Enscape than a high-end CPU will. Matching your hardware to the software's engine type is absolutely crucial for a smooth workflow.
To give you a better idea of how your hardware might stack up, here’s a simplified breakdown:
| Component | V-Ray (CPU Rendering) | Enscape / Lumion (GPU Rendering) |
|---|---|---|
| Primary Driver | Multi-core CPU (e.g., Intel Core i9, AMD Ryzen 9) | Dedicated GPU (e.g., NVIDIA RTX 3060+, AMD RX 6700XT+) |
| RAM | 16GB is the absolute minimum, but 32GB+ is what I’d really recommend for complex scenes with high-res textures. | 16GB is a good start, but 32GB is better, especially for huge models and big asset libraries. |
| GPU's Role | Can be used for hybrid rendering (V-Ray GPU), but the CPU is still the main workhorse. | The single most important component. The more powerful your GPU, the smoother your real-time experience will be. |
Ultimately, your current hardware should really guide your software choice. If you're working on a laptop with a decent gaming GPU, a real-time engine like Enscape will feel like a natural extension of SketchUp. But if you have a workstation built around a beastly multi-core CPU, you're perfectly set up to unlock the deep power of V-Ray.
And for those who want to sidestep hardware headaches altogether, exploring options for 3D rendering online can be a brilliant alternative, letting the cloud do all the heavy lifting for you.
Breaking Down Costs and Overall Value
Let's talk about the money. When you're investing in a professional tool, price is always a huge factor. The world of Sketchup rendering software has a bit of everything—subscriptions, one-time purchases—and it's easy to get bogged down by the price tags. But finding the cheapest option is rarely the best move; what really matters is the total value you get back.
The sticker price is just the beginning. You need to think about the total cost of ownership, which goes way beyond the software fee. Are you going to need a beefier graphics card to run it smoothly? Will you have to spend extra on third-party asset packs? And what about the time you have to sink into learning it? All of that adds up.
Subscription vs Perpetual Licence
Most rendering engines have jumped on the subscription bandwagon. It makes sense: you get a lower upfront cost, a steady stream of updates, and a predictable yearly expense, which is a big help for budgeting. Both Enscape and Lumion run on this model.
V-Ray, however, keeps it old-school by offering perpetual licences alongside its subscriptions. A perpetual licence means a bigger one-time payment, but you own that version of the software for life. Sure, the initial hit to your wallet is bigger, but it can be a smarter financial move in the long run if you don't need every single new feature the moment it drops.
Calculating the True Return on Investment
This is where the real conversation begins. It's not about cost; it's about value. Lumion’s subscription might look steep at first. But when you realise its massive, top-notch asset library saves you from spending hundreds (or even thousands) on 3D models of trees, people, and furniture, the price suddenly feels a lot more justified.
The smartest financial decision comes from looking beyond the initial price. You must weigh the software cost against the time it saves you, the assets it includes, and the quality of work it allows you to produce. This holistic view reveals the true value.
When you're weighing your options, it's not just about the upfront cost. It’s also about understanding the Return on Investment to get a real sense of what you're getting. You need to ask questions that fit your actual workflow:
-
Will this speed up my client revisions? A real-time engine like Enscape can make client meetings shorter and more productive, saving you valuable billable hours.
-
Do I need a major hardware upgrade? If you’re eyeing a GPU-based renderer, the price of a powerful new graphics card has to be part of the equation.
-
What other assets will I need to buy? If a renderer's built-in library is thin, you’ll need to budget for buying models from other places.
At the end of the day, the right pricing model is the one that fits your business. A freelancer might love the flexibility of a monthly subscription to manage cash flow. A large firm, on the other hand, might see the long-term savings in a perpetual licence. By looking at the complete picture, you can pick a tool that actually pays for itself. For more insights on choosing the right tools, our guide to the best architectural rendering software offers a broader perspective.
Which SketchUp Renderer Is Right for You?
Picking the best SketchUp rendering software isn't about finding a single "winner". Honestly, the best tool is the one that gets out of your way, letting you design instead of fiddling with settings. The right choice really comes down to what you do, who you're doing it for, and what your final output needs to be.
So, let's forget the long feature lists for a moment and look at this through the lens of real-world work. I'll break down a few common scenarios and match them to the software that makes the most sense, giving you a practical guide to making your choice.
For the Fast-Paced Architect or Studio
Picture this: you're in a live design review. The client is into the concept, but they're asking to see the lobby with a different floor material and warmer lighting... and they want to see it now. This is no time to say, "I'll send you an update tomorrow." This is exactly where real-time rendering becomes a game-changer.
For this kind of high-pressure, interactive work, Enscape is the clear choice. Its magic is in the deep integration with SketchUp. You get a live-sync window, meaning any change you make in your model shows up instantly in a beautiful, fully rendered view. There’s no exporting or waiting around. It turns a stuffy presentation into a dynamic workshop, perfect for rapid iteration and getting that client sign-off.
-
Workflow Match: You need an instant feedback loop for quick decisions.
-
Key Advantage: Incredible for live client collaboration and on-the-fly design changes.
-
Best Fit For: Architects and design studios who thrive on an agile workflow.
For the Interior Designer Crafting a Perfect Portfolio
Okay, now let's switch gears. You're an interior designer putting the finishing touches on images for your portfolio or a massive client pitch. Speed isn't the priority here; absolute perfection is. You need to nail the subtle way light hits a velvet cushion, capture the crisp reflection in a polished marble floor, and perfect the soft shadows from a layered lighting setup.
This level of detail and control is V-Ray's home turf. As a physically-based renderer, it lets you get obsessive about the details. We're talking granular control over everything from a material's microscopic texture to the precise colour temperature of a light bulb. Sure, the learning curve is steeper and render times are longer, but the result is flawless, photorealistic imagery that can withstand any scrutiny.
When your name is on the line and you need to produce stunning, magazine-quality visuals, the time you put into mastering V-Ray is a sound investment. It’s the tool you grab when "good enough" just won't cut it.
For the Landscape Architect or Urban Planner
Your project isn't just one room—it's a sprawling park, a new residential development, or an entire city block. You have to fill the scene with thousands of trees, show people walking down paths, and create a believable, atmospheric environment. Placing every single one of those assets by hand would take weeks, if not months.
This is the exact challenge Lumion was built to solve. Its killer feature is its massive, high-quality asset library and incredibly intuitive tools for populating large-scale scenes. You can literally paint a forest onto a hillside, add moving traffic, and tweak the weather with just a few clicks. It might not have V-Ray's pinpoint control over materials, but nothing beats its ability to quickly build a rich, living world around your SketchUp model.
-
Workflow Match: Focused on rapid environment building and scene dressing.
-
Key Advantage: A gigantic asset library that brings lush outdoor scenes to life.
-
Best Fit For: Landscape architects, urban planners, and anyone specialising in exterior visualisations.
Got Questions About SketchUp Rendering? We've Got Answers.
Jumping into the world of SketchUp rendering software can feel like a lot to take in. As you start comparing tools, you’ll probably find a few questions keep popping up. Let’s clear up some of the most common ones so you can make a decision with confidence.
First up, a question I hear all the time: are you locked into just one plugin?
Can I Use More Than One Rendering Plugin?
You absolutely can, and honestly, a lot of seasoned pros do just that. It's pretty common for a studio to have Enscape on hand for those fast-paced, real-time client walkthroughs, then fire up V-Ray when it's time to create those jaw-dropping, final marketing shots.
Since the plugins work independently inside SketchUp, having several installed won't cause any issues. It’s all about building a flexible workflow. You can use one tool for quick feedback and another for that final, high-polish render, playing to the strengths of each.
How Important Is a Good Graphics Card?
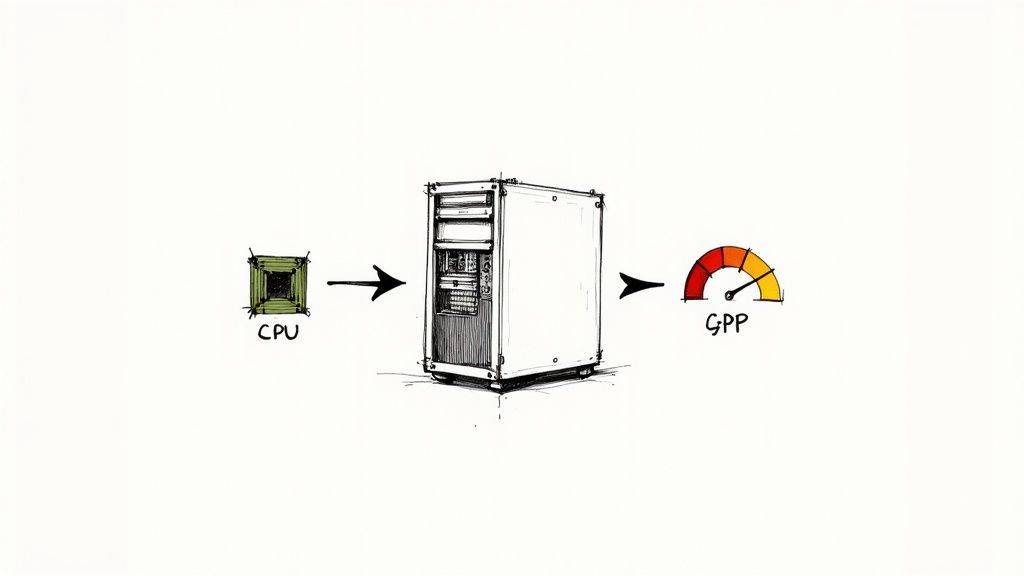
For any kind of real-time rendering, your graphics card (GPU) isn't just important—it's the heart of the whole operation. Tools like Enscape, Lumion, and D5 Render are built to lean almost entirely on the GPU to crunch the numbers and show you a beautiful scene instantly. A beefy GPU means a buttery-smooth experience; a weak one means you’ll be watching a slideshow.
Think of it this way: your GPU is the engine for real-time rendering. A bigger engine means more horsepower. While traditional renderers like V-Ray use both the CPU and GPU, when you need instant visual feedback, the GPU is the undisputed king.
Finally, what’s the actual difference between the two big categories of rendering?
What's the Real Difference Between Real-Time and Offline Rendering?
At its core, it all comes down to a classic trade-off: speed versus photorealism.
-
Real-time rendering (think Enscape) is all about speed. It uses smart shortcuts and approximations to give you an interactive, live view of your model. It’s brilliant for exploring your design in the moment and making decisions on the fly.
-
Offline rendering (V-Ray's territory) is all about quality. It takes its time, carefully calculating how every single ray of light bounces around your scene. The result? Unmatched realism, complete with all the subtle shadows and perfect reflections that trick the eye.
So, what’s your goal? Do you need immediate feedback to hash out ideas with a client, or do you need a flawless, picture-perfect image for a marketing campaign? Your answer will point you straight to the right kind of SketchUp rendering software for the job.
Ready to skip the hardware upgrades and long render times? Vibe3D uses AI to turn your SketchUp models into stunning, photorealistic visuals in seconds. Get started for free and see the difference.