An architectural 3D visualiser is a bit of a magician. They take flat, technical drawings and complex 3D models from software like SketchUp or Revit and turn them into stunningly realistic images. They’re the artists who close the gap between an abstract blueprint and a tangible vision, letting clients and stakeholders truly feel a space long before a single brick is laid.
The Evolution of the Architectural 3D Visualiser
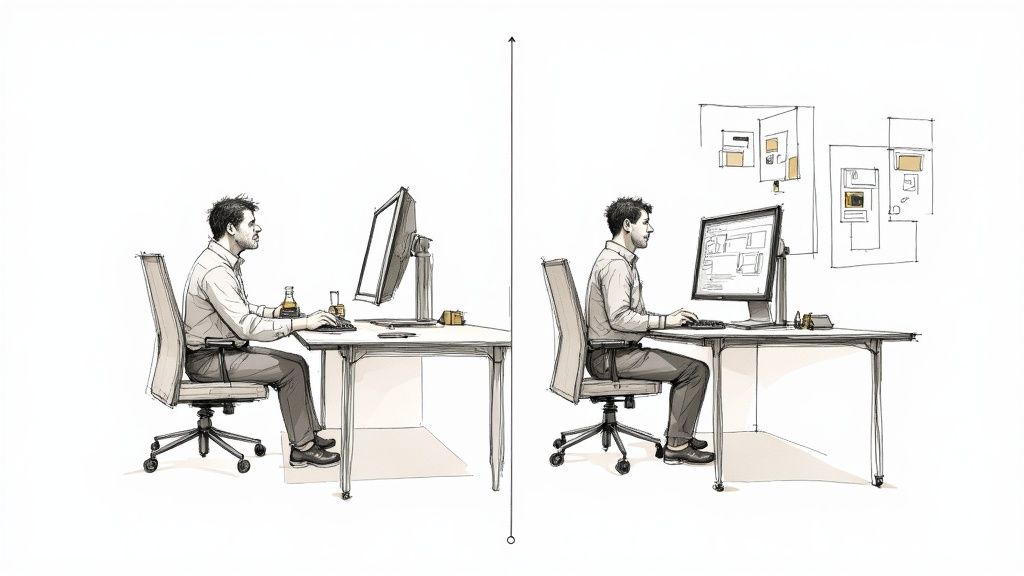
The role of a 3D visualiser in architecture has changed dramatically. Not too long ago, the job was all about technical wizardry. It meant mastering complex rendering software like V-Ray or Corona and accepting a workflow filled with long, frustrating waits for a single image to render.
You could spend hours, sometimes even days, getting the lighting just right, setting up materials, and then waiting for a render to finish. The worst part? Spotting a tiny mistake in the final image meant you often had to go back to your 3D model, make the tweak, and start the entire rendering process all over again. This technical grind often pushed the artistic side of the job into the background.
This old way of working created huge bottlenecks. It slowed down client feedback and really put a damper on creative exploration. A 3D visualiser had to be more of a patient technician than a creative director, constantly managing render settings and worrying about output times.
From Technical Operator to Creative Director
Today, that story is being completely rewritten by AI-powered tools. Platforms like Vibe3D AI act as a creative co-pilot, automating the most repetitive and time-consuming parts of the rendering process. Far from replacing the artist, these tools are empowering them. They're tearing down the technical barriers that used to get in the way of speed and creativity.
The modern workflow is a world apart. It frees up the visualiser to concentrate on what really brings a project to life: composition, mood, and telling a compelling story.
-
Faster Iteration: You can now generate a whole slate of design options in minutes, not days.
-
Creative Freedom: Want to experiment with different materials, lighting, or artistic styles? Go for it. There’s no time penalty.
-
Better Communication: Presenting clients with a wide range of high-quality visuals is now nearly instantaneous.
The core value of a visualiser is shifting from sheer technical skill to creative direction. This new era lets artists explore more ideas, refine concepts faster, and deliver incredible results without the old technical headaches.
This evolution is happening inside a booming market. The 3D rendering market is set for massive growth, projected to hit USD 1,025.8 million by 2033, with software holding a commanding 87.32% revenue share. This explosion is being fuelled by the architecture, engineering, and construction sector, where 78% of professionals now see 3D rendering as essential for communicating project ideas. You can dig into more of this data in the detailed research from Grandview Research.
By taking care of the heavy processing, AI platforms give the artist the freedom to focus on high-level creative decisions. This is exactly what the modern design industry needs—speed, quality, and creativity working together. You can learn more about how 3D visualization in architecture is changing the industry in our detailed guide. The result is a role that's more dynamic, efficient, and creatively satisfying for the modern architectural 3D visualiser.
Preparing Your 3D Model for AI Rendering
A stunning AI render doesn't just happen in the cloud. The real magic begins with a clean, well-organised 3D model. Whether you're a seasoned architectural 3D visualiser working in SketchUp, 3ds Max, Revit, Rhino, or Blender, one thing is always true: the quality of what you get out is directly tied to the quality of what you put in. Getting your model ready is the bedrock of a smooth, predictable AI rendering workflow with Vibe3D AI.
The big shift in thinking here is moving away from a single, complex render setup to a collection of distinct visual moments. AI platforms like Vibe3D are built to process multiple scenes at the same time. So, instead of exporting one massive file, the smart move is to set up and export individual camera angles that capture the key views of your interior or exterior project. Think one scene for the kitchen, another for the living room, and a third for the exterior—all from the same master model.
This approach doesn't just make the process cleaner; it unlocks the full power of batch rendering. Suddenly, you can generate variations for every critical viewpoint at once.
From 3D Software to AI Platform
Getting your work from your 3D modeling software into an AI rendering engine is a straightforward journey. This is where all your careful prep work really pays off. The Vibe3D AI process is designed to be as efficient as possible:
-
Export Your Scenes: From your main 3D modeling tool (like SketchUp or Blender), export each camera view you want to render as a separate image file, like a JPG or PNG.
-
Create a New Project: Log in to your vibe3d.ai account and create a new project. This will be the dedicated workspace for all the renders tied to that specific design.
-
Upload All Scenes: Now, upload the entire collection of exported scenes into the project you just created.
This initial setup gives the AI the raw ingredients it needs to start generating photorealistic visuals. By separating the scenes beforehand, you keep total control over which parts of your design get rendered and how. If you're still deciding on a primary tool, our guide on the best free 3D modeling software is a great place to find one that fits your needs.
The entire Vibe3D interface is built around this project-based system, which makes it incredibly easy to organise multiple scenes and all the AI-generated variations that follow.
Setting the Stage for Each Scene
With your scenes uploaded, you can now start applying unique rendering settings to each one individually. This is where your creative direction really comes into play. For that exterior shot, maybe you select a "Golden Hour" lighting preset. For the interior living room scene, you could experiment with different lighting setups or test drive various materials, like oak flooring versus polished concrete.
The goal is to generate a diverse set of high-quality base renders, fast. This initial batch becomes your creative canvas, giving you multiple starting points for refinement without ever having to jump back into your 3D software for a re-render.
Once those initial renders are ready, you can dive into the 'Edit Render' functionality to tweak colours, swap out materials, and perfect the little details. After a few quick iterations, you simply pick the best versions of each scene and download them in ultra-realistic quality, ready to wow your clients. It's a structured approach that turns a complex job into a manageable and genuinely creative process.
Your First AI Render: From Upload To Initial Design
This is where the magic really starts to happen. You’ve prepared your 3D model in SketchUp or Revit, and now it’s time to breathe life into it, transforming that digital blueprint into a stunning, photorealistic render. What used to be a long, drawn-out technical headache is now a remarkably fluid and creative process with Vibe3D AI. Let's walk through how you can take your exported scenes and quickly generate a whole range of initial designs.
The moment you log into vibe3d.ai, you’ll notice everything is neatly organised by project. The first thing you'll do is create a new project, which essentially becomes a dedicated folder for a single architectural design. This simple step is a lifesaver when you're juggling complex projects with tons of different interior and exterior views.
Kicking Off Your Vibe3D Project
With your project set up, you can now upload all the scenes you’ve exported from your modeling software, whether that's SketchUp, 3ds Max, or Rhino. Since you’ve already framed your shots by setting up camera angles and exporting each one as a JPEG or PNG, you can upload them all in one go. This kind of efficiency is what the AI-powered workflow is all about—getting an entire project ready for rendering in just a matter of minutes.
This straightforward approach to preparing your models is a core part of the AI rendering pipeline. It ensures the hard work you put into your 3D software translates perfectly to the visualisation stage.
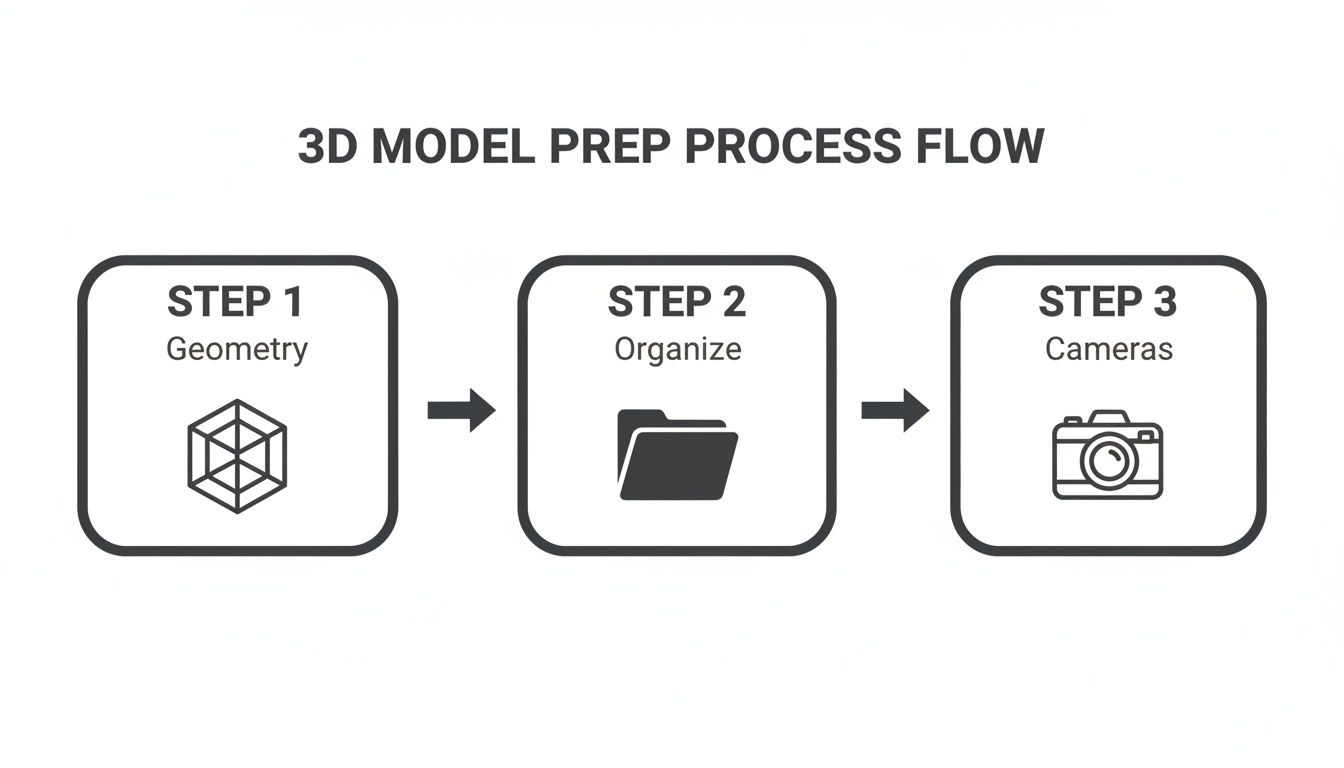
As this diagram shows, the key is to nail down the preparation work first: perfect the geometry, organise your model, and set up your cameras before you export. Following these steps makes sure your 3D assets are perfectly primed for a smooth and predictable rendering experience.
Applying Initial Design Styles and Presets
Once your scenes are uploaded, the real creative fun begins. Vibe3D AI gives you the freedom to apply different rendering settings to each scene individually. This flexibility is a game-changer for any architectural 3D visualiser, letting you explore a huge range of design ideas in no time. You’re no longer stuck with a single lighting setup or material choice for the whole project.
For every scene, you can pick from a library of powerful presets to generate high-quality base renders almost instantly. These presets handle the most important elements that define a scene’s mood and look:
-
Time of Day: Instantly change the sun’s position and the colour of the light by choosing presets like 'Morning,' 'Midday,' 'Dusk,' or the classic 'Golden Hour.'
-
Lighting Schemes: For interiors, you can set the atmosphere with styles like 'Warm & Cozy,' 'Bright & Airy,' or 'Modern Minimalist.'
-
Material Foundations: Quickly lay down core textures like 'Oak Wood Flooring,' 'Polished Concrete,' or 'White Marble' to establish the main material palette.
As you get comfortable moving from your 3D model to generating these first designs, it’s really helpful to learn how to prompt AI to create an image that truly matches your vision. This skill becomes incredibly powerful when you start fine-tuning these initial renders with more specific requests.
By applying these presets across your uploaded scenes, you can generate a wide array of high-quality base images in minutes. This initial batch of renders provides a rich set of starting points for further creative exploration, all achieved without the hours of manual setup and long render times of traditional methods.
The shift to cloud-based platforms has dramatically sped up these workflows in architectural visualisation. Across thousands of firms, these tools have helped speed up project delivery by an average of 18%. On top of that, a 31% increase in mobile access for architects and engineers means you can work remotely and present to clients from anywhere—a key advantage of using a tool like Vibe3D.
This streamlined process lets you present a variety of concepts to clients early on, get their feedback, and make smart decisions without any delay. You can find out more about what this technology can do in our guide to the Vibe3D /blog/ai-render. The ability to generate a dozen different moods for a single living room in the time it once took to produce just one traditional render is exactly what makes this workflow so effective for today's architectural 3D visualiser.
Refining Your Vision with Iterative Editing
Getting that first set of AI renders back is a milestone, but for any seasoned 3D visualizer, it's just the beginning. The first image is the first draft. The real magic happens in the iterative editing process, where a good design is polished into a perfect, client-ready visual. In the old days, this meant going back to your 3D software for every minor change and waiting hours for a new render.

With Vibe3D AI, that entire cycle gets crunched from days into minutes. The 'Edit Render' functionality is your digital playground, a space built for quick experiments and precise adjustments. It lets you make specific, targeted changes right on the rendered image, so you don't have to constantly jump back into your original model in SketchUp, 3ds Max, or Revit.
Making Targeted Changes on the Fly
Picture this: your client loves the living room render but isn't sure about the flooring. Instead of a major revision, you simply use the 'Edit Render' feature in Vibe3D AI to change the material from oak wood to polished concrete. In the same breath, you can change the wall colour from white to a soft grey.
This powerful control applies to almost any element in your scene. You can tweak furniture materials, swap cabinetry finishes, or adjust colours, all without re-rendering from scratch. This dynamic editing lets you explore a huge range of design possibilities in real-time.
-
Material Swapping: Instantly change textures and finishes on floors, walls, furniture, and fixtures.
-
Colour Adjustments: Fine-tune the colour of any object to nail the client's preferred palette or design scheme.
-
Rapid Prototyping: Quickly create multiple versions of the same scene with different material combos to show a full spectrum of options.
This agile way of working is a game-changer for modern design communication. It allows you to work through client feedback on the spot, making them feel like a genuine part of the creative journey. You can dig deeper into the tools that enable this in our guide to architectural rendering software.
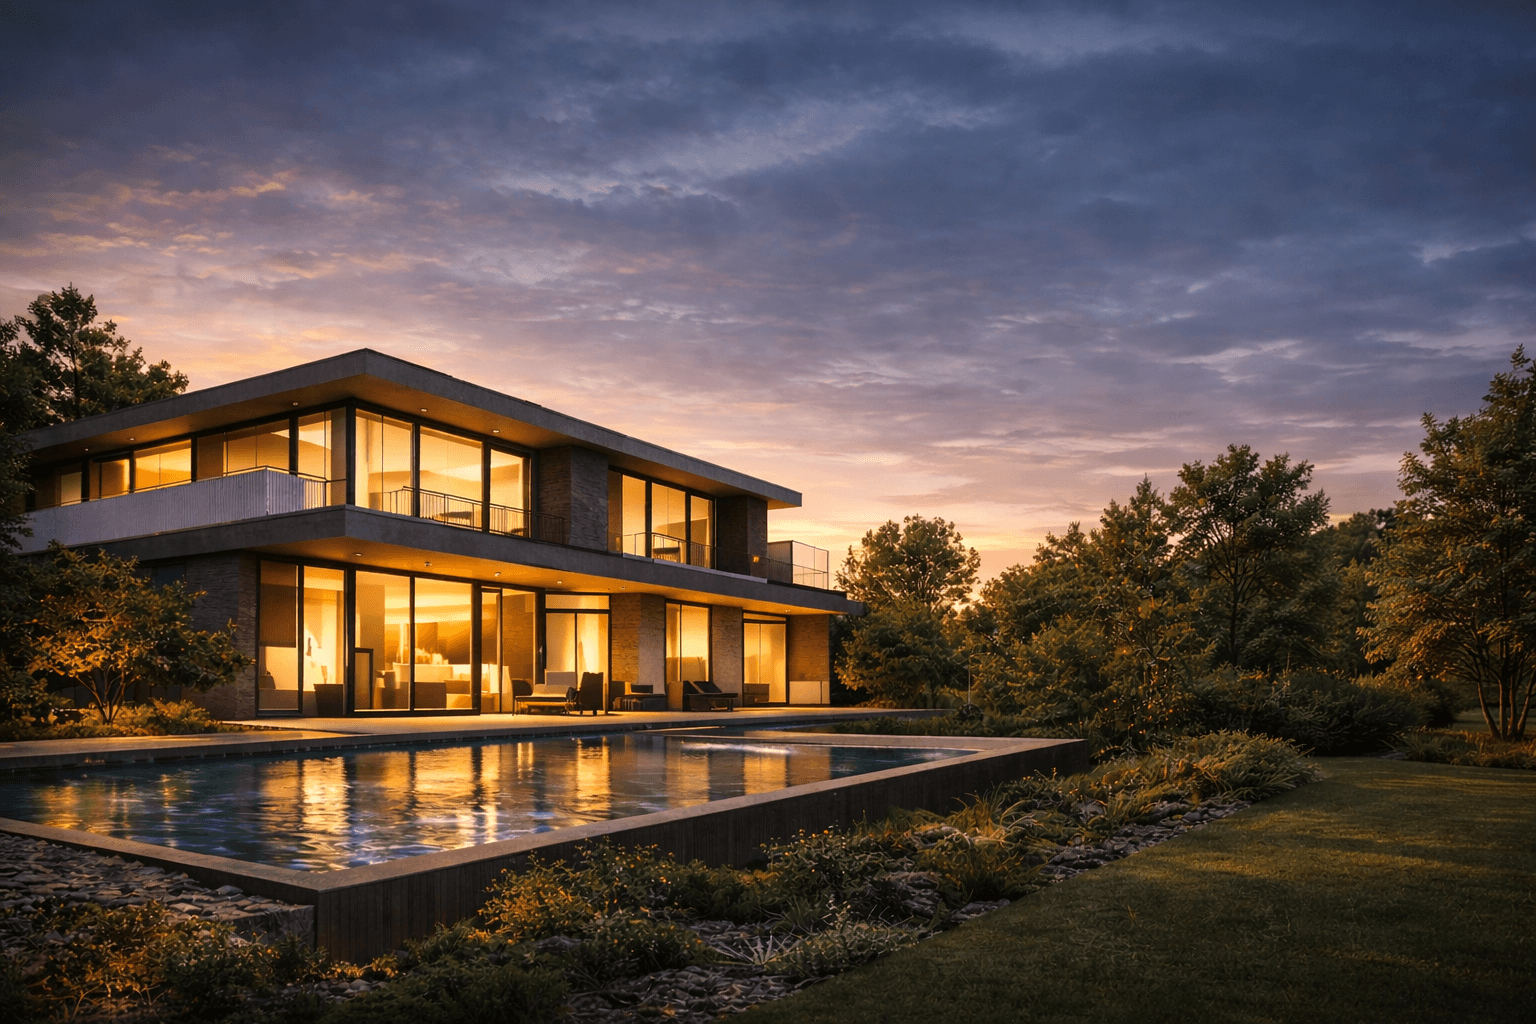
This image from the Vibe3D gallery shows the kind of photorealistic quality you can achieve, blending soft lighting with detailed textures. The powerful part is that nearly every element here—from the chair’s fabric to the wall colour—can be iteratively tweaked using the 'Edit Render' function without needing to re-render the whole image from your 3D model.
Perfecting Every Detail Before Download
The real win with this workflow is the ability to perfect every single detail before you call it done. As a 3D visualizer, you can create and compare multiple versions of each scene side-by-side. This helps you make much more informed decisions and land on the absolute best iteration that fits your creative vision and the project’s goals.
The 'Edit Render' functionality transforms the revision process from a bottleneck into a creative opportunity. It saves countless hours and empowers you to deliver visuals that are not just good, but perfectly tailored to the project's needs.
Once you and your client are totally happy with a version, the final step couldn't be simpler. You select the perfected scene and download it in ultra-realistic, high-resolution quality. These final images are polished, professional, and ready for any client presentation or marketing portfolio.
Achieving Photorealism and Finalizing Your Renders
After modeling in 3D software and iterating with Vibe3D AI, you’ve arrived at the most satisfying part of the job. This is where your skill as an architectural 3D visualizer truly shines, turning all that hard work into tangible, impressive results that will win over clients. It’s all about choosing your strongest shots and making sure they land with maximum impact.
After using the 'Edit Render' feature to fine-tune colours, materials, and lighting across all your scenes, you’ll have a gallery of fantastic design options. Your job now is to sift through them and pick the final versions that best tell your design's story.
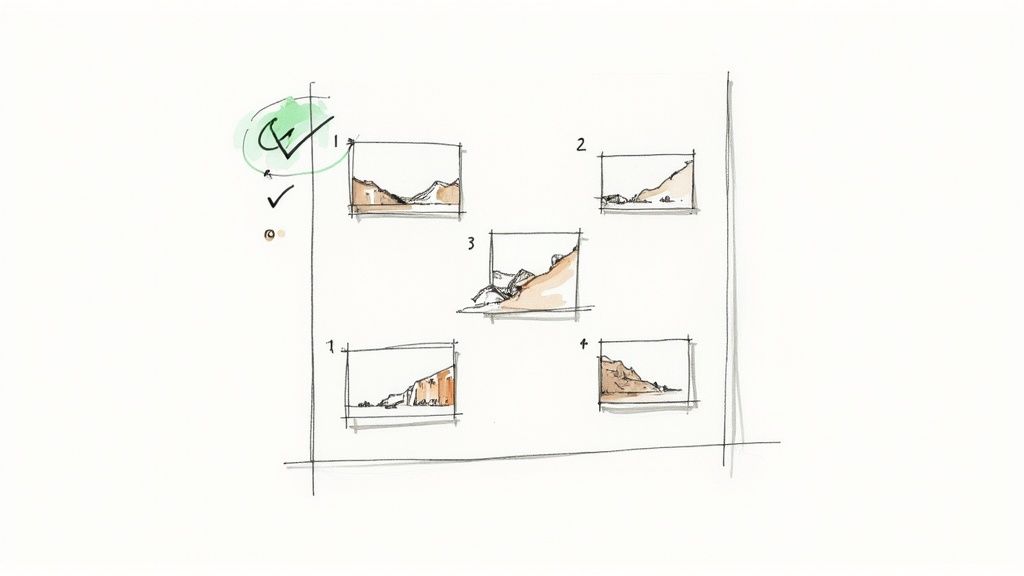
Don't underestimate this step—it’s a critical creative decision. You're not just picking the most attractive image; you’re selecting the one visual that most powerfully communicates the feeling and function of the space.
From Final Selection to High-Resolution Download
Once you've zeroed in on the winning shots for each scene—the kitchen view with the perfect morning sun, or the living room with just the right furniture finish—the final step is a breeze. Vibe3D lets you download these chosen images in ultra-realistic, high-resolution formats. This ensures your final deliverables are crisp, detailed, and ready for whatever you need them for.
These high-quality files are versatile assets. You can drop them straight into:
-
Client Presentations: Use stunning visuals to get the green light on projects, making sure everyone is on the same page.
-
Marketing Portfolios: Build a knockout portfolio that shows off your design talent and pulls in new business.
-
Official Documentation: Add the renders to project proposals and construction documents to give everyone clear visual context.
The real aim is to create visuals that are both beautiful and functional. A brilliant render acts as a bridge between a technical floor plan and the reality of a lived-in space, ultimately impressing stakeholders and getting that crucial project buy-in.
Preparing Your Renders for Presentation
With your final images ready to go, the last step is prepping them for the big reveal. It’s a good idea to organise them logically, maybe taking the viewer on a virtual tour from the outside in. Make sure every image is clearly labelled.
As you present, walk your audience through the design thinking behind each render, connecting what they see back to the project’s main goals. The whole workflow, from exporting your scenes from a tool like 3ds Max to downloading the final versions in Vibe3D, is built for efficiency. If you’re a 3ds Max user, our guide on 3ds Max interior design has some extra pointers for getting your models perfect before you even think about rendering.
By adopting an AI-assisted workflow, today's architectural 3D visualizer can produce exceptional quality at a speed that was once unthinkable. This final stage is no longer about nervously waiting on a render farm; it's about curating a vision and ensuring every single pixel works to communicate your design with clarity and conviction.
Frequently Asked Questions About AI in Architectural Visualisation
Whenever a new tool enters the creative space, it’s natural to have questions. For today’s architectural 3D visualisers, figuring out where AI fits into their process is crucial for staying competitive. Let's tackle some of the most common ones head-on.
Will AI Replace 3D Visualisers?
Not a chance. Think of AI tools like Vibe3D as an incredibly fast and capable junior artist, not a replacement for the lead creative. It takes over the grunt work—the hours spent on rendering—which frees you up to focus on what really matters: the artistic direction, composition, lighting, and storytelling. It’s those human skills that inject soul into a project, and no AI can replicate that.
Can I Use My Existing 3D Software with Vibe3D?
Absolutely. Vibe3D was built to be versatile and slot right into your current workflow. As long as you can export your scene as a 2D image (like a JPG or PNG) from your favourite modeling program—whether that’s SketchUp, 3ds Max, Revit, Blender, or Rhino—you're good to go. The trick is simply setting up and exporting your scene correctly, just as we covered earlier in this guide.
How Much Creative Control Do I Really Have?
You have a surprising amount of control, actually. While the first render is generated using smart presets to get you a great result quickly, the real power lies in the 'Edit Render' feature. This is where you can get granular. You can swap out specific materials, tweak colours, and adjust individual elements within the scene over and over again. It gives you precise command over the final look without the pain of re-rendering the entire image from your 3D software.
Ready to turn your 3D models into stunning, photorealistic visuals in seconds? Join thousands of designers who use Vibe3D to speed up their workflow and deliver incredible results. Explore the future of architectural visualisation and start your first project today.