You've spent hours building a clean SketchUp model. The geometry is tight, the proportions are right, and the client meeting is tomorrow. Then you open your rendering software and the clock starts ticking — material setup, lighting rigs, render passes, post-processing. What should take minutes takes hours.
That's the old bottleneck. And it was never really about SketchUp. It was about everything that came after it.
In 2026, that bottleneck is gone for most workflows. Here's exactly how to get a photorealistic render from SketchUp without installing a single plugin, configuring a lighting rig, or writing a single prompt.
SketchUp Renders Have Always Been Painful — Here's Why
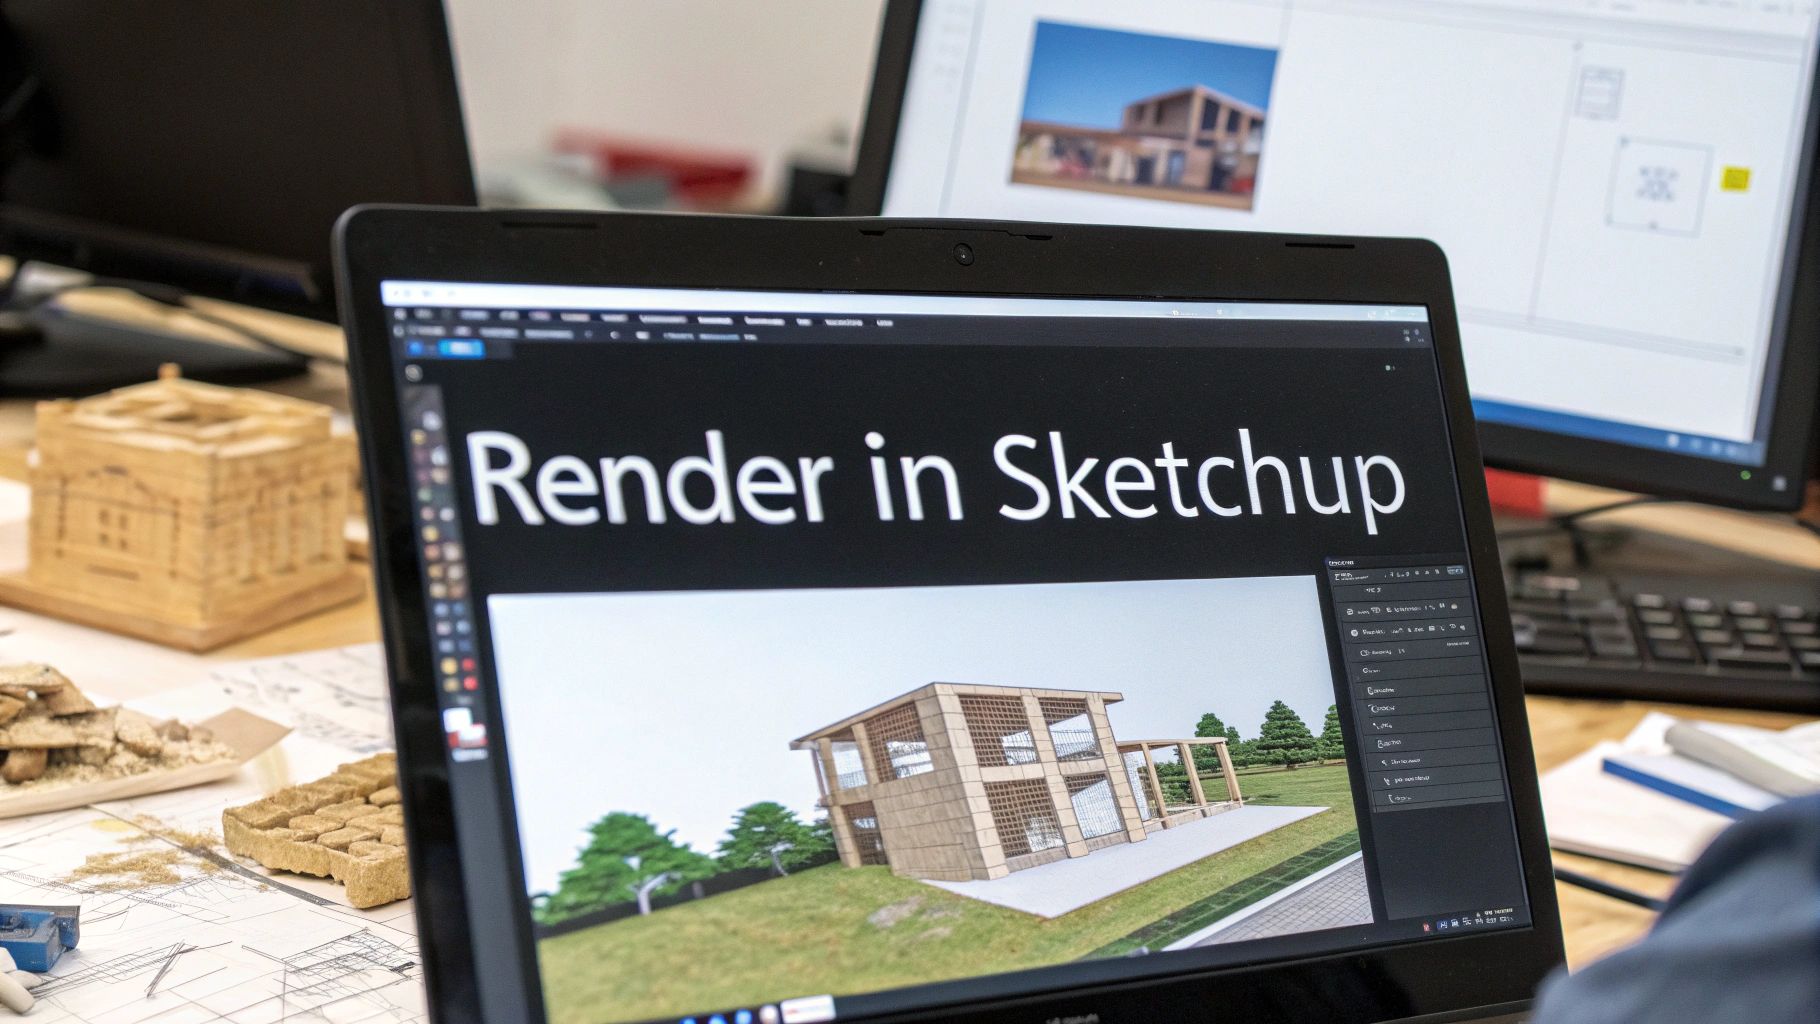
SketchUp is fast to model in. That's the whole point. But its native output is flat and cartoonish — fine for internal design reviews, useless for client presentations.
The traditional fix was to bolt on a rendering engine. V-Ray for SketchUp runs $80 to $100-plus per month and demands real expertise in materials, GI settings, and light bounces. Enscape is faster but requires an active SketchUp subscription and still needs manual configuration for anything beyond a default scene. Lumion is powerful but desktop-heavy, and every material change means going back into the scene and re-rendering from scratch.
The result: architects who are excellent at design spend hours doing technical work that has nothing to do with design.
The render queue was never a software problem. It was a workflow problem.
What "No Plugins Required" Actually Means in 2026
The phrase gets used loosely. Here's what it means in practice.
A true no-plugin workflow means you export your SketchUp model in a standard format — SKP, OBJ, FBX, or similar — and upload it directly to a browser-based tool. No extension to install in SketchUp. No host application to keep running. No version compatibility issues when SketchUp updates.
The rendering happens in the cloud. You get the output in your browser. The only thing you need locally is your model file.
This matters because plugin-dependent workflows break. SketchUp updates, the plugin lags behind, and suddenly your render pipeline is down the week before a deadline. Browser-native tools don't have that problem.
The 2026 Workflow: SketchUp to Photorealistic Render in Four Steps
Here's the actual process using Vibe3D, which handles SketchUp models alongside Revit, Blender, Rhino, and five other formats.
Step 1: Export Your SketchUp Model
Export from SketchUp in a format the rendering tool accepts. Vibe3D accepts SKP files directly, so there's no conversion step. If your model uses component libraries or imported textures, keep them linked before export — the AI reads material and geometry data from the file.
Step 2: Upload to the Browser-Based Studio
Go to app.vibe3d.ai and upload your file. No complex account setup — just a free registration, and no credit card required for the first three renders. Most residential or commercial models upload in seconds.
Step 3: Let the AI Detect Context Automatically
This is where the workflow diverges from every plugin-based approach. Vibe3D's AI reads your model's architectural context automatically — it identifies interior versus exterior, detects spatial relationships, and sets up lighting based on what it sees in the geometry. You don't configure anything. You don't write a prompt. You don't select a lighting preset.
The AI produces a photorealistic render. For exterior work, it handles sun angle, shadow depth, and material response to light. For interiors, it manages ambient occlusion, surface reflectivity, and spatial depth. If you want to see how that plays out for interior projects specifically, the interior rendering workflow shows the same zero-configuration approach applied to residential and commercial spaces.
Step 4: Edit by Typing
The render comes back. The client wants to see it at dusk instead of midday. Or they want the cladding in a warmer tone. Or they want to see the glazing with a different tint.
Type the instruction. "Change to golden hour lighting." "Make the facade brick instead of concrete." The AI applies it and returns a new render. No re-exporting from SketchUp. No re-configuring materials. No re-rendering from scratch.
This is the part that changes how client presentations work. You can iterate in the meeting.
When Standard Photorealism Isn't Enough
Standard photorealistic renders are good enough for most client presentations. But for marketing materials, property listings, or competition submissions, you want more.
Vibe3D's HyperReal mode delivers ultra-realistic lighting with micro-texture detail — the kind of output where you can see grain in the concrete, variation in the timber, and the way light wraps around a curved wall. Combined with one-click AI upscaling and HDR output, the final asset is ready for print or large-format display without any post-processing.
For exterior visualization, the difference between standard and HyperReal is most visible in how the tool handles sky, shadow gradients, and reflective surfaces. The guide to photorealistic exterior rendering goes deeper on that if you're working on residential or mixed-use facades.
From Static Render to Cinematic Flythrough — No Video Software
One capability that separates AI-native tools from legacy rendering software is video generation. Vibe3D generates cinematic flythrough videos from static renders without requiring you to set up camera paths, export sequences, or open video editing software.
This matters for SketchUp users because SketchUp's native animation tools are basic. Getting a polished walkthrough out of a SketchUp model traditionally meant either Lumion — expensive and desktop-heavy — or a lot of manual work in a separate application.
With Vibe3D, the flythrough comes from the same upload that produced your photorealistic renders. Same model, same workflow, no additional steps.
How This Compares to Plugin-Based Rendering in 2026
| Vibe3D | V-Ray for SketchUp | Enscape | Lumion | |
|---|---|---|---|---|
| Requires SketchUp plugin | No | Yes | Yes | No (standalone) |
| Browser-native | Yes | No | No | No |
| Auto context detection | Yes | No | No | No |
| Text-driven scene editing | Yes | No | No | No |
| Flythrough video | Yes | Limited | Yes | Yes |
| Starting price | Free | ~$80/mo | ~$85/mo | ~$96/mo |
| Commercial license included | Yes (all plans) | Varies | Varies | Yes |
The pricing gap is significant. V-Ray, Enscape, and Lumion each cost more per month than Vibe3D's Pro plan at $39/month — and none of them offer automatic context detection or text-driven editing.
For a broader look at where these tools sit in 2026, the best architectural rendering software guide covers the full competitive landscape.
Who This Workflow Is Built For
Independent architects and designers at small studios get the most immediate benefit. This workflow removes the specialist bottleneck — you don't need a dedicated visualization person, and you don't need to learn a new rendering engine. Upload your SketchUp model and get client-ready output.
Freelance 3D visualizers gain a real speed advantage. More projects in the same time, and the commercial license means every render is cleared for client use without a separate licensing conversation.
Students get a distinct option: 50 credits for a $9 one-time payment with a valid .edu or .ac email. No monthly commitment.
If you're ready to test the workflow, start with the free tier at vibe3d.ai — three renders, no credit card, no plugin installation required.
Frequently Asked Questions
Can I use my existing SketchUp model without any modifications? Yes. Vibe3D accepts SKP files directly. You don't need to clean up the model, reassign materials, or convert to another format before uploading. The AI reads geometry and material data from the file as-is.
Do I need a SketchUp Pro subscription to use this workflow? No. You only need a SketchUp file. Vibe3D is a separate browser-based tool with no dependency on your SketchUp license or subscription status.
How long does a render take from a SketchUp upload? Render times vary by model complexity, but most standard architectural models produce a photorealistic render in seconds to a few minutes. There's no queue the way there is with local rendering software.
Are the renders I produce commercially licensed? Yes. All Vibe3D plans include a commercial license. You can use renders in client presentations, marketing materials, property listings, and competition submissions without a separate licensing agreement.
What if I want to change the lighting or materials after the render is done? Type the change as a plain instruction — "change to overcast lighting" or "replace the flooring with dark oak." The AI applies it and returns a new render. No need to go back into SketchUp or re-export.
Does Vibe3D work with other modeling tools besides SketchUp? Yes. It accepts files from Revit, Blender, 3ds Max, Rhino, Archicad, Vectorworks, and Chief Architect. The same no-prompt workflow applies across all of them.
What's the difference between standard photorealistic rendering and HyperReal mode? Standard rendering produces client-ready photorealistic output suitable for presentations and pitch decks. HyperReal mode adds micro-texture detail, ultra-realistic lighting, and HDR output — better suited for marketing materials, property listings, and large-format print where fine surface detail matters.