The SketchUp 3D Warehouse is a goldmine of free 3D models, but let's be honest, it can also be a bit of a minefield. Too many designers, especially when they're starting out, just grab the first model they see, drop it into their project, and then wonder why SketchUp grinds to a halt and their renders look… off.
This guide is my playbook for turning that massive library from a source of frustration into one of your most powerful assets. It’s all about creating a smart, repeatable workflow.
Your Workflow for Using SketchUp's 3D Warehouse
The integration between SketchUp and the 3D Warehouse is fantastic, but it's not a magic button for professional results. I always tell my students to think of it like a sprawling flea market. You can find some absolute gems, but you have to develop an eye for quality and be ready to put in a little effort to clean up your finds before you use them.
If you don't have a solid process, your projects will inevitably get bloated with high polygon counts, messy geometry, and textures that just don't work. This guide is about moving past the simple download button. We're going to dig into the practical, real-world steps that make the difference between an amateur-looking scene and a stunning, photorealistic render.
Of course, finding great models is only half the battle. To get those jaw-dropping results, you also need to master interior design software 3D rendering principles. Understanding the rendering side of things makes you much better at picking and preparing your assets.
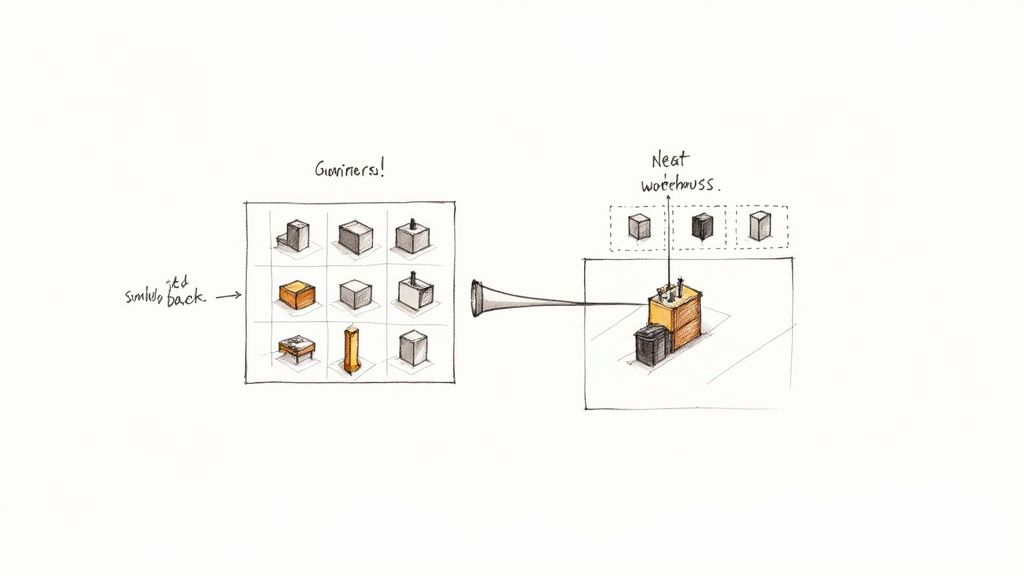
The 3D Warehouse is more than just a repository; it's a huge online community that plugs directly into SketchUp, and when used correctly, it’s a massive time-saver. You can find almost anything you can imagine, from specific furniture pieces to entire building facades, all shared by other users. For example, there are even extensive collections of specialised assets, like this library of 2D people from India.
Key Takeaway: The quality of your final render is directly tied to the quality of the assets you use. Investing time in vetting and cleaning models from the 3D Warehouse is a non-negotiable step for professional work.
Here’s the complete workflow we’re going to cover:
-
Finding and Evaluating Models: I’ll show you how to quickly spot high-quality assets and, just as importantly, how to avoid those that will cripple your performance.
-
Cleaning and Optimising: My step-by-step process for purging junk geometry, fixing common texture problems, and generally tidying up downloaded models.
-
Prepping for Rendering: How to get your scene set up for a smooth, fast rendering experience, specifically with Vibe3D in mind.
You can find more tutorials and deep dives into creating incredible visuals over on the https://vibe3d.ai/blog.
How to Spot a Great Model Before You Download
We’ve all been there. You find what looks like the perfect chair in the SketchUp 3D Warehouse, drop it into your scene, and suddenly SketchUp grinds to a halt. A beautiful thumbnail doesn't guarantee a clean, render-ready model, and learning to tell the difference is a skill that will save you countless headaches.
The trick is to develop a critical eye before you even click the download button. It’s about learning to spot the digital landmines hidden inside an innocent-looking asset.
Look Beyond the Thumbnail
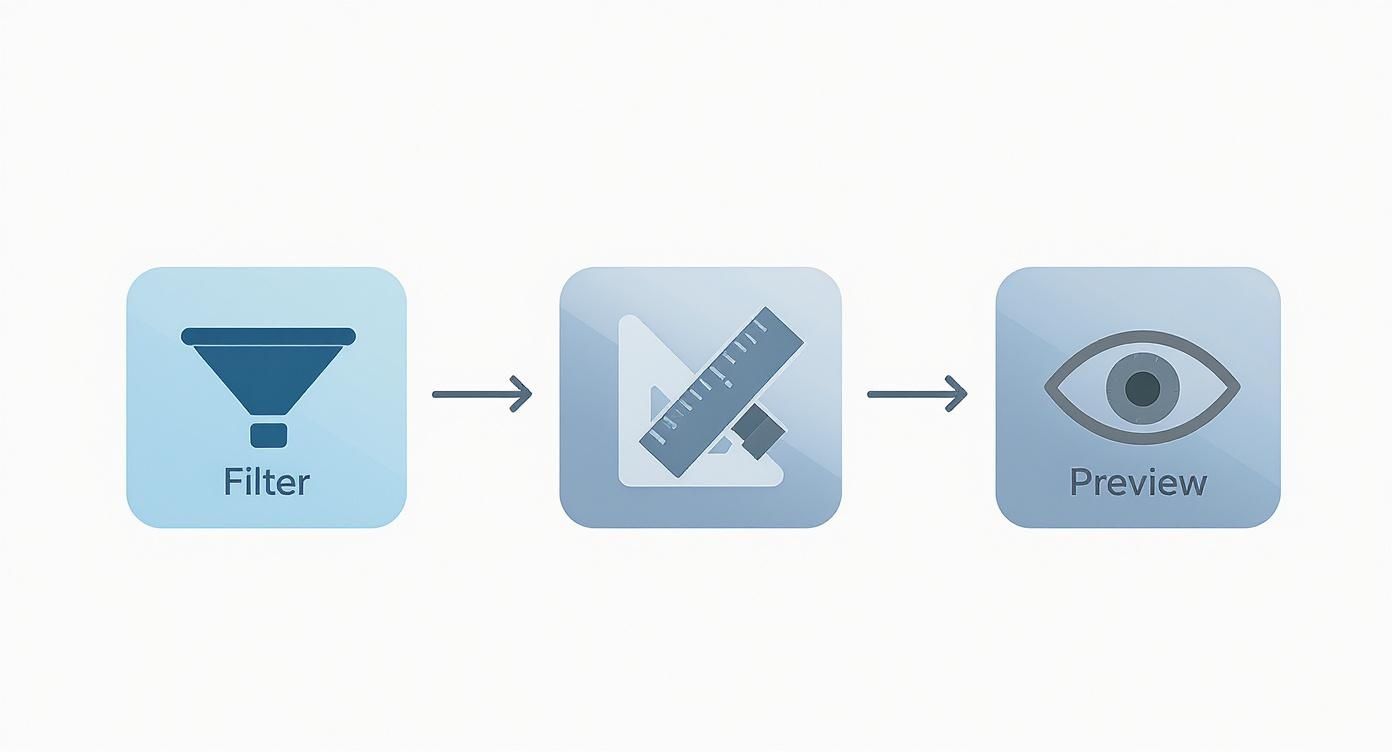
First things first, don't just rely on the default search. When you're looking for something like a sofa, use the filters to your advantage. I always start by searching within high-quality Collections or looking for models from verified creators. These are often uploaded by actual brands or seasoned 3D artists who know what they're doing and prioritise clean geometry.
Once you find a promising model, click on it, but hold off on downloading. The model details page is where the real investigation begins. This is where you'll find the vital stats that tell the true story of the asset.
I immediately look for three key metrics:
-
File Size: Is it huge? A single piece of furniture over 50 MB is an immediate red flag. This usually points to overly dense geometry or massive, uncompressed textures that will bog down your entire project.
-
Polygon Count: This is probably the most critical number. A simple dining chair shouldn't have a million polygons. Insanely high counts are often a sign that the model was made in another software and badly converted, leaving you with a dense, unworkable mesh.
-
Materials: A high material count can also spell trouble. It might mean every single screw and bolt has its own unique material, which becomes an absolute nightmare to manage and remap for rendering.
For instance, if I see a decorative vase listed with 200,000 polygons and a 40 MB file size, I'll pass on it without a second thought. But a similar vase at 15,000 polygons and 3 MB? Now that’s a model I can work with.
To make this process easier, I've put together a quick checklist to run through before downloading any asset from the 3D Warehouse.
Model Quality Checklist Before Downloading
A quick-reference guide to help you assess the quality and suitability of a 3D Warehouse model before importing it into your SketchUp project.
| Checklist Item | What to Look For | Why It Matters |
|---|---|---|
| File Size | Keep it reasonable. For single objects, aim for under 10-15 MB. | Large files slow down SketchUp's viewport and increase project load times. |
| Polygon Count | Look for efficiency. A simple object shouldn't have hundreds of thousands of polys. | High polygon counts are the number one cause of poor performance and lag. |
| Material Count | Fewer is better. A well-made model groups similar materials. | A high number of unique materials complicates the texturing process in your render engine. |
| Creator Reputation | Check if they are a verified creator or have a history of good models. | Experienced creators and brands often provide cleaner, more optimised assets. |
| 3D Viewer Inspection | Orbit, pan, and zoom. Look for gaps, floating geometry, and messy surfaces. | What looks good in a thumbnail can be a mess up close. This is your final quality check. |
Sticking to this checklist will help you avoid the vast majority of problematic models out there.
Using the 3D Viewer for a Final Check
The built-in 3D viewer on the model's page is your secret weapon. Don't just give it a passing glance—really get in there and inspect the model. Orbit around it from every angle. Are there strange gaps, floating pieces, or z-fighting faces that didn't show up in the rendered previews?
A classic problem I see all the time is pointless detail. Think of a beautifully modelled screw thread on the leg of a sofa. It adds thousands of unnecessary polygons but adds zero value to your final render because no one will ever see it.
Zoom right in on any curved surfaces. Are they reasonably smooth, or are they a jagged collection of visible polygons? A well-crafted model has clean, efficient curves. Spending just a minute on these checks can be the difference between a great asset and a "render-ready nightmare."
This small investment of time upfront is one of the best habits you can build. For a more comprehensive overview of getting started, check out our complete tutorial on SketchUp to build a solid foundation with the 3d warehouse sketchup library.
The Essential Cleanup Workflow for Imported Models
So, you’ve found what looks like the perfect model in the 3d warehouse sketchup library and dropped it into your scene. The real work, however, is just beginning. An asset is almost never truly render-ready straight out of the box. I like to think of it like finding a beautiful piece of antique furniture—it needs a good clean and polish before it can really shine in your space.
This cleanup phase is probably the most critical part of turning a basic downloaded model into a professional, photorealistic asset. Taking the time to do this properly keeps your SketchUp file lean, fast, and organised. If you skip it, you're just asking for slow viewport performance, massive file sizes, and a whole lot of rendering headaches later on. Trust me, after a while, this digital housekeeping becomes a quick, methodical second nature.
The best way to save time on cleanup is to avoid messy models in the first place. Filtering your search, checking the model's stats, and using the 3D preview before you even click 'download' is your first line of defence.
As you can see, a few proactive checks upfront can dramatically cut down the amount of work you have to do on the back end.
Purging All the Unnecessary Data
The very first thing I do with any new component is purge the file of unused data. Models from the warehouse often carry a surprising amount of baggage—extra materials, old components, and random layers that aren't even applied to the model you see. This digital clutter bloats your file size for no good reason.
It's a simple fix. Just navigate to Window > Model Info > Statistics. You'll see a button right there labelled Purge Unused. Clicking this instantly gets rid of any leftover definitions and materials. It's not uncommon to see this one click cut a file’s size by 20-30% in just a few seconds.
Tackling the Geometry and Faces
With the initial junk cleared out, it’s time to get your hands dirty and inspect the geometry itself. Two common culprits are notorious for ruining renders: reversed faces and ridiculously complex geometry.
-
Reversed Faces: In SketchUp, every face has a front side (usually white) and a back side (usually a blue-grey colour). When a back face is pointing outwards, it can cause major problems during rendering, often showing up as black or even completely transparent. To spot them, switch to the Monochrome face style (
View > Face Style > Monochrome). Any blue faces you see are backwards. Just right-click on them and select Reverse Faces to fix it. -
Overly Complex Geometry: This one requires a bit of judgement. Take a hard look at the model for pointless details. Does that office chair really need individually modelled screw threads on its hidden casters? These tiny details can add thousands of polygons but contribute absolutely nothing to the final image. Get in there, select those parts, and just delete them. For things like complex curves, plugins like Skimp or Transmutr are absolute lifesavers, letting you intelligently reduce polygon counts without wrecking the visual quality.
I once spent hours troubleshooting a laggy scene, only to discover a single decorative lamp downloaded from the 3D Warehouse was responsible for over half the project's total polygon count. Cleaning up that one asset made the entire scene dramatically faster and so much easier to work with.
Managing and Upgrading Materials
The final stage of the cleanup is all about the materials and textures. This is where you can make a huge impact. Models from the 3D Warehouse often come with low-resolution or poorly mapped textures that just look awful in a high-quality render.
My process is to check every single material applied to the model. I open the Materials tray and use the eyedropper tool to select each surface one by one.
-
Spot the Low-Quality Textures: If a texture looks pixelated or blurry in the SketchUp viewport, you can bet it will look even worse when you render it.
-
Swap in High-Resolution Maps: I replace these substandard maps with my own high-quality, seamless textures from a personal or commercial library. A great wood or fabric texture can instantly make a generic model look completely bespoke.
-
Check the Texture Scaling: Another common issue is that textures are often imported at the wrong scale. Right-click on a face and use Texture > Position to resize and rotate the map until it looks natural. For a chair, make sure the fabric weave is an appropriate size; for a wooden floor, ensure the planks are a believable width.
This methodical cleanup process ensures every single asset you add to your scene enhances your project instead of compromising it. Once your models are clean and optimised, you can confidently move on to the fun part: staging and lighting. If you're looking to perfect that final step, our detailed guide explains how to render in SketchUp for truly stunning results.
Staging Your Scene for the Perfect Render
Alright, your models are cleaned up and ready to go. Now for the fun part: turning that collection of assets into a scene that actually tells a story. This is where the technical side of 3D modelling blends with pure artistic vision. A thoughtfully staged scene doesn't just show off the space; it guides the viewer's eye and sets a specific mood.
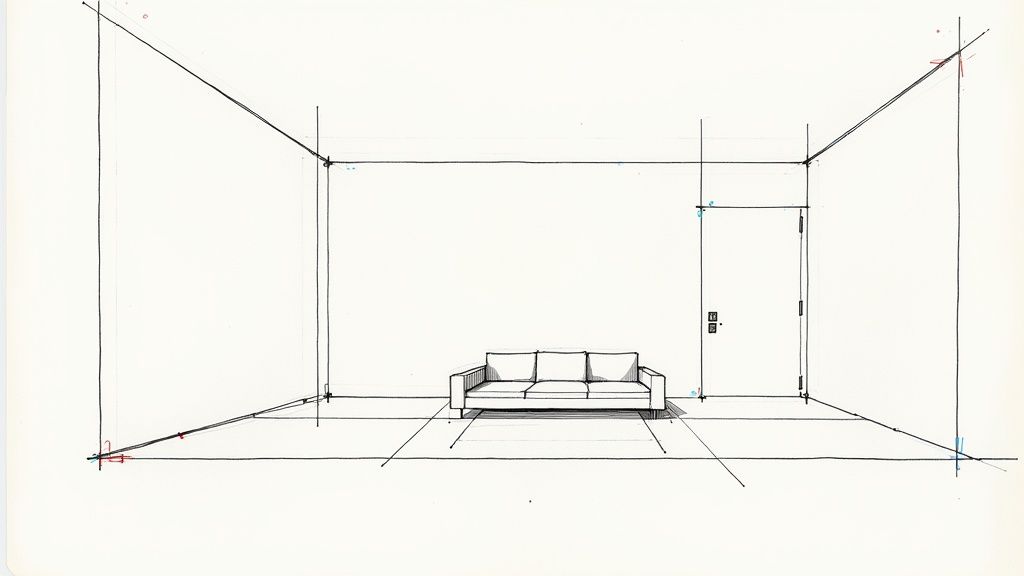
Think of the camera as your storyteller. Before you touch a single light, you need to decide what story you’re telling and from which point of view. Ditch the generic, straight-on shots. You need to start thinking like a photographer to create real interest.
Composing the Perfect Shot
The first thing I always do is set my camera at a realistic height. Something around 1.5 metres usually feels right, as it mimics a natural, human eye-level perspective. This simple tweak instantly makes a scene feel more grounded and relatable. From there, I use SketchUp's Scenes feature to save multiple camera angles. This is a non-negotiable part of my workflow—it lets you experiment with different compositions without ever losing a good angle you’ve already found.
Here are a few classic photography principles I always come back to:
-
Rule of Thirds: Imagine a 3x3 grid over your view. Try placing key objects, like a feature armchair or a piece of art, where the lines intersect. It just creates a more balanced and dynamic image.
-
Leading Lines: Use the built-in lines of the architecture—beams, floorboards, the edge of a kitchen island—to draw the viewer's eye towards the focal point of your render.
-
Field of View (FOV): Be careful with this one. A wider FOV can make a small room feel more spacious, but if you push it too far (I rarely go above 60-65 degrees), you’ll introduce that ugly, unrealistic fisheye distortion at the edges.
A little pro-tip: I always create a "working" scene with a wide FOV that lets me navigate the model easily. Then, I have separate, carefully composed "render" scenes for my final shots. It keeps everything organised and saves a ton of time.
Mastering Scene Lighting
Lighting is what breathes life into a 3D model. It’s what creates depth, mood, and realism. Your setup can be incredibly simple or wildly complex, but it must always be intentional.
For most interior scenes, I start with a high-quality HDRI (High Dynamic Range Image). This single file does double duty, providing both a realistic background and that beautiful, soft ambient light that fills a space so naturally.
Once the ambient light is established, I begin layering in artificial lights to add a bit of drama and highlight key features. This might be a warm IES profile on a spotlight aimed at a piece of art, or maybe a soft rectangular light tucked away to simulate a hidden LED strip. The key is to build your lighting in layers, just like a painter would build up colour.
It's clear that more designers are tackling these creative challenges every day. Just look at SketchUp, which recently shot past one million active subscribers. Trimble's focus on making the software intuitive has helped make complex processes like scene staging far more accessible. You can read more about SketchUp's impressive growth and user-focused strategy.
Staying Organised with Tags
Finally, let’s talk about organisation. Use layers (which are now called "Tags" in recent SketchUp versions) to manage the complexity of your scene. This is a lifesaver.
I put all my lights on a dedicated "Lighting" tag, furniture on another, plants on a third, and so on. This simple habit allows me to quickly toggle entire categories of objects on and off. Not only does this speed up viewport performance, but it also makes it much easier to isolate specific items for editing.
This level of organisation is absolutely essential for complex /blog/3-d-architectural-renders, especially when you're managing dozens of different assets from the 3d warehouse sketchup. Getting this final prep work right ensures that every element of your scene will translate perfectly when you send it off to your rendering engine.
Cloud Rendering Tips for Faster Results
https://www.youtube.com/embed/6y4PSQOsJck
Moving your rendering workload to the cloud is a game-changer. It frees up your machine and delivers results way faster than your local setup ever could. But I see a lot of people make the same mistake: they export a raw scene straight from SketchUp and wonder why it's taking so long and costing so much. The real secret to speed and efficiency lies in smart preparation before you even think about hitting that render button.
Think of it like packing for a trip. You wouldn’t just dump your entire wardrobe into a suitcase, right? You’d choose what you actually need. It’s the exact same logic here. Sending a clean, optimised scene to a cloud service like Vibe3D means the platform can get to work immediately without slogging through unnecessary data. This all starts with taking a hard look at every single asset, especially anything you've grabbed from the 3D Warehouse.
Optimise Your Textures and Materials
One of the biggest culprits for slow renders is texture size. A massive 4K texture map on a tiny vase in the background of your shot is just a complete waste of resources. It's a great habit to down-sample textures for any objects that are far from the camera or aren't the main focus. Seriously, a 1K or even a 512px map is often perfectly fine for these background elements.
Beyond just file sizes, some material properties are just naturally heavy on processing power. Keep an eye out for these:
-
Complex Reflections: Blurry or frosted reflections look fantastic, but they demand way more calculation time from the renderer compared to a simple, crisp mirror finish.
-
Subsurface Scattering (SSS): This is the secret sauce for realistic marble, skin, or wax, giving them that translucent glow. It's stunning, but it can also bring render times to a crawl. Use it wisely and only where it makes a real impact.
-
Displacement Maps: These add incredible, realistic surface detail, but they do it by creating actual geometry at render time. Ask yourself if a simple normal or bump map could give you a good enough result with a fraction of the overhead.
Being conscious of these settings allows you to make smart trade-offs. You can dramatically cut down your render time without anyone noticing a difference in the final image quality.
My rule of thumb is simple: if the detail won't be clearly visible in the final render, optimise it or remove it. Every polygon and every pixel you send to the cloud costs time and money, so make them all count.
Troubleshoot Common Cloud Rendering Issues
Even with a perfectly prepped scene, things can sometimes go sideways. The two issues I see most often are missing textures and blown-out lighting.
Missing textures are almost always a file path problem that happens during the upload. The easiest way to prevent this is to make sure all your textures are embedded in the SketchUp file or are collected into a single, organised project folder before you send it off to the render farm.
Blown-out, overly bright areas in your render usually mean the lighting values that looked good in SketchUp’s simple viewport are way too intense for the more sophisticated rendering engine. I always recommend doing a quick, low-resolution preview render first. This gives you a chance to check your lighting and make sure nothing is overexposed before you commit to the high-quality final render. Finding the right online 3D renderer that suits your project's demands can also help offload a lot of this heavy lifting.
If you're ready to dive deeper, our complete guide to 3D rendering online is packed with more advanced techniques and workflow tips. Mastering these little tricks is what separates a frustrating rendering experience from a smooth and efficient one.
A Few Common 3D Warehouse Questions
Diving into the 3D Warehouse is a huge time-saver, but it's not always a straight path from download to perfect render. Even with a solid cleanup process, you're bound to hit a few snags. I get asked about these specific issues all the time, so let's walk through them.
Think of this as your field guide for troubleshooting those little frustrations that can pop up and derail your workflow.
Why Are Models From 3D Warehouse So Slow in SketchUp?
The number one reason your SketchUp file grinds to a halt is almost always a sky-high polygon count. It's shocking how a single, beautifully detailed model—like a piece of furniture or a car—can have more geometry than your entire architectural model.
Another classic culprit is huge texture files. I’ve seen models where a tiny, insignificant object has a massive 4K texture map slapped on it, which just eats up your computer's resources for no good reason. Deeply nested components can also add to the lag, making the model much more complex than it needs to be.
Your first line of defence is always the Purge Unused command. You'll find it under Window > Model Info > Statistics. For more firepower, plugins like Skimp or Transmutr are fantastic for smartly cutting down a model's geometry without destroying its visual quality.
Can I Use All 3D Warehouse Models in Commercial Projects?
Absolutely not. This is a big one that a lot of designers miss, and it can land you in hot water. While many assets are generously shared for any purpose, a significant number come with licenses that strictly limit how they can be used.
Before you even hit the download button, look for the licensing information on the model’s page. It’s on you, the designer, to make sure you’re following the rules and have the right to use that model in a commercial project.
If you can't find clear licensing info or you're unsure, the safest bet is to either message the creator directly for permission or just find a different model. It’s never worth the legal headache.
How Do I Fix Textures That Look Wrong After Rendering?
When a texture looks off in your final render, it's almost always one of two things: the texture itself is low-quality, or its mapping is all wrong.
First, take a close look at the material right inside SketchUp. If the texture already looks blurry or pixelated in the viewport, it's only going to look worse in a high-resolution render. The fix? Swap it out for one of your own high-quality, seamless texture maps.
If the texture quality is fine, then the mapping is the problem. Right-click on the surface and go to Texture > Position. This lets you manually tweak the scale, position, and rotation until it looks right. For anything with curves or complex shapes, a dedicated UV mapping plugin is a game-changer. It’s the only way to avoid those ugly stretched or squashed textures and get a truly professional result.
Ready to turn your cleaned-up SketchUp models into stunning, photorealistic visuals? Vibe3D uses AI to create client-ready renders in seconds, cutting hours from your workflow. Start rendering smarter, not harder, with Vibe3D.