Imagine trying to describe a dream home using only technical blueprints. It's tough, right? That’s where 3D architectural renders come in. Think of them as a professional photoshoot for a building that hasn’t been built yet, turning abstract plans into rich, photorealistic images that you can practically step into.
What Are 3D Architectural Renders?
At its heart, a 3D architectural render is the result of a detailed digital process. We start with a 3D model—essentially a digital wireframe skeleton of the building—and then meticulously layer on textures, lighting, and environmental details to breathe life into it. This isn't just about creating a nice image; it's a powerful tool for communication.
For example, a floor plan can't show you how the late afternoon sun will pour into a kitchen, catching the grain of the wooden cabinets. A render can. It closes the gap between a technical drawing and the actual feeling of being in that space.
Turning Blueprints into Believable Visions
For anyone in the design and development world—from architects to interior designers—these visualisations are absolutely essential. They’re used at every stage of a project, from the first pitch to the final marketing push, ensuring everyone is on the same page.
Here’s why they’re so valuable:
-
Clearer Communication: Renders speak a universal language. They cut through the architectural jargon and let clients, investors, and contractors see exactly what you're planning.
-
Faster Marketing and Sales: You don't have to wait for construction to finish. Developers can use stunning renders to market properties, secure off-plan sales, and attract investment from day one.
-
Smarter Decisions: When you can see a design in a realistic setting, it’s much easier to spot potential problems, experiment with different materials, and get final approvals with confidence.
A great render doesn’t just show a building; it tells the story of the life that will be lived there. It creates an emotional connection, helping a client or buyer see themselves in that space.
This knack for visual storytelling is fuelling massive industry growth. Take India, for instance, where the 3D architectural rendering market has boomed thanks to rapid urbanisation and projects like the Smart Cities Mission. As of 2023, architectural firms across India are relying more and more on 3D visualisation to win over clients and deliver better projects.
Applications Beyond Architecture
The techniques behind 3D architectural rendering have found their way into many other areas. One of the most popular is virtual staging for real estate. Here, artists digitally furnish photos of empty homes, helping them feel more inviting and sell much faster.
It's clear that these tools are fundamentally changing the game. To get a closer look at the process, check out our guide on the /blog/architectural-rendering-of-a-building. From initial design to final sale, these powerful visuals are reshaping how we imagine, build, and market properties.
Exploring Different Render Styles and Types
Not all 3D architectural renders are cut from the same cloth. Think of it like a painter choosing between oil paints and watercolours—each medium creates a completely different effect. In the same way, an architect or designer picks a render style that best suits the project's goal at that specific moment. This isn't just an aesthetic whim; it's a strategic decision that fundamentally shapes how people see and feel about a design.
The first major fork in the road is the choice between an interior and an exterior view. Each one tells a unique story about the building and demands a different approach to lighting, detail, and composition to really hit the mark.
Differentiating Interior and Exterior Renders
An interior render is all about capturing the soul of a space. Its job is to convey the feeling of actually being in a room. How does morning light spill across a wooden floor? Does the texture of a sofa look inviting? How does the kitchen layout feel when you imagine moving through it? The focus here is on the little details that build atmosphere and give a space its personality.
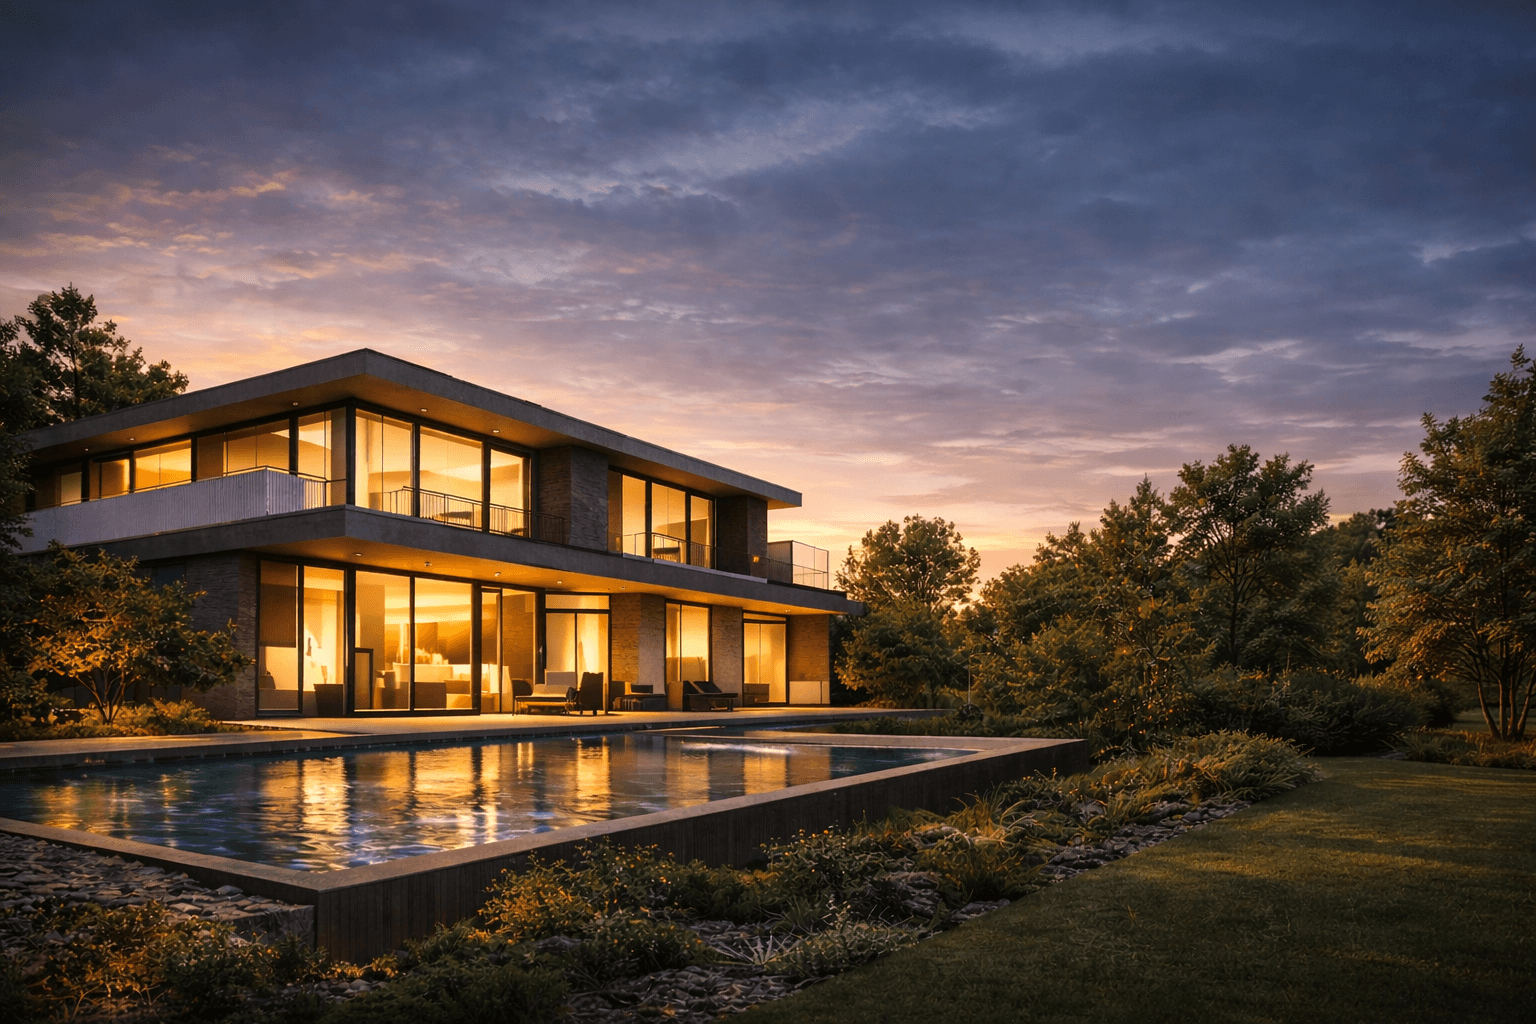
An exterior render, on the other hand, pulls back to show the bigger picture. It’s about context, presence, and impact. These renders show how a building fits into its surroundings, whether that’s a sleek modern home tucked away in a forest or a towering skyscraper shaping a city’s skyline. The emphasis shifts to the building's overall form, the landscaping around it, and how it plays with natural light at different times of day.
Here’s an example of a detailed 3D render showing a complex interior scene. This visual gives you a sense of the intricate dance of light, shadow, and material that brings a digital model to life—a core challenge in both interior and exterior architectural work.
Photorealistic Renders: The Pursuit of Perfection
When the aim is to sell a vision or get that final sign-off, photorealistic renders are the gold standard. The goal is straightforward but incredibly difficult: create an image so lifelike it’s impossible to tell apart from a professionally shot photograph. This level of believability is absolutely essential for marketing brochures, high-stakes client presentations, and securing project approvals.
To pull this off, 3D artists become masters of mimicking real-world physics. They obsess over:
-
Accurate Lighting: Simulating how light sources—both natural and artificial—bounce, reflect, and diffuse to create soft, believable shadows and realistic highlights.
-
Detailed Materials: Crafting textures with subtle imperfections. Think tiny scuffs on a floorboard or the natural, unique grain of a marble countertop. These are the details that trick our brains into seeing reality.
-
Precise Reflections: Making sure glass, polished metal, and water reflect their surroundings with perfect, undistorted accuracy.
This painstaking work pays off. For a property developer, a photorealistic render isn't just a picture; it's a powerful tool that lets potential buyers form an emotional connection with a home long before a single brick has been laid.
Stylised Renders: Communicating Ideas and Mood
At the other end of the spectrum, you have stylised or non-photorealistic (NPR) renders. These visuals deliberately step away from reality to focus on a concept, a mood, or a specific piece of technical information. Instead of a perfect photo, the goal might be to look like a watercolour painting, a quick pencil sketch, or even a clean schematic diagram.
Stylised renders aren't about showing what is, but about exploring what could be. They are tools for conversation, designed to invite feedback and spark creative dialogue during the early, fluid stages of design.
This approach has some real advantages. A conceptual, sketch-like render feels less "finished," which often makes clients feel more comfortable suggesting changes. A simple monochromatic render can draw everyone's attention to the building's form and scale, cutting out the distraction of colours and materials.
Ultimately, the style you choose hinges entirely on your project's stage and your objective. Knowing the strengths of both photorealistic and stylised approaches is fundamental to effective 3D visualization for architecture, giving you the power to pick the perfect tool for the job, every single time.
The Production Pipeline: From Blueprint to Photorealism

Creating a breathtakingly realistic 3D architectural render isn't a simple one-click process. It's much more like producing a film, with a structured pipeline where each step methodically builds on the last. This well-oiled machine transforms a simple blueprint into a polished, emotive image that can sell a vision.
It’s a journey from a flat, 2D drawing into a fully realised, three-dimensional world. Breaking down the workflow demystifies how these incredible visuals come to life, revealing a fascinating blend of technical precision and artistic flair.
Stage 1: Modelling The Digital Foundation
It all starts with 3D modelling. This is the digital construction phase. We take the architect's 2D drawings—the floor plans, elevations, and sections—and use them as a guide to build the structure in virtual space.
Using specialised software, an artist meticulously constructs the walls, floors, windows, and roof. What you get is a geometrically perfect "wireframe" skeleton of the building. Precision here is everything. A wall that’s off by a few centimetres can throw off the entire project down the line, so getting this foundational model right is non-negotiable.
Stage 2: Texturing and Materials Adding A Sense of Reality
With the digital structure built, we move on to texturing and materials. This is where the model stops looking like a collection of grey shapes and starts to feel real. The artist’s job is to give every surface a tangible quality, mimicking how it would look and feel in the real world.
This goes way beyond just applying a colour. It involves using complex digital maps to define specific properties for every surface.
-
Roughness: This dictates how much light scatters. Think of the difference between a highly polished marble floor and a rough, unsealed concrete wall.
-
Reflectivity: This controls how much a surface acts like a mirror. A chrome tap will have sharp, clear reflections, while a wooden cabinet will only have a soft, subtle sheen.
-
Bump/Displacement: This is what adds the fine, tactile details—the grain in an oak plank, the uneven surface of a brick, or the grout lines between tiles.
Getting these subtle imperfections right is what separates a good render from a truly great one. It’s the slight scuff on a floor or the natural variation in a stone pattern that tricks our eyes into believing the image is a photograph.
Stage 3: Lighting Crafting The Mood
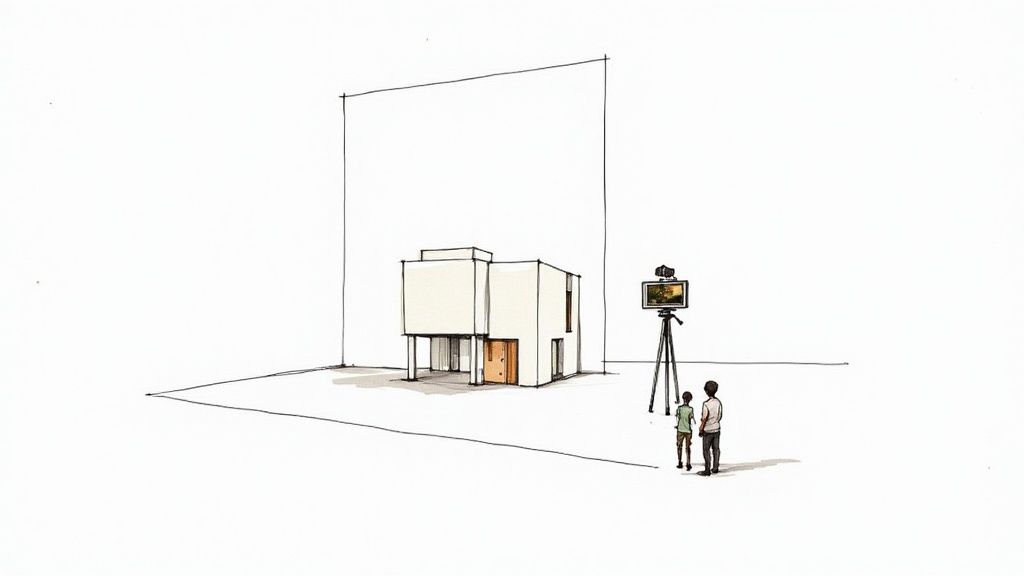
Once the materials are in place, it’s time for lighting. This is arguably the most artistic and crucial stage in creating 3D architectural renders. Just like a photographer setting up lights for a photoshoot, a 3D artist uses digital light sources to sculpt the scene, create depth, and establish a specific mood.
The process involves placing the sun for natural daylight, adding interior lights like lamps and downlights, and often using advanced techniques like High Dynamic Range Imaging (HDRI) to wrap the scene in a realistic sky and environment. The way light and shadow play across the surfaces is what makes a space feel warm and inviting, or cool and dramatic.
This infographic shows the typical progression from a basic blueprint to a final photorealistic visualisation.
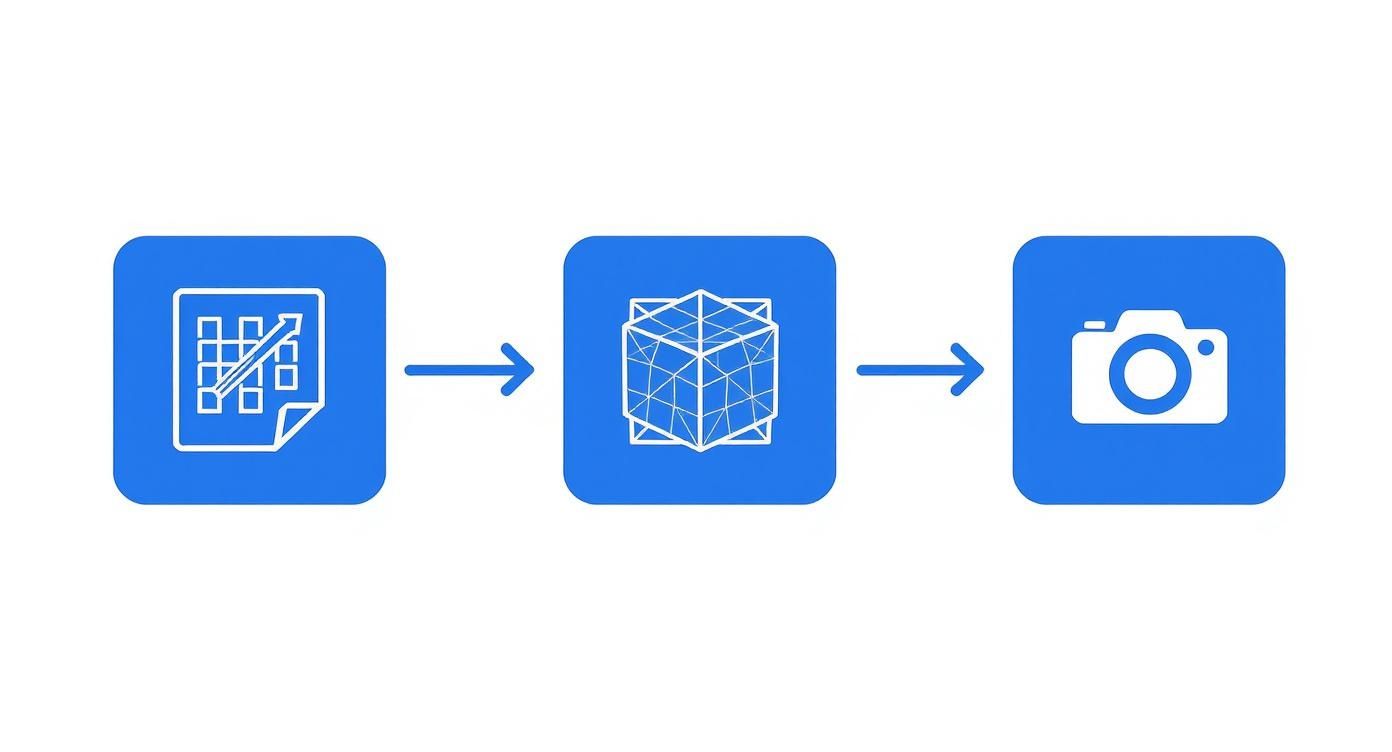
As you can see, each stage adds a new layer of detail and realism, building towards that final, convincing image.
Stage 4: Rendering and Post-Production The Final Polish
With the model, materials, and lighting all set, the rendering process begins. This is the heavy lifting, where the computer takes all the data—how light bounces off every surface, how textures look from a certain angle, how reflections work—and calculates the final 2D image. Depending on the scene's complexity and the desired quality, this can take anywhere from a few minutes to many, many hours. For a deeper dive, tutorials on how to render in SketchUp or other programs can walk you through the specifics.
The image that comes straight out of the rendering engine is often called the "raw render." It's technically accurate, but it’s rarely the final product. Just like a professional photographer edits their photos, a 3D artist takes this raw image into the digital darkroom for finishing touches.
This last phase is post-production. Using software like Adobe Photoshop, the artist makes subtle but critical adjustments to elevate the final image. Common steps include:
-
Colour Correction: Tweaking the brightness, contrast, and colour balance to make the image pop.
-
Adding Effects: Introducing subtle lens flares, atmospheric haze, or a shallow depth of field to guide the viewer's eye.
-
Compositing: Placing people, extra plants, or background elements into the scene to add life, context, and scale.
This final coat of polish is what transforms the render from a technical output into a compelling piece of art, ready to captivate clients and potential buyers.
Technical Best Practices for Flawless Renders

Running through the production pipeline gets the job done. But mastering the technical details? That’s what separates a standard 3D architectural render from one that stops you in your tracks. It’s all about the subtle craft humming beneath the surface—the artist’s obsession with efficiency, realism, and the behaviour of light. These best practices are the secret sauce that transforms a digital model into a flawless, convincing visualisation.
One of the most important, and often invisible, disciplines is polygon optimisation. Think of every object in your scene as being built from tiny, flat shapes, or polygons. A single, ornate chair might have thousands of them. While detail is great, too many polygons will grind your scene to a halt, making it a nightmare to work with and even slower to render.
Professional artists walk a tightrope here. The trick is to use just enough polygons to define a smooth, believable shape without bogging everything down. This practice, known as maintaining a “clean topology,” is absolutely vital for efficiency, especially in complex architectural scenes filled with furniture, foliage, and other decorative elements.
Mastering Materials and Textures
Once the model's shape is sorted, the believability of its surfaces is everything. This is where seamless textures and precise UV mapping become your best friends. A seamless texture is essentially an image—like a wood grain or concrete pattern—that can be tiled across a large surface without showing any obvious joins or repeating patterns. It’s the key to making a massive wall or floor look completely natural instead of like a poorly laid video game texture.
UV mapping is how we tell the software to wrap that 2D texture image onto the 3D object.
-
Proper Unwrapping: An artist will digitally “unwrap” the 3D model into a flat 2D pattern, a lot like peeling an orange and laying the skin flat.
-
Accurate Projection: The texture is then projected onto this flattened map, making sure it follows the object's curves and corners perfectly, without any weird stretching or distortion.
Think of UV mapping like digital tailoring. Without it, the material “fabric” would bunch up in some places and stretch awkwardly in others, instantly breaking the illusion. A well-mapped texture ensures every material looks like it was made to measure.
This is a fundamental skill for high-quality visuals, and the demand for this kind of expertise is only growing. The architecture, engineering, and construction (AEC) industries are diving headfirst into 3D visualisation. In India, for example, the 3D rendering software market is projected to grow by nearly 20% annually through 2030, all driven by the need for realistic project walkthroughs. You can learn more about these market trends from Fortune Business Insights.
Advanced Lighting and Render Settings
You could argue that lighting is the single most critical element for photorealism. Professionals rely on advanced techniques that mimic how light behaves in the real world. One of the most powerful tools in the arsenal is a High Dynamic Range Image (HDRI) map. This is a special 360-degree photograph that captures all the lighting information from a real place at a specific time of day. When you use an HDRI to light a 3D scene, you get incredibly natural environmental light, soft shadows, and true-to-life reflections on surfaces like glass and metal.
Beyond that, artists constantly fine-tune their render settings to strike the perfect balance between quality and speed. This involves adjusting things like sample rates, which tell the render engine how much information to gather when calculating light and colour. More samples mean less visual "noise" or graininess, but it also means much longer render times. Knowing which architectural rendering software and which settings to tweak is a skill born from experience—it’s how you get a crisp, clean final image without wasting hours of processing time.
How AI and Cloud Rendering Are Changing the Game

The world of 3D architectural renders is in the middle of a massive shake-up, thanks to two forces working together: artificial intelligence (AI) and cloud computing. For years, creating a top-notch render meant one thing: waiting. It tied up powerful computers for hours, sometimes days, creating a huge bottleneck in the design process. Experimenting with a new lighting setup or material choice was often too slow and costly to be practical.
That old workflow is being completely turned on its head. Cloud platforms and AI-powered tools aren't just speeding things up; they're changing the very way architects and designers work. This shift is making high-end visualisation more accessible, flexible, and creative than ever before.
The Power of Cloud Rendering Platforms
Picture a highly complex architectural scene, packed with detailed models, rich textures, and intricate lighting. In the old days, hitting 'render' would bring your workstation to a grinding halt. Cloud rendering gets around this by sending all the heavy computational work to a massive network of remote servers.
Instead of your single machine crunching the numbers, you simply upload your project. A cloud platform then splits the job across hundreds, or even thousands, of computer cores at once.
-
Massive Time Savings: A render that might take a full 24 hours on your local machine can often be finished in under an hour on a cloud farm. For anyone working with tight deadlines, this is a lifesaver.
-
A More Level Playing Field: Smaller studios and freelancers no longer need to spend a fortune on high-end hardware to produce the same quality as large firms. It turns immense computing power into a pay-as-you-go service.
-
Freedom to Keep Working: You can carry on with other tasks on your computer while the render chugs away in the cloud. This simple change frees up your machine and makes your entire workflow much more efficient.
This has really opened up the field. Stunning, high-fidelity 3D architectural renders are now within reach for a much wider pool of creative professionals, which is great for sparking innovation across the industry.
How AI Is Accelerating Creative Workflows
While the cloud handles the raw processing power, AI is stepping in to help with the creative and technical side of things. AI tools are now being built directly into visualisation software to automate tedious tasks, improve image quality, and even help generate new design ideas.
One of the most immediate benefits is AI denoising. As a render is being calculated, the initial image often looks grainy or "noisy." Traditionally, you’d have to wait for the render to cook for a long time to clear this up. Now, AI-powered denoisers can intelligently clean up that noise in seconds, giving you a crystal-clear preview almost instantly.
AI isn't here to take over an artist's vision. Think of it as an incredibly fast and efficient assistant. It handles the boring, time-consuming stuff so designers can focus on what actually matters: creativity and telling a compelling story.
Generative AI is also starting to make a big impact. Imagine you need to fill a huge outdoor scene with trees, plants, and people. Instead of placing every single object by hand, an AI tool can scatter them in a way that looks completely natural. It can also generate endless variations of textures, so a large brick wall or a wooden floor never looks fake or repetitive. For a closer look, you might find our guide on how AI is transforming the rendering process interesting.
The global impact is huge. India, for example, has become a key player in the Asia Pacific 3D rendering market, fuelled by a boom in real estate and its strong tech sector. Indian developers are widely using advanced 3D architectural renders to create photorealistic models that get everyone on the same page long before a single brick is laid. This blend of speed and intelligent assistance is letting designers iterate more, explore bigger ideas, and respond to client feedback faster than ever.
Your Questions Answered: A Practical Guide to 3D Renders
Even once you get the hang of the process, a few practical questions always pop up when you're about to commission or create 3D architectural renders. Let's tackle some of the most common ones. Think of this as the go-to guide for clearing up those lingering queries, whether you're a client planning a project or an artist honing your craft.
How Much Do 3D Architectural Renders Typically Cost?
There's no simple price tag for a 3D render—the cost can swing wildly depending on the project's complexity, the level of detail, and how quickly you need it. A straightforward interior shot might only set you back a few hundred dollars. But a sprawling exterior of a commercial building, complete with detailed landscaping and surrounding context? That could easily run into the thousands.
So, what drives the price? It really boils down to a few key things:
-
Model Complexity: The more intricate the architecture or the more custom assets needed (like bespoke furniture), the more time and effort are involved.
-
Scene Scope: Exteriors often cost more than interiors. It makes sense when you think about it—you're not just building a room, but also crafting the landscape, environment, and more complex lighting.
-
Image Resolution: A high-resolution image designed for a massive print ad requires a ton of rendering power, which costs more than a standard visual for a website.
-
Number of Revisions: Most quotes will include a certain number of feedback rounds. If you need more tweaks beyond that, expect the final bill to go up.
The best way to get a solid quote? Come prepared. Hand over your detailed architectural plans and a clear, thorough brief that lays out exactly what you're imagining.
What Information Do I Need to Provide for a Render?
To get the ball rolling, the 3D artist or studio needs a solid foundation of information from you. The more detail you can provide right at the start, the smoother the whole project will run, giving you a better final image with far less back-and-forth.
As a bare minimum, you should have this ready:
-
Architectural Plans: Floor plans, elevations, and site plans are the absolute essentials. If you can provide them in a CAD format (like a DWG file), that's perfect. High-quality PDFs work too.
-
Material and Finish Schedules: Get specific. What kind of flooring are we talking about? Wall colours? Countertop materials? Every detail helps.
-
Mood Board and References: This is huge. Pull together a collection of images that nail the mood, lighting style (is it bright and airy, or a moody dusk scene?), and general vibe you're after. It’s the best way to get on the same page creatively.
Think of your brief as the recipe for the final image. The more precise the ingredients and instructions you provide, the more likely the final dish will match your taste perfectly.
Putting in this prep work upfront helps the 3D artist see your vision clearly and keeps the entire workflow moving efficiently.
How Long Does It Take to Create a 3D Render?
The timeline for a 3D render is tied directly to how complex the job is and the studio's schedule. For a single, relatively simple interior still image, you can often expect a turnaround of about 3 to 5 business days.
However, a more involved exterior scene with custom landscaping and environmental details might take closer to 1 to 2 weeks. That window covers everything from modelling and texturing to lighting, rendering, post-production, and a couple of rounds of client feedback. For bigger projects with lots of images or an animation, the timeline can easily stretch to several weeks or even longer.
What Is the Difference Between a 3D Model and a 3D Render?
People often use these terms interchangeably, but a 3D model and a 3D render are two totally different things. Getting the distinction right is key to communicating clearly with any 3D artist.
The 3D model is the raw, digital skeleton of the building. It's a collection of points, lines, and polygons that define its shape in 3D space. Imagine a wireframe sculpture—it has the form, but no colour, texture, or life. It’s just pure geometry.
The 3D render, on the other hand, is the final 2D picture created from that model. The rendering process is where the magic happens. An artist takes the model, applies materials and textures, sets up lights, and positions a virtual camera. Then, powerful software calculates how light bounces off every surface to produce a photorealistic or stylised image.
Put simply: the model is the unpainted sculpture, and the render is the finished photograph.
Ready to see how fast and simple creating professional visuals can be? Vibe3D uses AI to turn your models into stunning, client-ready architectural renders in seconds, not days. Stop waiting and start visualising. Try Vibe3D today and accelerate your creative workflow.