Architectural visualisation has come a long way from the days of hand-drawn sketches and blueprints. Now, producing a high-quality Revit rendering isn't just a nice-to-have; it's often the critical step that wins client approvals and truly brings a complex design to life.
But let's be honest, the traditional rendering workflow can be a real headache. It’s often slow, demands expensive, high-spec hardware, and forces architects to become experts in complex software they'd rather not be using. Fortunately, a new AI-powered approach is changing the game.
From Blueprints To Breathtaking Visuals
For any architect working in software like Revit, the end goal is always to translate that rich, detailed 3D model data into a compelling, photorealistic image. Historically, this has been a major bottleneck in the design process. It meant tying up powerful computers for hours—sometimes even days—just for a single image to finish processing.
This technical burden doesn't just slow down projects; it pulls designers away from their primary focus: creativity and problem-solving. But a more modern, AI-powered approach with platforms like Vibe3D AI is starting to change this dynamic completely, offering a much faster and more intuitive path to stunning visuals.
A New Workflow for Revit Rendering
Imagine a process where you don't need to be a rendering guru to get expert-level results. Instead of spending your time wrestling with sliders and obscure technical settings, you could focus entirely on the creative side of your design. This is the core idea behind platforms like Vibe3D AI.
The process is refreshingly straightforward:
-
Export Scenes: Finalise all the scenes you want to render of your interior or exterior project from your Revit or SketchUp model and export them as images.
-
Upload: Log in to vibe3d.ai, create a new project, and upload all your exported scenes.
-
Generate Renders: This is where the magic happens. For each scene, select different rendering settings like time of day, lighting, flooring, and more, then create multiple render variations.
-
Edit Renders: Use the "edit render" functionality to change specific colours or materials on any of the generated images, fine-tuning them to perfection.
-
Download: Review all the versions, choose the best ones for each scene, and download them in ultra-realistic quality.
This streamlined approach effectively liberates architects from the technical weeds of rendering. It empowers you to iterate quickly, explore more design options with ease, and present clients with beautiful, finalised visuals in a fraction of the time it used to take. And as the market grows, this kind of efficiency is becoming more important than ever.
The Indian 3D rendering market, where Revit is a major player, generated USD 171.1 million in 2024 and is projected to skyrocket to USD 1,025.8 million by 2033.
This rapid expansion really highlights the increasing demand for high-quality architectural visualisation. For any studio, embracing AI-driven tools can provide a serious competitive edge. You can find more data on this growing market to see just how much software is shaping the industry's future.
Before we jump into what’s possible with AI, let’s get grounded in the classic ways architects have been creating visuals in Revit. For years, the process has been a constant balancing act between what’s convenient and what actually looks good enough to show a client.
Right out of the box, Revit gives you its own rendering engine, the Autodesk Raytracer. This is the path of least resistance. There’s no extra software to install, no new licence to buy, and no tricky export-import dance. For a quick internal check or to get a basic idea of a space, it’s perfectly fine. But let's be honest—its convenience is matched by its limitations in realism, materials, and lighting. It gets you on the board, but it won't win you the game.
Stepping Up with Third-Party Plugins
To create those polished, client-wowing images, most studios bring in the heavy hitters: specialised third-party plugins. These tools plug right into Revit, but they’re in a completely different league when it comes to power and artistic control.
-
V-Ray: The old guard and a true industry benchmark. V-Ray is famous for its breathtaking photorealism. It gives you microscopic control over every little detail—materials, lighting, camera settings, you name it. The learning curve can feel like climbing a mountain, but for those who make the journey, the views from the top are unmatched.
-
Enscape: This one is all about speed and interactivity. Enscape gives you a real-time window into your design. You can literally walk through your model and see changes happen instantly. This makes it an absolute game-changer for live client meetings and quick design iterations, even if it sacrifices some of V-Ray’s deep-level controls.
-
Lumion: If you need to bring an exterior scene to life, Lumion is a fan favourite. It’s brilliant for creating lush landscapes, dramatic skies, and even adding animated people or cars. Its massive library of objects and intuitive interface let you build a compelling visual story without getting bogged down in technical settings.
Of course, while these plugins can produce stunning results, they come with their own baggage. Getting good with them takes a serious time commitment and often specialised training. On top of that, they are hungry for power, demanding high-end workstations with beefy, expensive GPUs. That hardware cost alone can be a major hurdle for smaller firms or solo practitioners. You can explore a wider variety of architectural rendering software in our detailed guide.
The Trade-Offs of Traditional Workflows
The real headache with these traditional methods isn't just about the software—it's the entire workflow. Kicking off a single high-quality render can lock up a powerful computer for hours, grinding productivity to a halt. And what happens when the client asks for a small tweak? A different wall colour, a change in flooring... suddenly, you’re right back at the beginning of that long, time-consuming rendering process.
This old way of working forces a tough decision: either you pour massive amounts of time, money, and training into achieving top-tier quality, or you accept the 'good enough' results from native tools just to keep things moving. This is the exact friction that modern AI rendering platforms are built to eliminate.
Now, let's take a moment to see how these options stack up side-by-side.
A Practical Comparison of Revit Rendering Options
Here’s a quick breakdown evaluating native Revit rendering, popular plugins, and modern AI platforms based on the factors that matter most in a busy studio.
| Rendering Method | Best For | Key Advantage | Primary Limitation |
|---|---|---|---|
| Revit (Autodesk Raytracer) | Quick internal checks, massing studies, and early-stage design validation. | Convenience. It’s built-in, requiring no extra software or cost. | Very limited realism, slow processing for higher quality. |
| Third-Party Plugins (V-Ray, Enscape) | Creating final, high-fidelity marketing images and interactive client walkthroughs. | Control & Quality. Unmatched photorealism and real-time feedback. | Steep learning curve, expensive hardware, and time-consuming renders. |
| AI Cloud Platforms | Rapid design exploration, creating multiple variations, and final visuals without hardware limits. | Speed & Accessibility. Near-instant results without needing a powerful PC. | Less granular control over technical settings than traditional engines. |
This comparison really highlights the fundamental choice architects have faced until recently.
The new AI-powered path offers a way to bypass the steep learning curves and hardware dependencies altogether. Instead of wrestling with technical settings and waiting for progress bars to fill, architects can stay in their creative flow, generating dozens of high-quality design variations in the time it used to take to produce just one. Understanding this context makes it clear why the shift to AI isn't just about new tech—it's about getting our time back.
How AI is Shaking Up the Rendering Process
For years, the rendering game has been about trade-offs. You either settled for Revit’s decent-but-slow native tools or you invested serious time and money into learning a complex third-party plugin like V-Ray. Both routes required powerful hardware and a whole lot of patience, tweaking hundreds of settings to get a single shot right.
But that’s all starting to change. What if, instead of being a technical operator, you could have a creative co-pilot? That’s the promise of AI-powered rendering. Platforms like Vibe3D AI don't just render your scene; they interpret it, understanding architectural aesthetics to do the heavy lifting for you. It's a shift from endless manual adjustments to guided creativity, letting you focus on the design, not the technical weeds.
The most immediate win? Speed. An overnight render can now be done in the time it takes to grab a coffee. This completely changes the design conversation, allowing for rapid-fire iterations and genuine creative exploration with a client.
The Power of a Cloud-Based Workflow
One of the biggest headaches with traditional rendering has always been the hardware. You needed a beast of a machine to get anything done quickly. Because AI rendering happens in the cloud, that barrier is gone. All you need is a decent internet connection.
This simple fact is making high-end Revit rendering available to everyone—from solo practitioners and small studios to students who could never afford a dedicated rendering rig. It’s no surprise the industry is taking notice. The Revit rendering market in India alone is expected to jump from USD 1.26 billion in 2025 to a massive USD 3.45 billion by 2031, largely driven by this newfound accessibility.
From Model to Masterpiece with Vibe3D AI
The workflow feels almost like cheating if you're used to the old ways. It’s built for speed and simplicity, sidestepping the convoluted steps of traditional engines.
-
Export Your Scenes: First, export all the scenes you want to render from your Revit or SketchUp model as image files.
-
Upload to Vibe3D AI: Log in to vibe3d.ai, create a new project, and upload all your exported scenes at once.
-
Generate AI Renders: This is where the magic happens. For each scene, apply different rendering settings like time of day, lighting, and materials to generate multiple ultra-realistic versions.
-
Refine with Edit Render: See a version you like but want to tweak it? Use the 'edit render' feature to change colours or materials on specific objects.
-
Download Your Favourites: Compare all the AI-generated renders, choose the best versions of each scene, and download them in high resolution, ready for your client presentation.
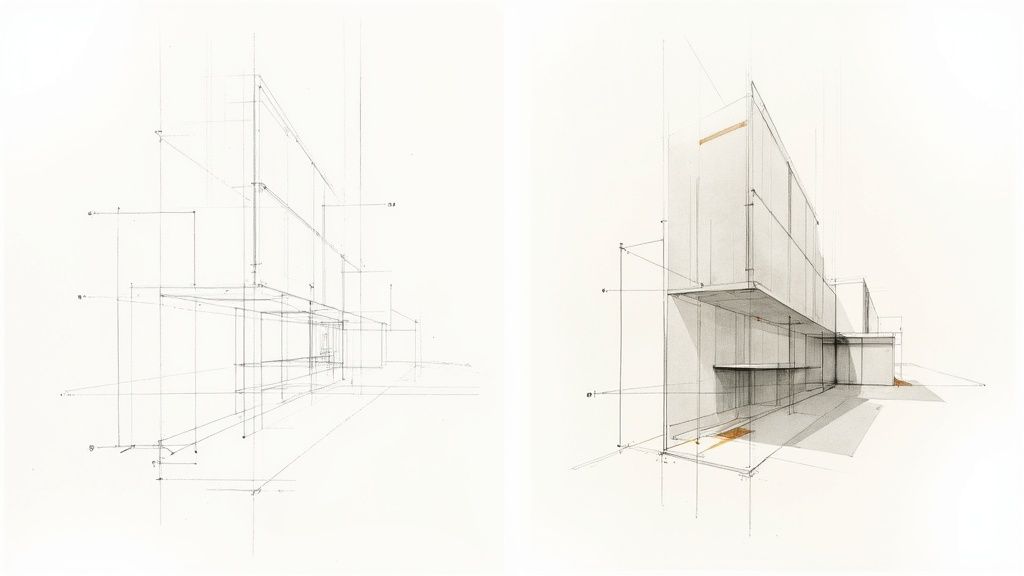
This diagram helps visualise the traditional ecosystem, where Revit relies on either its built-in tools or complex external plugins.
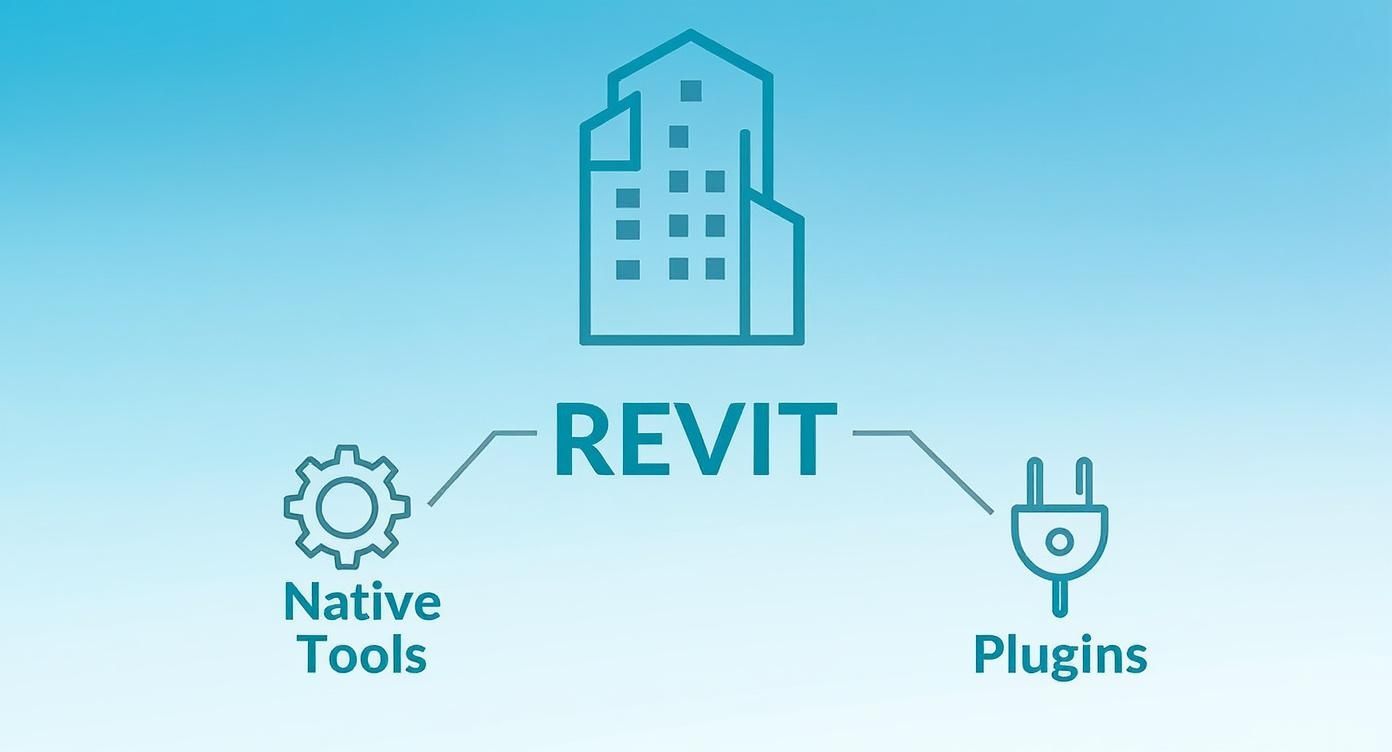
AI platforms create a third path, one that uses the cloud to jump over the limitations of both native and plugin-based rendering.
The real game-changer with an AI workflow is the ability to produce dozens of design variations in the time it used to take for a single render. This massively speeds up client feedback and lets you explore creative avenues you simply wouldn't have had time for before.
To see just how powerful automated visual creation is becoming, it’s worth looking at parallel fields, like learning how to create videos with AI. The core concepts are similar—automating the tedious parts to free up creativity. For a deeper dive into what this means specifically for architects, our guide on the possibilities of AI render has you covered.
Your Step-by-Step Vibe3D Rendering Workflow
Getting from a painstakingly detailed Revit model to a polished visual that wows a client can feel like a marathon. But what if you could turn that technical, multi-hour slog into a quick, creative sprint? That's the promise of an AI-powered workflow. Let's walk through the exact steps to take your Revit scenes and turn them into stunningly realistic images using Vibe3D AI.
The whole point of this process is to keep you focused on design, not on fiddling with obscure settings. It’s about letting your creativity flow without the usual hardware bottlenecks or the steep learning curve of a traditional Revit rendering pipeline.
Step 1: Export Your Scenes from Revit
Your journey starts right inside your modeling software. Once your Revit or SketchUp model is ready and you’ve set up the camera views you want to showcase, the first step is to export all the scenes you want to render.
Think of each exported image as a clean canvas for the AI. Whether it’s a wide shot of a building exterior or a detailed view of an interior space, you'll export each scene as a separate image file. This collection of images forms the foundation for your project in Vibe3D AI.
Step 2: Create Your Project and Upload Scenes
With your scenes exported, it's time to move to the cloud. Log in to your vibe3d.ai account and create a new project. This acts as a dedicated workspace to keep all the visuals for a single design organised.
Once your project is created, simply upload all the scenes you exported earlier. You can drag and drop them as a batch, making it fast and easy to get all your views into the platform. From this point on, you can leave file management behind and focus entirely on the creative process.
Step 3: Apply AI Settings to Generate Renders
This is where the magic really begins and where an AI-driven Revit rendering workflow shines. For each scene you’ve uploaded, you can now generate a multitude of design variations in just a few clicks.
Instead of manually adjusting complex settings, you choose from intuitive presets to guide the AI:
-
Time of Day: Instantly transform your scene from a bright midday shot to a soft morning glow or a dramatic twilight view.
-
Lighting Styles: Experiment with different lighting schemes, such as 'soft and ambient' or 'bright and modern', to establish the perfect mood.
-
Material Palettes: Test different flooring options, wall colours, or furniture finishes with ease, seeing the results in seconds.
Each time you apply a setting, the AI generates a new, fully rendered image. This allows you to produce dozens of high-quality options in minutes, offering a level of design flexibility that would be completely impractical with traditional rendering methods.
This rapid, iterative process is the core advantage of AI rendering. You can explore more creative possibilities in an hour than you could in an entire day with conventional software, which ultimately leads to better designs and much happier clients.
Step 4: Fine-Tune with the Edit Render Feature
After generating your initial batch of renders, you'll likely have several versions that are close to perfect but need minor adjustments. This is where the 'Edit Render' tool is invaluable.
Select a render you like and make targeted changes. Want to see a different colour on a specific wall? Simply select it and describe the change. Need to swap the material on a single piece of furniture? You can do that too. This feature allows you to make precise refinements without ever needing to go back to your original Revit model or restart the rendering process, letting you dial in every detail until it’s just right. Finally, download the best versions of each scene in ultra-realistic quality.
Preparing Your Revit Models For Flawless Renders

The quality of your final **Revit rendering** hinges entirely on the quality of the model you start with. It’s the age-old principle of ‘garbage in, garbage out’. A clean, well-organised model acts as the perfect set of instructions for any rendering engine, giving it the clear information it needs to produce stunning, accurate results.
Think of your Revit model as the foundation for the final image. Before you even consider exporting, spending a little time tidying up your model will make a massive difference down the line. This isn't about becoming a rendering guru overnight; it’s just good housekeeping that pays off in a smoother, more efficient workflow.
By following a few simple best practices, you can easily bridge the gap between technical BIM modelling and beautiful final visuals.
Set Your Scenes and Cameras Thoughtfully
Your first job inside Revit is to compose your shots. You need to think like a photographer here. Where you place your cameras is critical for telling the story of your design. Ask yourself: what’s the most important feature of this space? What angle best captures the feeling and flow I’m trying to create?
A great habit to get into is setting up multiple camera views for each key area. This gives you a library of scenes ready to upload to a platform like Vibe3D AI, letting you quickly generate different moods and lighting conditions for each one. Getting this done upfront saves a ton of time later on.
Manage Model Complexity for Clean Exports
An overly complicated model, packed with geometry that will never even be seen, can seriously slow down the export process and sometimes trip up the rendering engine. It's smart practice to hide or remove any elements that won’t be visible in the final shot. This could be anything from hidden structural components and detailed MEP systems to distant objects way outside the camera's view.
A simpler, cleaner export for each scene means the renderer can focus only on what matters for that specific image. The result? Faster processing and a more accurate interpretation of your design. For a deeper dive into this, have a look at our complete Revit architecture tutorial for more best practices.
Apply Basic Materials as a Starting Point
While a platform like Vibe3D AI will generate its own photorealistic materials, you need to give it a solid starting point. The trick is to apply basic, distinct materials to the main surfaces in your Revit model. For instance, just assign a generic 'wood' material to the floor, a simple 'plaster' to the walls, and a 'metal' to the window frames.
Think of it like colour-coding a diagram. You're giving the AI clear instructions about which surface is which, allowing its algorithms to apply detailed, realistic textures with much greater accuracy and context.
This initial step is becoming more and more important, especially in India’s fast-growing architectural visualisation market where cloud-based rendering solutions are seeing huge demand. The smooth integration between Revit and cloud platforms enables distributed teams to collaborate and produce high-quality renders without needing powerful, expensive hardware on-site.
Your AI Revit Rendering Questions, Answered
Jumping into an AI-powered rendering workflow can feel like a huge shift, and it’s natural to have questions about how it all fits together. Let's tackle some of the most common queries we hear from architects and designers looking at platforms like Vibe3D AI.
Will This Actually Work with My Software?
Yes, it’s designed to. Think of AI rendering platforms as the final, specialised step in your process, not a replacement for your core tools.
You’ll still do all your modeling and scene setup in the software you know and love, like Revit or SketchUp. Once you're ready, you just export the scene and upload it. There are no complicated plugins to install or manage—it’s a simple, cloud-based handoff that fits right into your existing pipeline.
But Do I Lose Creative Control?
This is probably the biggest question we get, and the answer is no—you just control things differently. While the AI takes care of the mind-numbing technical stuff (like calculating light bounces and texture mapping), you’re still the creative director.
You start by setting the overall vision with high-level prompts for style, mood, and time of day. Then, you can dive in and get specific. The 'Edit Render' feature lets you pinpoint an object and change its colour or material with a simple text command. It's the best of both worlds: broad-stroke creativity followed by precise, targeted tweaks. Our guide on using AI for interior design has some great examples of how this works in practice.
Is This a Smart Move for My Studio's Budget?
For most studios, especially smaller firms or solo architects, shifting to an AI workflow is a game-changer for the bottom line. Traditional rendering has always been expensive. It means shelling out for powerful workstations that cost a fortune, plus the steep annual licence fees for third-party render engines.
AI platforms flip that model on its head. All the heavy lifting happens on powerful cloud servers, so you don't need a beast of a machine sitting on your desk. This, along with pay-as-you-go pricing, breaks down the financial barriers, making world-class Revit rendering accessible to everyone, regardless of budget.
Ready to see what an AI-driven workflow can do for your Revit renders? Join the thousands of designers already using Vibe3D to create breathtaking, lifelike visuals in a fraction of the time. Sign up today and experience the future of architectural visualisation.