To get photorealistic results when you render 3D models, the real work doesn't start with fancy lights or materials. It begins with the model itself. Pros know that a perfectly prepared model is the foundation for everything that follows. This means diving into your software, whether it’s SketchUp or 3ds Max, to clean up the geometry, double-check the scale, and get the scene properly organised.
Honestly, skipping this groundwork is the single biggest mistake I see artists make. It’s a shortcut that almost always leads to frustrating errors and disappointing renders down the line.
Building a Flawless Foundation for Your 3D Render
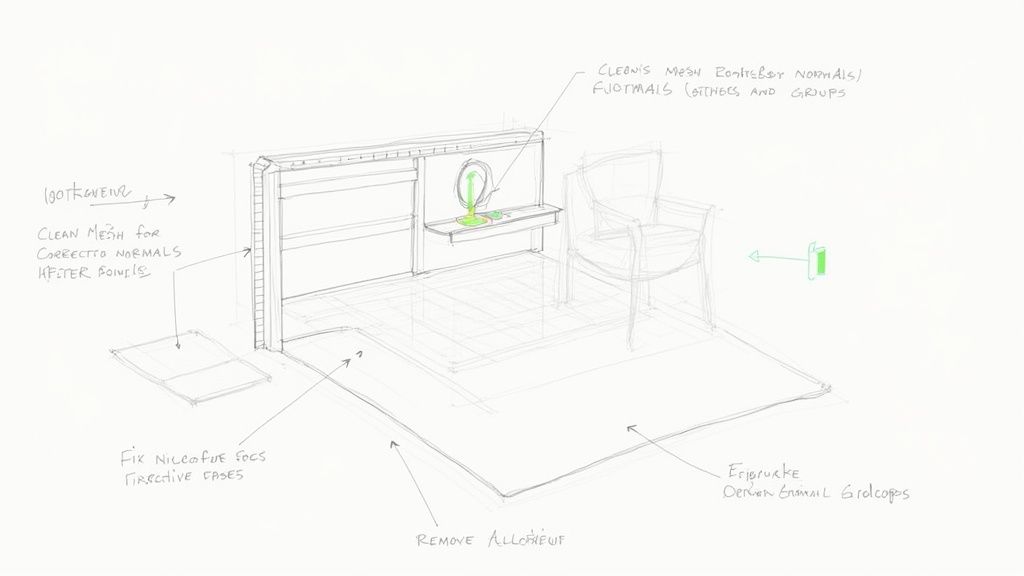
Think of your 3D model like a canvas. You wouldn't try to paint a masterpiece on a bumpy, dirty, or poorly stretched surface, would you? The same idea applies here. A messy model riddled with hidden flaws will never produce a clean, professional render, no matter how amazing your lighting or textures are.
This initial prep stage is purely technical, but it’s what unlocks all the creative magic later on. It’s about building a stable, predictable foundation that your rendering software can read without getting confused.
Why a Clean Mesh Is Non-Negotiable
When we talk about a "clean mesh", we're referring to 3D geometry that’s free from the common gremlins that can trip up a rendering engine. These issues are often invisible when you're just looking at the model, but they cause chaos during the render—think weird light leaks, bizarre shadows, and other ugly artefacts.
Your main goal here is to hunt down and eliminate these problems before they have a chance to multiply. Here’s what you should be looking for:
-
Overlapping Faces: This happens when two polygons sit in the exact same spot. In the final render, it creates an awful flickering effect known as z-fighting.
-
Inverted Faces (Flipped Normals): Every polygon has a front and a back. If a face gets flipped the wrong way, it might look invisible or render as a solid black hole. It’s a classic rookie error.
-
Open Edges or Holes: Gaps in your geometry will break the illusion of solidity. Light will leak where it shouldn't, completely ruining the realism of the scene.
-
Excessive Polygon Count: Be wary of overly detailed models, especially ones you've imported from other software. A bloated poly count can slow your scene to a crawl and send your render times through the roof.
Practical Steps for Model Optimisation
Before you even dream of applying materials, get into the habit of running through a quick, systematic check. In 3ds Max, modifiers like "STL Check" are your best friend for automatically flagging these kinds of issues. For SketchUp users, a plugin like CleanUp³ is an absolute must-have for purging unused junk and simplifying geometry. You can dive deeper into this workflow in our guide on how to render in SketchUp.
Next up: scale. This is a big one. If a model gets imported at the wrong size—say, a chair that’s 10 metres tall—it will throw your lighting and texture mapping completely out of whack. Make sure your scene is set to real-world units (like centimetres or inches) and that every single object is scaled correctly.
Finally, get organised. This isn't just a suggestion; it's essential for any complex scene.
A well-organised scene is the hallmark of a professional. Use clear naming conventions for every object (e.g., "Chair_Leather_01," "Window_Frame_Main") and group related items into layers or collections. This saves immense time when you need to isolate, hide, or apply materials to specific elements.
Here’s a quick checklist to keep you on track. It summarises the key things to look out for before you move on to the more creative stages.
Model Preparation Checklist
| Check | Importance | Common Tools (SketchUp/3ds Max) |
|---|---|---|
| Geometry Cleanup | Critical | CleanUp³ (SketchUp), STL Check/XView (3ds Max) |
| Correct Scale | Critical | Tape Measure Tool (SketchUp), Utilities > Measure (3ds Max) |
| Logical Naming | High | Outliner (SketchUp), Scene Explorer (3ds Max) |
| Layer Organisation | High | Tags/Layers Panel (SketchUp), Layer Explorer (3ds Max) |
| Remove Unused Assets | Medium | Purge Unused (SketchUp), Asset Tracking (3ds Max) |
Running through these checks might feel like a chore, but it turns rendering from a game of chance into a predictable, professional process.
This meticulous prep work has a direct impact on the bottom line, too. The Indian residential real estate market, for instance, has seen explosive growth driven by high-quality visualisations. In the first half of 2024, property sales and launches hit a ten-year high, with the premium segment seeing a staggering 169% year-over-year increase in projects launched using 3D rendering. This demand shows just how critical flawless visuals are for marketing, and a clean model is the very first step to meeting that incredibly high standard.
Breathing Life into Your Scene with Materials and Light
Once your model is clean and organised, we get to the fun part. This is where your scene stops being a technical drawing and starts to feel real. We’re moving from precision modelling into pure artistry, focusing on the two things that make or break photorealism: authentic materials and believable light.
Think about it: a model without materials is just a jumble of grey shapes. It's the textures, colours, and the way surfaces catch the light that convince our eyes we're looking at wood, metal, or stone. Light itself is the sculptor, carving out forms, setting the mood, and giving the scene a sense of time and place. Getting both right is everything.
Crafting Believable Materials
You can't just slap a base colour on an object and expect it to look realistic. The real world is a mess of beautiful imperfections—tiny bumps, faint scratches, and subtle shifts in shininess. To mimic this, we rely on texture maps, which are basically images that tell a material how to behave.
You'll be working with three core maps most of the time:
-
Diffuse Map: This is your base texture or colour. It's the grain in a plank of wood or the complex veins running through a slab of marble.
-
Specular/Roughness Map: This one is all about reflections. It dictates how light bounces off a surface. A perfectly white value could create a flawless mirror, whereas a darker, grittier map would give you the dull, scattered reflection you'd see on unpolished concrete.
-
Bump/Normal Map: Here’s the secret sauce for adding incredible detail without bogging down your scene with more polygons. This map fakes surface texture—like the bumpy skin of an orange or the grout lines between tiles—by tricking the light into behaving as if those details were really there.
For instance, if you're creating a brushed metal material, your diffuse map might just be a flat grey. The real magic happens in the roughness map, where you'd use an image with faint, directional streaks to simulate the microscopic grooves that scatter the light. A solid grasp of color theory for designers is also a massive help here, guiding your choices to build a scene that’s not just realistic, but also visually harmonious.
The Art of Digital Lighting
Lighting is easily the most powerful tool in your entire kit. It tells the viewer where to look, sets the entire mood, and can single-handedly make or break the realism of your render 3D project. Different lights have different jobs, and an experienced artist knows exactly which one to reach for.
Your starting point is often an HDRI (High Dynamic Range Image). This is a 360-degree photo of a real-world location that gets wrapped around your entire scene. It instantly provides incredibly realistic ambient light and reflections, grounding your model in a believable context from the get-go.
After that, you'll start adding artificial lights to shape the scene:
-
Area Lights: These act like light sources with a real physical size, such as a studio softbox or a large window. They cast soft, natural-looking shadows and are absolute workhorses for interior scenes and product shots.
-
Spot Lights: Just like a real spotlight, these cast a focused, cone-shaped beam. They're perfect for creating dramatic highlights or faking the light from a desk lamp.
-
Point Lights: These shine light equally in all directions from a single, tiny point. Think of a bare light bulb hanging from a wire—that's a job for a point light.
A well-lit scene does more than just show off your model; it tells a story. Is this room meant to feel warm and inviting, or cold and clinical? Is it a bright summer morning or a moody, overcast afternoon? Every lighting decision adds another layer to the narrative you're building.
Applying the Three-Point Lighting Setup
A timeless technique borrowed straight from photography and cinematography is the three-point lighting setup. It’s an incredibly versatile foundation that works for almost anything, from close-ups of a product to sprawling architectural interiors. Our in-depth guide to 3ds Max interior design dives much deeper into how these principles can create breathtaking architectural renders.
The setup is built on three key roles:
-
Key Light: This is your primary, and brightest, light source. It defines the main shadows and gives your subject its fundamental shape and form.
-
Fill Light: Placed on the opposite side of the key light, this one is softer and less powerful. Its job is to "fill in" the darkest shadows cast by the key light, revealing detail that would otherwise be lost in darkness.
-
Back Light (or Rim Light): This light sits behind your subject, creating a subtle bright outline. This little touch is what separates the subject from the background, adding a fantastic sense of depth and definition.
This structured approach gives you an incredible amount of control. By tweaking the intensity, colour, and position of each light, you can completely transform the mood from dramatic and high-contrast to soft and ethereal. It’s this level of control that separates amateur work from professional visualisations.
After you’ve put in the hard work of prepping your model and laying down the basic materials and lights, it’s time to work smarter, not harder. Modern rendering workflows are all about speed and iteration. The last thing you want is to be bogged down by hours of manual tweaks when you could be exploring creative ideas. This is exactly where an AI-assisted tool like Vibe3D completely changes the game.
Instead of building every material and light from scratch, you can jump from a clean model to a nearly finished scene in a tiny fraction of the time. This shift is huge. It lets you, the artist, focus on the big picture—the mood, the story, the overall aesthetic—instead of getting lost in the weeds of technical settings.
Seamlessly Bridging the Gap from Model to Magic
The first step is bringing your model into the Vibe3D environment. A clean export from your go-to software, whether that's SketchUp or 3ds Max, is crucial here. My advice? Stick with a reliable format like FBX or OBJ. This ensures all your carefully prepared geometry and UV maps make the trip without any nasty surprises.
Once your model is imported, it appears as a blank canvas—a clean, untextured base just waiting for your creative vision. And this is where the workflow takes a sharp turn from the traditional path. Forget spending the next few hours wrestling with complex material editors. Here, you can start directing the scene's entire look and feel almost immediately.
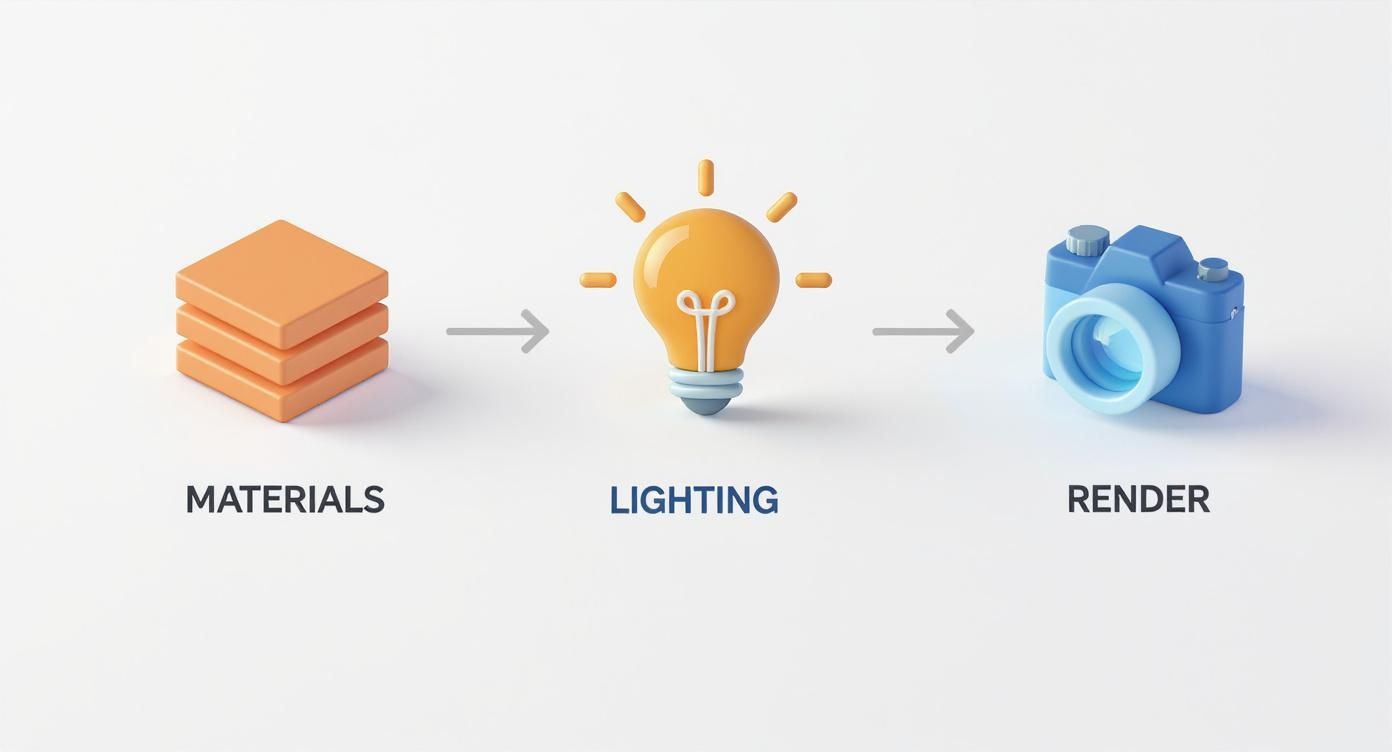
This simple pipeline—materials, lighting, and final output—is the core of bringing any 3D scene to life.
Using Smart Prompts to Conjure Instant Environments
The biggest time-saver, hands down, is the ability to generate entire setups with simple text descriptions. This is the magic behind Vibe3D's Smart Prompts. Let's say you have an interior scene—a living room. Instead of painstakingly creating materials for the wooden floor, plaster walls, and fabric sofa, you just describe what you want.
A prompt like, "A bright, modern living room with light oak flooring, white walls, and a grey linen sofa during a sunny afternoon," is all it takes. The AI gets to work, applying a full set of high-quality, physically accurate materials and a lighting setup to match that exact mood.
This single step turns hours of tedious clicking into a few moments of creative direction. You stop being a technician and become an art director, guiding an intelligent assistant to bring your vision to life.
The industry's hunger for this kind of efficiency is clear. In 2024, India's 3D rendering market hit a revenue of USD 171.1 million, and it's projected to skyrocket to USD 1,025.8 million by 2033. The software segment, which is where tools like Vibe3D live, accounts for a massive 87.32% of this market. It’s a clear signal that professionals are demanding smarter, faster tools.
Iterate at the Speed of an Idea
With a solid base render ready in minutes, the real fun begins: iteration. This is where features like one-click edits and area updates become your best friends for refining a scene without having to start from scratch.
-
One-Click Edits: Think of these as powerful stylistic presets. Curious what your "sunny afternoon" scene looks like at "golden hour" or on a "moody, overcast day"? One click is all it takes to apply a whole new lighting and post-processing style, giving you instant variations to compare.
-
Area Updates: This is an absolute game-changer for handling client feedback. Imagine the client loves the scene but wants to see the sofa in blue leather instead of grey linen. No problem. You don't have to re-render the entire image. Just select the sofa, type in a new prompt like "dark blue leather sofa," and Vibe3D re-renders only that specific part, blending it seamlessly into the existing image.
This targeted approach saves a massive amount of time and processing power, letting you respond to feedback and make changes incredibly fast.
To give you an idea of how much faster this is, let's compare some common tasks.
Traditional Workflow vs Vibe3D Workflow
| Task | Traditional Method | Vibe3D Method (Smart Prompts/One-Click) |
|---|---|---|
| Initial Scene Setup | 2-4 hours creating and assigning materials, setting up lights. | 5-10 minutes writing a descriptive prompt. |
| Material Variation | 30-60 minutes per material to find textures, adjust maps, and test. | 1-2 minutes typing a new prompt for the object. |
| Lighting Change | 15-45 minutes adjusting sun, sky, and interior light settings. | 10 seconds selecting a one-click style like "Golden Hour". |
| Minor Client Feedback | 15+ minutes to re-render the entire image for a small change. | 2-3 minutes to update only the specific area. |
The difference is night and day. This kind of speed doesn't just make you more efficient; it gives you the creative freedom to experiment and push your designs further.
This workflow doesn't replace your artistic skill—it amplifies it. By handling the heavy lifting, it frees you up to make better creative decisions, faster than ever before.
Refining and Optimising Your 3D Renders
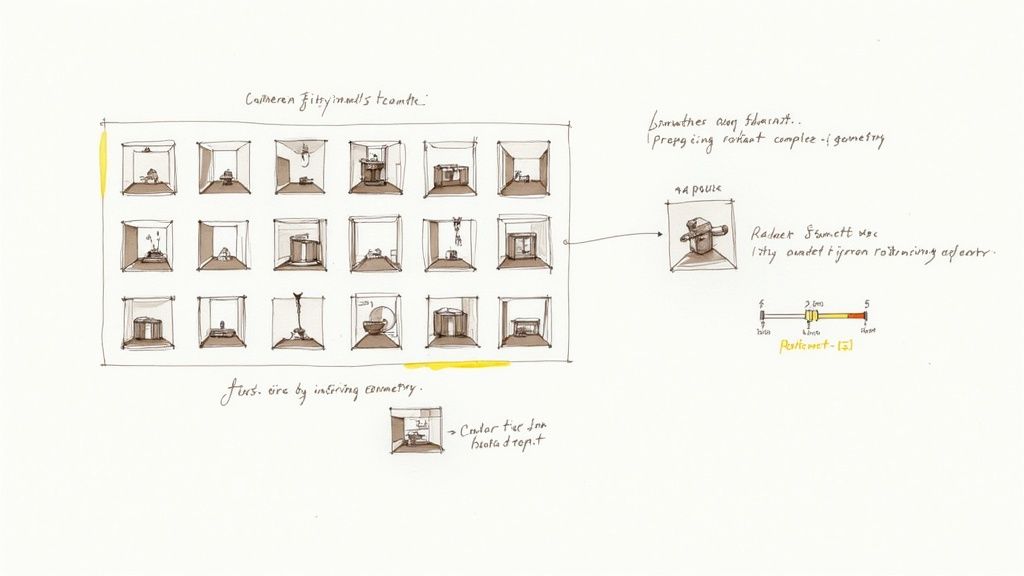
Let's be honest: a truly professional-quality render 3d image is rarely born from a single click. It's the result of careful refinement, of testing ideas, and of exploring different possibilities to find the most compelling visual story. This is the stage where you transform a technically correct scene into an artistically stunning one.
Successfully navigating this part of the process means you need to be able to create and compare different versions efficiently. Giving a client meaningful choices—say, a daylight scene versus a moody nighttime shot, or a couple of different material palettes—is absolutely crucial for a smooth approval process. In my experience, tools that let you create variations quickly aren't just a nice-to-have; they're a professional necessity.
Exploring Creative Variations Efficiently
The whole point of iteration is to explore creative avenues without getting bogged down by technical headaches. Instead of tweaking one small thing and then waiting an hour for a full re-render, your workflow should be built for quick, decisive comparisons. This is your chance to test different camera angles to find that perfect, dynamic composition or experiment with lighting to completely transform a scene's atmosphere.
For example, using a tool like Vibe3D, you can generate a bright, sunny morning render and then, with just one click, see what that exact same room looks like at golden hour. This lets you present distinct, high-impact options to your clients. It empowers them to make informed decisions and makes them feel more involved in the creative journey.
Think about setting up a few scenarios to explore:
-
Lighting Schemes: Compare a bright, airy daytime look against a warm, dramatic nighttime version.
-
Material Palettes: Instantly see how the space feels when you swap a light oak floor for a dark walnut, or a fabric sofa for a leather one.
-
Camera Angles: Test a wide, architectural shot against a more intimate, detailed close-up to see which one really highlights the space's best features.
Being able to produce these variations quickly moves the conversation with your client from abstract ideas to concrete visuals. It drastically cuts down on misunderstandings and the dreaded revision cycles.
Balancing Quality and Speed
Every 3D artist I know is in a constant battle with the trade-off between render quality and speed. Sure, you can crank every setting to the max for a beautiful image, but it might take all day to finish. Hitting deadlines demands a more strategic approach—it's about knowing which settings give you the biggest visual bang for your computational buck.
The two settings you'll be adjusting most often are sample rates and ray depth. Samples essentially control how much information the renderer gathers for each pixel; more samples mean less noise but more time. Ray depth dictates how many times a ray of light can bounce around a scene, which is vital for achieving realistic reflections and refractions.
My personal rule of thumb is to start with low sample settings for initial test renders. This helps me nail down the composition and lighting quickly. Only when the core creative decisions are locked in do I increase the quality settings for the final, high-resolution output.
This targeted approach stops you from wasting hours rendering scenes that aren't even creatively finalised yet. If you want to dive deeper into what different tools can do, take a look at our guide on the best 3D rendering software to find the perfect fit for your needs.
Smart Optimisation Techniques
Beyond just fiddling with render settings, you can slash your render times by optimising the scene itself. This is especially true for complex architectural projects or large-scale environments that can easily choke your system's memory.
One of the most effective tricks in the book is using proxy objects. Imagine your scene has twenty highly detailed trees, each with millions of polygons. Instead of loading all that heavy geometry into your viewport, you can replace them with simple, low-polygon placeholders (proxies). The render engine only loads the full-detail model at render time, which keeps your workstation feeling fast and responsive.
Another critical area for optimisation is texture management. We all love high-resolution textures, but they are serious memory hogs.
-
Resize Textures: Does that small picture frame in the background really need an 8K texture? Probably not. Downsizing it to 2K will likely have zero visible impact on the final render but will save a significant amount of memory.
-
Use Efficient Formats: Stick to formats like JPG for textures that don't need transparency and PNG for those that do. Avoid uncompressed formats like TIFF for anything other than specific final outputs or displacement maps.
By combining smart render settings with these scene optimisation tricks, you can produce stunning, high-quality images that meet even the tightest project deadlines. It's this balance that separates the efficient professionals from the artists who are constantly fighting their tools.
Delivering Polished Renders for Client Approval
https://www.youtube.com/embed/cEjyFb9QQbg
You’ve almost crossed the finish line. The journey from a blank screen to a stunning visual is nearly complete, but this final leg is where your professionalism really makes a difference. Delivering a polished render for client approval isn't just about hitting a button; it’s about quality control, smart presentation, and setting the right expectations. This is where all your hard work pays off.
Even after a meticulous setup, the final high-resolution render can sometimes expose tiny, distracting flaws. These visual gremlins can easily undermine an otherwise perfect image, so learning how to spot and squash them is a crucial skill for any artist producing a professional render 3d image.
Final Render Troubleshooting
Before you even think about exporting, it’s time to play detective. Get up close and personal with your high-resolution output and scrutinise it for common issues that kill quality. Catching these problems now will save you from an awkward revision request from your client down the line.
Here are the usual suspects I always look for:
-
Noise or Grain: This often shows up as a fine, speckled pattern, especially in shadows or on surfaces with complex materials. The quickest fix is usually to bump up the sample count in your render engine. This gives it more light information to work with for each pixel, resulting in a much cleaner image.
-
Fireflies: Ever seen those isolated, super-bright pixels that just don’t belong? Those are fireflies. They tend to appear in scenes with intense, direct lighting or highly reflective materials. Most renderers have a "clamp output" setting (or something similar) that caps the maximum brightness of any single pixel, which almost always solves the problem.
-
Texture Artefacts: Keep an eye out for weird seams, blurry patches, or obvious tiling patterns on your surfaces. This usually means there’s an issue with your UV mapping, or you've used a texture that's too low-resolution for the final render size.
Once your image is technically perfect, the focus shifts to how you present it. The way you deliver the final files can completely change how your work is perceived.
Exporting for Impact and Purpose
Not all file formats are created equal, and choosing the right one really depends on where the image is going to end up. Getting this wrong can lead to poor quality, unnecessarily massive files, and a frustrated client.
For anything web-based, like a portfolio or social media post, a high-quality JPG (set to about 80-90%) is your best bet. It’s a great compromise between image quality and file size, ensuring quick load times.
But for anything heading to print or needing further post-production, you’ll want a lossless format. PNG is fantastic for images that need a transparent background. For maximum colour depth and editing flexibility, TIF or EXR are the professional go-to formats, especially for complex visuals like those we cover in our guide to interior rendering.
Always ask your client how they plan to use the image before you export. Sending a massive TIF when all they needed was a small JPG for their website shows a lack of attention to their actual needs. A quick question upfront saves everyone a lot of time.
Mastering the Client Feedback Loop
Presenting your work is an art form. Instead of just firing off an email with the subject "Final Render," guide your client's eye. Point out the key features and briefly explain how the render achieves the goals you discussed in the initial brief. This puts the work in a professional context and helps steer the feedback toward constructive comments rather than subjective feelings.
When revisions are requested, listen carefully. Ask clarifying questions to make sure you understand exactly what they're looking for. It's also a great idea to enhance your client feedback process by being clear from the start about how many revision rounds are included in the project scope. Setting this professional boundary prevents endless "small tweaks" and keeps the project on schedule and within budget.
By mastering this final stage—combining technical polish with thoughtful presentation and clear communication—you ensure your hard work gets the enthusiastic sign-off it deserves.
Common Questions on Rendering 3D Models
Once you get into the swing of 3D work, you'll find a few practical questions pop up time and time again. Getting your head around these common hurdles is key to making smarter decisions and working more efficiently on your professional projects.
Let's break down some of the most common questions that artists, designers, and architects have on their path to creating stunningly realistic visuals.
How Long Does It Actually Take to Render an Image?
This is the classic "how long is a piece of string?" question. Honestly, a render can take anywhere from a few seconds to a few days. There’s no single answer because the final time is a mash-up of several factors that all build on each other.
For instance, a simple product shot against a plain white background might be done in less than a minute. On the other end of the spectrum, a complex architectural interior—packed with detailed furniture, glossy surfaces, and layered lighting—could easily cook for several hours, or even overnight, to get a crisp, high-resolution final image.
So, what really drives up the render time?
-
Scene Complexity: The more objects, polygons, and textures you cram into your scene, the more number-crunching your machine has to do.
-
Resolution: A 4K image has four times the pixels of a 1080p one. That's a huge jump in calculations and, consequently, render time.
-
Quality Settings: Cranking up your sample counts and ray depth will give you more realism, but it comes at a direct cost to processing speed.
-
Your Hardware: At the end of the day, your computer's CPU and GPU are doing all the heavy lifting. A more powerful rig will always finish the job faster.
Should I Use CPU or GPU Rendering?
This is a big fork in the road for many 3D artists. Deciding between your computer’s main processor (CPU) or its graphics card (GPU) is really a balancing act between raw speed, stability, and the complexity of your project.
CPU rendering is the old-school, reliable workhorse. It’s rock-solid and can handle incredibly complex scenes with massive textures because it can tap into your computer’s main system RAM. For those final, high-fidelity architectural renders where every detail has to be perfect, the CPU is often the go-to choice.
GPU rendering, on the other hand, is all about speed. It's significantly faster because it uses the parallel processing power of modern graphics cards. The catch? It’s limited by your card’s dedicated memory (VRAM). If your scene’s textures and geometry are too big to fit in your VRAM, the render can slow to a crawl or just fail completely.
A lot of pros I know use a hybrid approach. They'll use the lightning-fast GPU rendering for quick previews and look development, then switch over to the stability of the CPU for that final, high-resolution output.
Is Post-Production in Photoshop Really Necessary?
Absolutely. While a raw render can look fantastic right out of the engine, post-production is a non-negotiable step in almost every professional pipeline. Think of it as the final polish that turns a great image into a masterpiece. Jumping into a tool like Adobe Photoshop after you render 3D models gives you the ultimate creative control.
This is where you make all those subtle but critical tweaks—fine-tuning the colour balance, punching up the contrast, or adding atmospheric effects like a slight lens flare or bloom. It's also where you composite elements, like dropping in cutout people to bring an architectural scene to life or blending different render passes together. Post-production is where you inject that final layer of artistry that makes an image truly sing.
Ready to cut hours from your workflow and deliver stunning visuals faster? Vibe3D uses AI to turn your models into photorealistic renders in seconds, not hours. Try Vibe3D today and transform your creative process.

