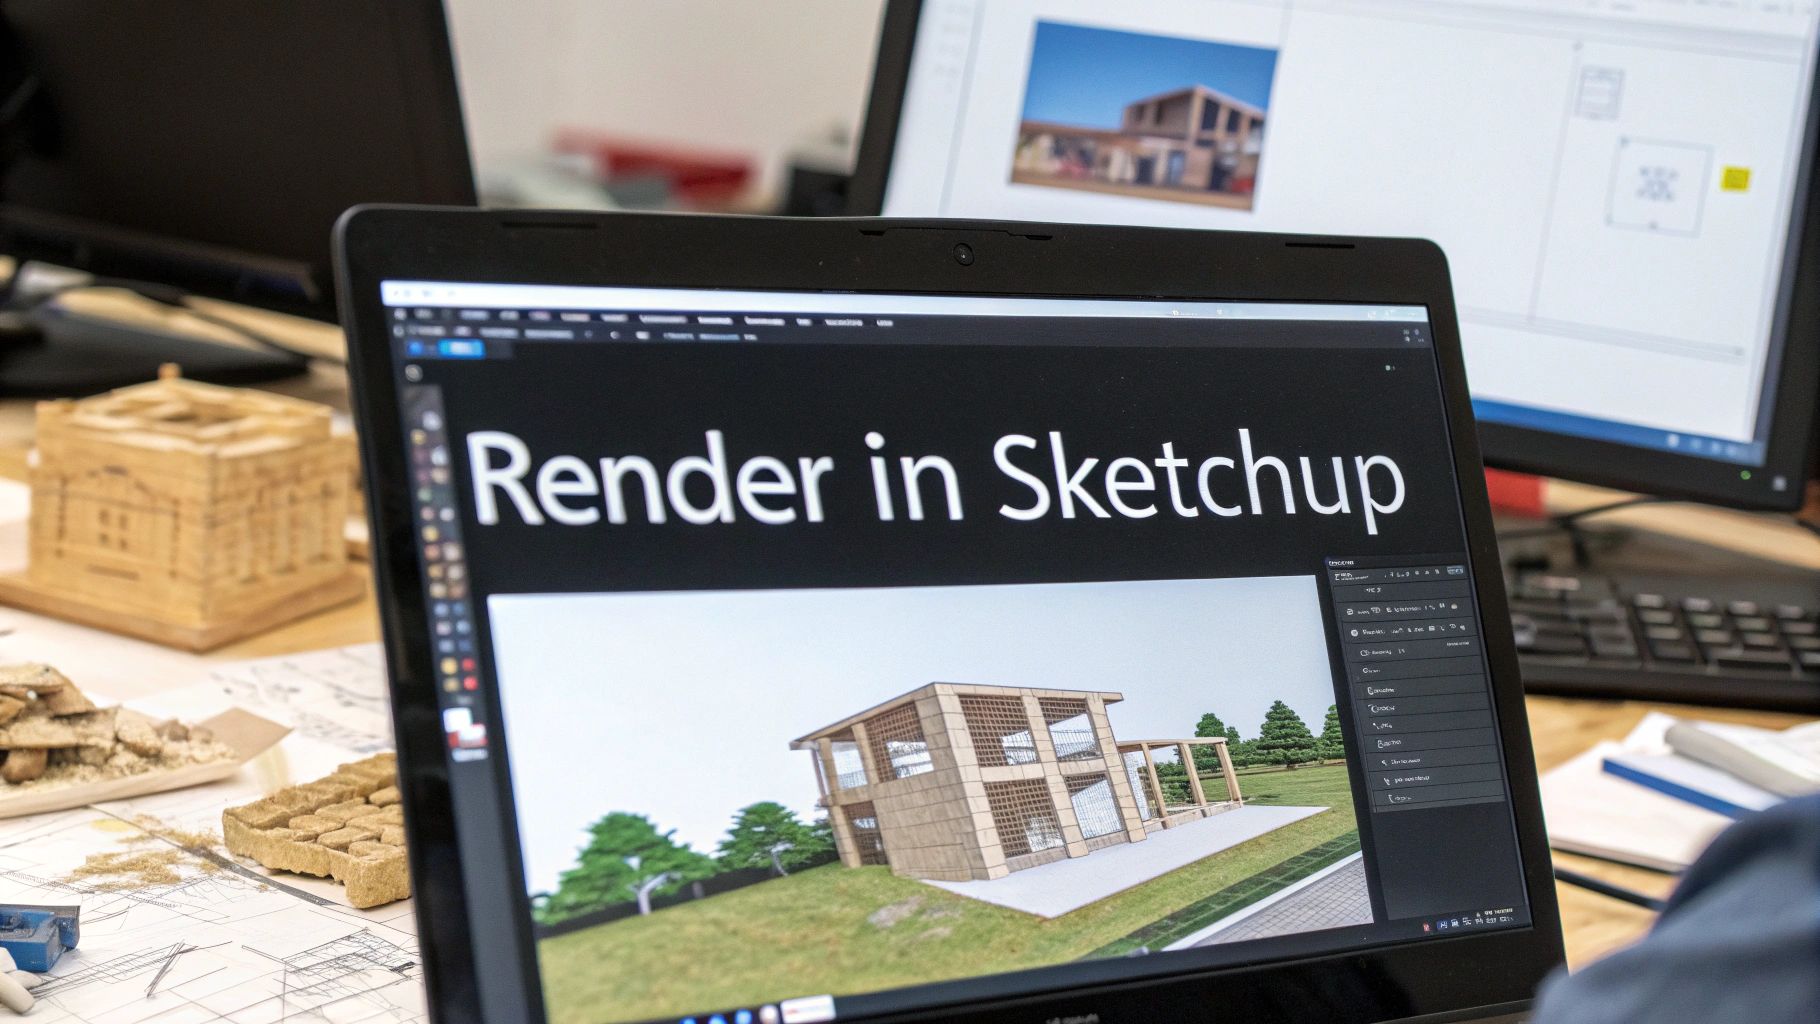
At its core, the Enscape plugin for SketchUp is a real-time rendering engine that plugs directly into your design environment. Think of it as a live window into your finished project. As you model in SketchUp, you can simultaneously explore a fully rendered, photorealistic version of your scene, seeing every change you make update instantly.
There's no need to stop, export, import, and then render. It all happens at once.
Why This Live Connection Is a Game-Changer
For anyone who’s been in the industry for a while, the old architectural visualisation process feels painfully slow in hindsight. You’d spend hours or days meticulously building your model in SketchUp, only to then export it and start a whole new process in separate rendering software.
If a client wanted to see a different wall colour or a change in the lighting, you had to go all the way back to the beginning. That friction kills creative flow and eats up billable hours. The Enscape and SketchUp workflow completely sidesteps that entire bottleneck.
This live-link capability is much more than a simple time-saver; it fundamentally reshapes how you design. It encourages experimentation and helps you make better decisions, faster. You can swap out materials, adjust the time of day, or move furniture around and see the photorealistic consequences immediately. This instant feedback loop means you can design with confidence, knowing exactly how your choices will impact the final look and feel.
Embracing the Power of a Live-Link Workflow
The difference is night and day. The traditional method was filled with guesswork—you’d hit 'render' and cross your fingers, hoping the final image matched your vision after a long wait. With Enscape, your design process becomes a dynamic, interactive conversation.
Here’s what that looks like in practice:
-
Instant Visual Feedback: Immediately see how a new texture or light fixture affects the mood of a space.
-
Rapid Design Iteration: Test out dozens of design variations in the time it used to take to produce a single render.
-
Crystal-Clear Client Communication: Walk clients through a living, breathing model on a screen-share, making changes on the fly to get instant buy-in.
-
Fewer Costly Mistakes: Spot awkward geometry or clashing materials early on, before they become expensive problems to fix on-site.
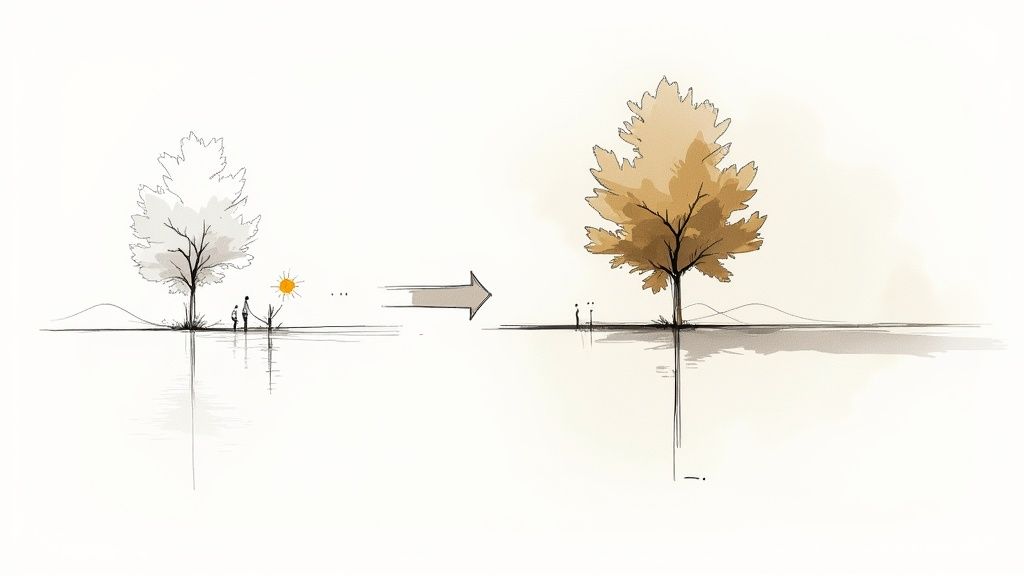
This workflow diagram really drives home the difference between the cumbersome, multi-step traditional process and the beautifully simple, integrated Enscape link.
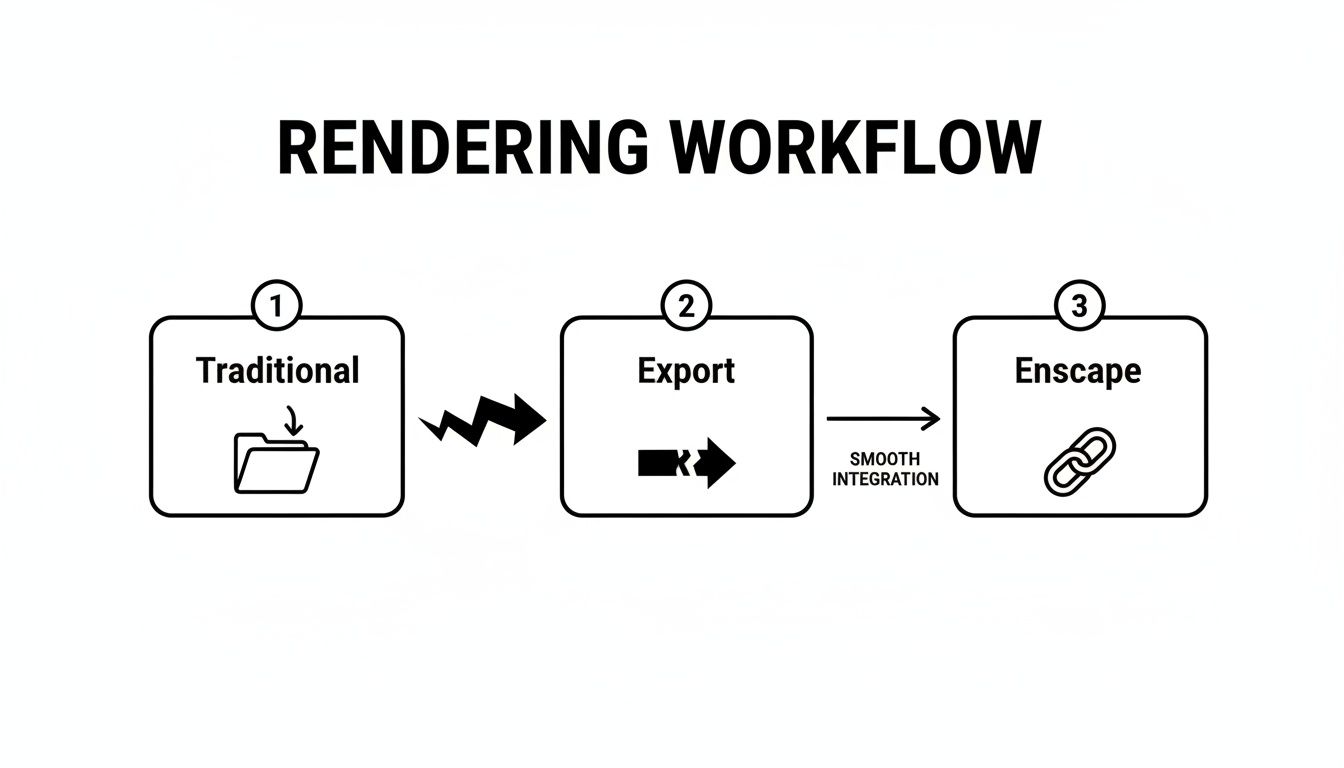
As you can see, Enscape gets rid of the export/import logjam, creating a direct, fluid path from your 3D model to the final presentation. This kind of efficiency is absolutely essential in India's booming architectural sector, where more than 1,243 companies rely on SketchUp. For them, a tool like Enscape isn't just a nice-to-have; it's a competitive necessity.
A big part of this modern workflow is leveraging high-quality assets. To get the most out of Enscape, you need to start with great models, which you can find by checking out our guide on the Sketchup 3D Warehouse.
To put it all into perspective, here's a quick breakdown of how the two approaches stack up.
Enscape and Traditional Rendering Quick Comparison
This table summarises the key workflow differences between an integrated real-time renderer like Enscape and the old-school, offline rendering methods.
| Feature | Enscape Sketchup Workflow | Traditional Rendering Workflow |
|---|---|---|
| Feedback Loop | Instant, real-time updates in the render window | Delayed; requires exporting the model for each change |
| Design Iteration | Extremely fast; changes are seen in seconds | Slow and cumbersome; requires a full re-render |
| Ease of Use | Integrated into SketchUp; very gentle learning curve | Requires learning separate, often complex, software |
| Client Presentation | Live, interactive walkthroughs are possible | Static images or pre-rendered animations only |
| Time to First Image | Seconds | Minutes to hours, depending on complexity |
Ultimately, the choice comes down to speed and integration. The Enscape workflow is built for a modern design process where quick decisions and clear communication are paramount.
Your First Steps With Enscape in SketchUp
Getting Enscape and SketchUp to talk to each other is pretty painless, which is great because you want to get to the fun part: rendering. Before you even download the installer, though, it's worth double-checking that your machine is up to the task.
Enscape's real-time magic relies heavily on ray tracing, which means your computer's graphics card (GPU) does most of the heavy lifting. For a smooth ride, you'll need a dedicated GPU from NVIDIA, AMD, or Intel with at least 4GB of VRAM. Trust me, you don't want to be fighting lag when you're trying to work.
Once you've given your hardware the green light, the installation itself is a breeze. Just make sure SketchUp is completely closed, then run the Enscape installer. It's smart enough to find your SketchUp installation and hook itself in as a plugin.
Finding and Firing Up the Enscape Toolbar
When you next open SketchUp, you might wonder where Enscape went. Don't worry, it's there. You'll find it tucked away in the 'Extensions' menu.
For a much better day-to-day workflow, I strongly recommend getting the dedicated toolbar front and centre. All you need to do is right-click on the main toolbar area in SketchUp and tick 'Enscape' from the pop-up list.
Having this toolbar docked and ready puts all of Enscape's key features right at your fingertips—launching the live view, tweaking materials, or dropping in assets from the library. It's this tight integration that makes the workflow feel so fluid; you rarely have to leave your modelling space.
With the toolbar visible, go ahead and click the main Enscape 'E' logo. This is the launch button. A separate window will pop up, and just like that, your SketchUp model appears as a fully rendered, walkable scene.
This is where the real power of the Enscape SketchUp workflow kicks in. Every single change you make in SketchUp—from moving a wall to swapping a material—updates instantly in the Enscape window. This live feedback is a complete game-changer. If you want a broader overview of different rendering methods, our guide on how to render in SketchUp is a great place to start.
A Few Quick Settings to Tweak
Before you lose yourself in the design, it pays to spend a minute in the 'Visual Settings' panel. You can find this in the Enscape window. Getting a few things set up now will make your whole session smoother.
Here are a few I always check first:
-
Rendering Quality: If you notice your computer is struggling a bit, knocking this down from 'Ultra' to 'High' can really help performance without a huge drop in visual quality while you're working.
-
Navigation Mode: You've got Walk, Fly, and Perspective modes. Play around and see which one feels most natural for how you want to move through your model.
-
View Synchronisation: I almost always turn this on. Toggling ‘Synchronized Views’ links the SketchUp and Enscape cameras. Now, when you orbit or pan in your SketchUp viewport, the Enscape view follows along perfectly.
Pro Tip: Set these preferences at the start of every project. Having synchronised views, in particular, is incredibly useful. It lets you use SketchUp's familiar camera tools to frame the perfect shot, while seeing the beautifully lit and textured result appear instantly in Enscape. It saves a ton of time.
Getting into the Flow: The Real-Time Workflow
This is where Enscape and SketchUp really click. Once you're past the setup, you step into a design environment that feels incredibly fluid and interactive. The whole process is built around a dual-window setup—you’ve got your familiar SketchUp modelling space on one screen and the live Enscape render on another.
As you start pushing and pulling faces, painting on materials, or dropping components into your SketchUp model, you'll see those changes pop up instantly in the photorealistic Enscape window. There's no lag, no hitting a 'render' button, and zero waiting around. This immediate feedback is what makes it so powerful for making smart design decisions on the spot.
This way of working is more than just a time-saver; it fundamentally changes how you approach design. Your real-time workflow becomes a core part of the larger architectural design process. Visualisation stops being a final step for presentations and transforms into an active design tool you use right from the very first sketch.
Syncing Views for a Seamless Experience
One of the first things you’ll want to master is camera synchronisation. Just flick on 'Synchronized Views' in the Enscape toolbar, and you'll link your SketchUp viewport directly to the Enscape camera. Now, when you orbit, pan, or zoom in SketchUp to get a closer look at a joint, the Enscape window follows your every move.
It’s an incredibly intuitive way to work. You can use SketchUp’s navigation, which you already know inside and out, to frame the perfect shot, while Enscape provides the beautifully rendered context in real-time. It’s a simple toggle, but it gets rid of the clumsy old-school method of trying to position cameras separately in two different applications.
Beyond just navigation, you get instant control over the entire environment. A quick key combination—Shift + Right Mouse Button + Drag—lets you scrub through the time of day. Watching the sun travel across the sky and seeing shadows stretch and shrink gives you invaluable insight into how natural light will behave in your space.
This is a massive advantage. You can quickly check for glare issues, see if your shading devices actually work, or find that perfect "golden hour" light for a killer presentation image, all without ever leaving your model.
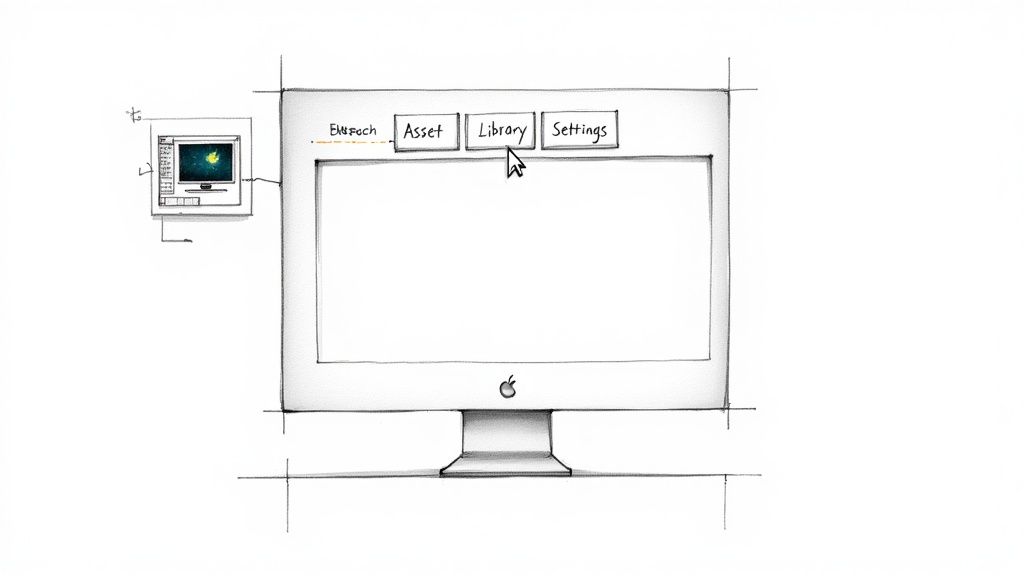
Bringing Your Scene to Life with the Asset Library
An empty model is a dead model. This is where the Enscape Asset Library comes in to save the day. You can open it right from the Enscape toolbar, giving you access to thousands of high-quality, optimised 3D models.
Getting them into your scene is dead simple:
-
Click the tree icon in the Enscape toolbar to open the library.
-
Browse through categories like vegetation, people, furniture, or cars and pick what you need.
-
Click to place the asset directly into your SketchUp model.
What appears in SketchUp is a simple, low-poly placeholder that keeps your model running smoothly. But in the Enscape window, the full, high-detail version renders instantly. This means you can add rich context—trees with leaves that actually move, realistic furniture, and even animated people—without bringing your SketchUp performance to its knees. This kind of efficiency is crucial, especially in growing markets. For instance, the Indian 3D rendering sector is set to explode from USD 171.1 million in 2024 to an incredible USD 1,025.8 million by 2033, making a fast, efficient workflow like this indispensable.
Bringing Your Model to Life With Materials and Lighting
Once you've got your geometry and objects in place, the real magic begins. This is where we shift from just modelling a space to actually creating a believable, compelling atmosphere. The two key ingredients? Materials and lighting. Get these right, and you'll transform a sterile 3D model into a space that feels real and evokes emotion. Without them, even the most intricate SketchUp model will just look flat and lifeless in the final render.
Enscape is pretty clever right out of the box. It takes a good look at your standard SketchUp materials—the colours, textures, and transparency you've already set—and gives you a live preview. But to really push for realism, we need to dig a little deeper. This is where the Enscape Material Editor becomes your best friend.
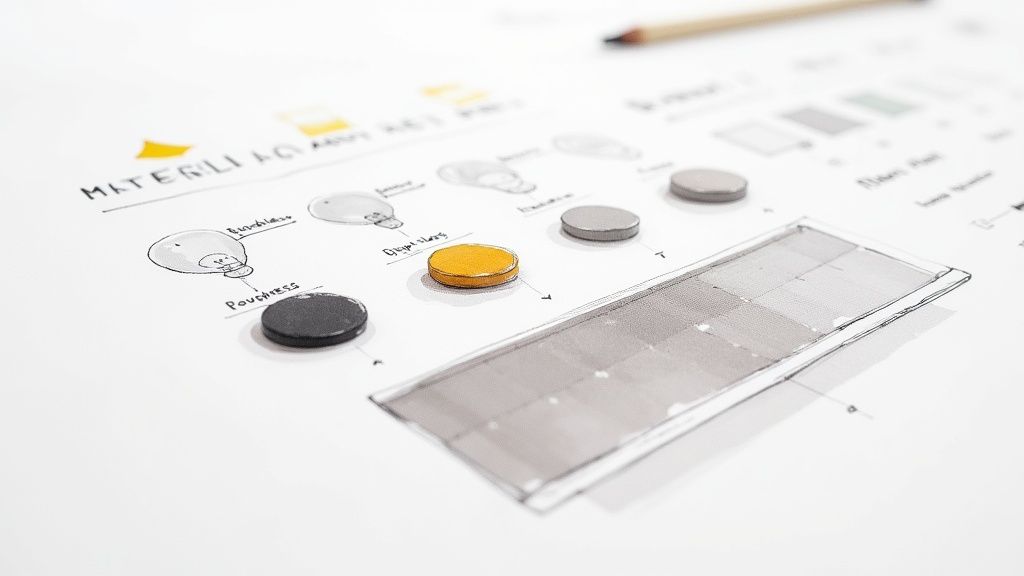
This editor lets you add all the subtle details and physical properties that SketchUp’s native materials just can't handle. We're talking about adding physical texture with bump maps, controlling the glossiness of a surface with roughness settings, and creating truly convincing glass, water, or brushed metal.
Taking Your Surfaces to the Next Level
Think about a real wooden floor. It’s not just a single, flat brown colour, is it? It has a visible grain, tiny grooves, and a certain sheen that catches the light. The Enscape Material Editor is precisely how you recreate those crucial, subtle details.
To open it up, just click the chequered sphere icon on your Enscape toolbar. You'll immediately see a list of every material currently in your SketchUp model. Pick one, and you can start layering on these more advanced properties.
-
Bump and Normal Maps: This is your secret weapon for creating texture. A bump map is just a greyscale image where lighter parts look raised and darker parts look recessed. It’s perfect for giving wood its grain, concrete its gritty feel, or tiles their grout lines.
-
Roughness: This slider gives you total control over reflections. Set it to 0%, and you've got a perfect mirror. Crank it to 100%, and the surface becomes completely matte with no reflection at all. Getting this value right is what makes polished concrete look different from brushed aluminium.
-
Metallic: This one’s simple but powerful. The metallic slider tells Enscape that a material is metal, which fundamentally changes how it interacts with light and reflections. It's the key difference between a grey plastic and a piece of stainless steel.
It's the combination of these settings that sells the realism. A perfectly crisp, mirror-like reflection on a wooden floor looks fake. But add just a little bit of roughness to blur that reflection? Suddenly, the surface feels ten times more believable.
Sculpting the Atmosphere With Light
Materials are only half the story. How you light them is just as important. Enscape provides a full toolkit for controlling both natural and artificial light, giving you the power to sculpt the mood of your scene down to the last detail.
Enscape’s sun system is great for natural daylight, but for most interiors, you'll need to introduce some artificial lights. You’ll find these inside the Enscape Objects window, which you can open right from the toolbar. From there, you can place a whole range of light types directly into your SketchUp scene.
-
Spot Lights: These are your go-to for focused light, perfect for downlights, track lighting, or accent lamps.
-
Sphere Lights: These emit light in every direction from a single point, making them ideal for bare bulbs, lampshades, or general ambient fixtures.
-
IES Profiles: For the ultimate in realism, you can load IES files. These are data files provided by actual lighting manufacturers that describe the exact pattern and intensity of a specific, real-world light fixture. Using IES profiles can add an incredible layer of authenticity to your architectural visualisations.
The real skill lies in balancing these artificial lights with the natural sun. I usually start by adjusting the time of day to get the sunlight and shadows just right. Then, I begin layering in the artificial lights to fill in the darker corners, highlight key features, and build a warm, inviting atmosphere. This process is fundamental to creating high-quality renders, especially for complex scenes. If you want to dive deeper into this topic, our guide on interior rendering shares some great tips and best practices.
Exporting and Presenting Your Designs
Once you’ve dialled in your Enscape SketchUp scene, it's time for the best part: showing it off. This is where all your modelling and texturing efforts come together, and Enscape gives you a whole toolbox of ways to share your vision.
Forget being stuck with just one output format. The right choice really depends on who you're presenting to and what you want them to feel.
For most day-to-day work, a high-resolution still image is the go-to. I find it’s perfect for portfolios, design boards, and quick client updates. Getting that perfect shot is dead simple—just frame your view in the Enscape window and hit the 'Screenshot' button. But if you want to add a bit more life and story to your design, video walkthroughs are the way to go.
Crafting Compelling Video Walkthroughs
Video lets you control the narrative. You can guide a client through a space, highlighting specific features and building up to a big reveal. The process in Enscape is surprisingly intuitive. You just set a series of "keyframes"—think of them as specific camera snapshots.
Enscape then does the heavy lifting, smoothly animating the path between each point. This creates a really professional fly-through, and you don't have to touch any complicated video editing software. You can tweak the total duration and camera path to create anything from a slow, cinematic tour to a quick, punchy overview.
Creating Immersive and Interactive Experiences
If you really want to wow a client and let them explore for themselves, Enscape has some fantastic interactive options. These go way beyond just looking at a picture; they invite your audience to step inside and experience the design firsthand.
Here are the interactive exports I use most often:
-
360-Degree Panoramas: These are brilliant for virtual tours. You can stitch multiple panoramic views together, letting clients "jump" from one room to another right from their web browser. It works great on both computers and mobile devices.
-
Standalone Executable (.exe): This is a game-changer. It packages your entire rendered model into a single file you can email to a client. They just open it and can walk through the environment on their own computer—no SketchUp or Enscape license needed.
-
One-Click VR Integration: For the ultimate "wow" factor, nothing beats virtual reality. If you have a compatible VR headset, you can let a client literally step inside their future space. Seeing the true scale and feeling the atmosphere is an incredibly powerful way to get design approval.
A fantastic, and often overlooked, use for your renders is creating compelling visuals for site plans. You can find some great techniques for making effective rendered site plans that show off the bigger picture of your architectural projects.
Once your renders are ready, how you present them is just as important as the images themselves. It's worth learning about effective website design for showcasing visual projects to make sure your work leaves a lasting impression. Whichever export option you pick, Enscape makes it easy to go from a working model to a stunning presentation that truly sells your vision.
Answering Your Top Enscape SketchUp Questions
Even the most streamlined workflow has its sticking points. When you're in the zone on a project, the last thing you want is a technical hiccup. I've been there, so I’ve pulled together answers to the most common questions that pop up when pairing Enscape with SketchUp.
Think of this as a field guide to overcoming the hurdles many designers face, from compatibility headaches to performance bottlenecks. Knowing the answers now will save you a ton of time down the road.
Does Enscape Actually Work With Any Version of SketchUp?
This is a big one, and the short answer is no. Enscape is built to integrate with recent versions of SketchUp Pro, but it has its limits. Crucially, it won’t work with SketchUp Free or the browser-based version of SketchUp.
Before you install anything, make it a habit to check the official Enscape website for their latest compatibility chart. Running an unsupported version is one of the most common reasons for weird bugs, crashes, and performance issues. Trust me, a quick check upfront is much better than troubleshooting later.
Why Do My Materials Look So Flat and Lifeless?
If your surfaces look like they're made of plastic, it's almost certainly because you're relying on SketchUp's default materials. A simple colour or a single texture image just won't cut it for creating realism. The magic really happens inside the Enscape Material Editor.
To bring your materials to life, you need to add layers of detail. Open up the editor and focus on these two essentials:
-
Bump or Normal Maps: These are what create the illusion of physical texture—the subtle grain in a wood floor or the rough finish of a concrete wall—all without bogging down your model with extra geometry.
-
Roughness Maps: This is arguably the most important map for realistic reflections. A low roughness value gives you a glossy, mirror-like surface. A high value creates a matte, diffuse finish that barely reflects at all.
Getting your roughness and bump settings dialled in is the secret sauce. It’s what separates a render that looks like an old video game from one that could be mistaken for a photograph.
Can I Use Models From the 3D Warehouse?
You absolutely can, but you need to be smart about it. The SketchUp 3D Warehouse is a phenomenal treasure trove of models, but a huge number of them are not built with real-time rendering in mind. Many are packed with an insane number of polygons that will bring your Enscape performance to its knees.
My advice? Use the 3D Warehouse for specific, one-of-a-kind "hero" objects or for elements far in the background. For all your standard entourage—the trees, people, furniture, and cars—stick to the assets in the built-in Enscape Asset Library. They are incredibly well-optimised and guarantee your scene stays quick and responsive. It's also worth noting that different tools handle this differently; for instance, an AI-powered Enscape alternative might manage asset optimisation in a completely different way.
My Renders Are So Slow! How Can I Speed Things Up?
A laggy viewport is a creativity killer. If your Enscape SketchUp experience feels like it's crawling, there are a few things you can do right away. The quickest win is to dive into the Visual Settings and knock the 'Rendering Quality' down from 'Ultra' to 'High'. For most of your active design work, you'll barely notice the visual difference, but the performance boost can be massive.
Next, get disciplined with your SketchUp model. Hide any complex geometry or entire layers that aren't visible in your current camera shot. Why render what you can't see? And finally, make sure your graphics card drivers are current. Enscape is a beast that relies heavily on your GPU, and outdated drivers can be a major bottleneck.
Ready to transform your models into stunning, client-ready visuals in seconds? Vibe3D uses AI to deliver photorealistic renders with unmatched speed and ease. Ditch the long render times and explore a smarter, faster workflow. Try Vibe3D today!