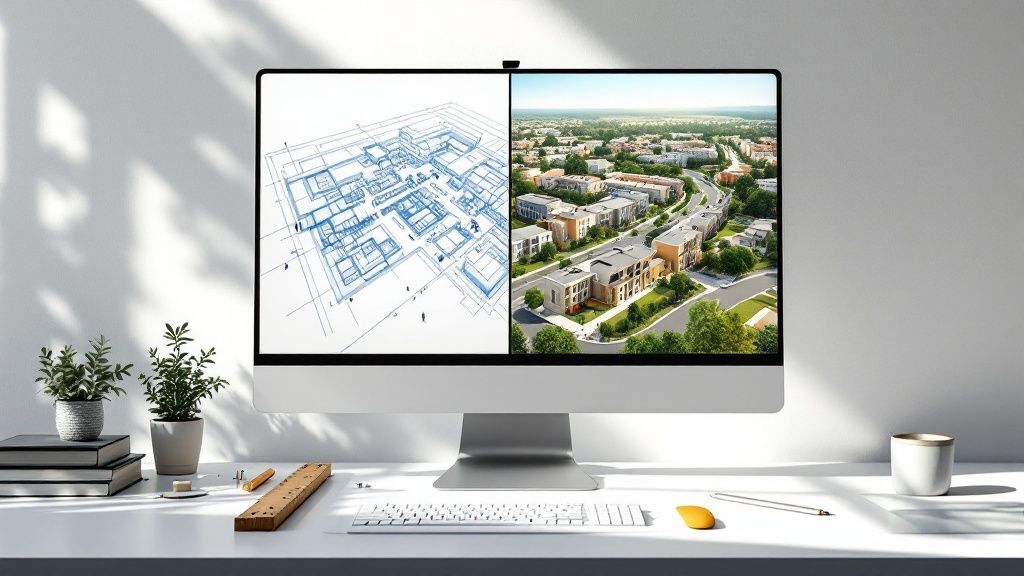
AutoCAD rendering is all about breathing life into your 3D models. It’s the process where you take a technical, three-dimensional drawing and turn it into a photorealistic image right inside the software. By applying realistic materials, setting up believable lighting, and positioning virtual cameras, you can transform a simple solid model into a compelling vision of the finished design. For anyone in architecture, design, or engineering, this is an absolutely essential skill.
Why Bother with AutoCAD Rendering?
Making the jump from line drawings to rich, visual renders is a game-changer. It’s that magic moment when abstract ideas start to feel real—something clients and stakeholders can finally see and connect with. An AutoCAD rendering is so much more than just a pretty picture; it’s a vital communication tool that closes the gap between a technical blueprint and what a project will actually look like.
This visual feedback loop helps you spot potential design flaws early on, play around with different material finishes, and even generate powerful images for marketing.
For architects and interior designers, rendering is non-negotiable. It's how you test how natural light will spill into a room at different times of day or how a specific lighting scheme will shape the mood of a space. We dive deep into these subtleties in our guide on the architectural rendering of a building.
The Core Rendering Workflow
At its heart, the process is a straightforward journey from a basic concept to a polished, final image. The workflow really boils down to three main stages: drafting, modelling, and then rendering.
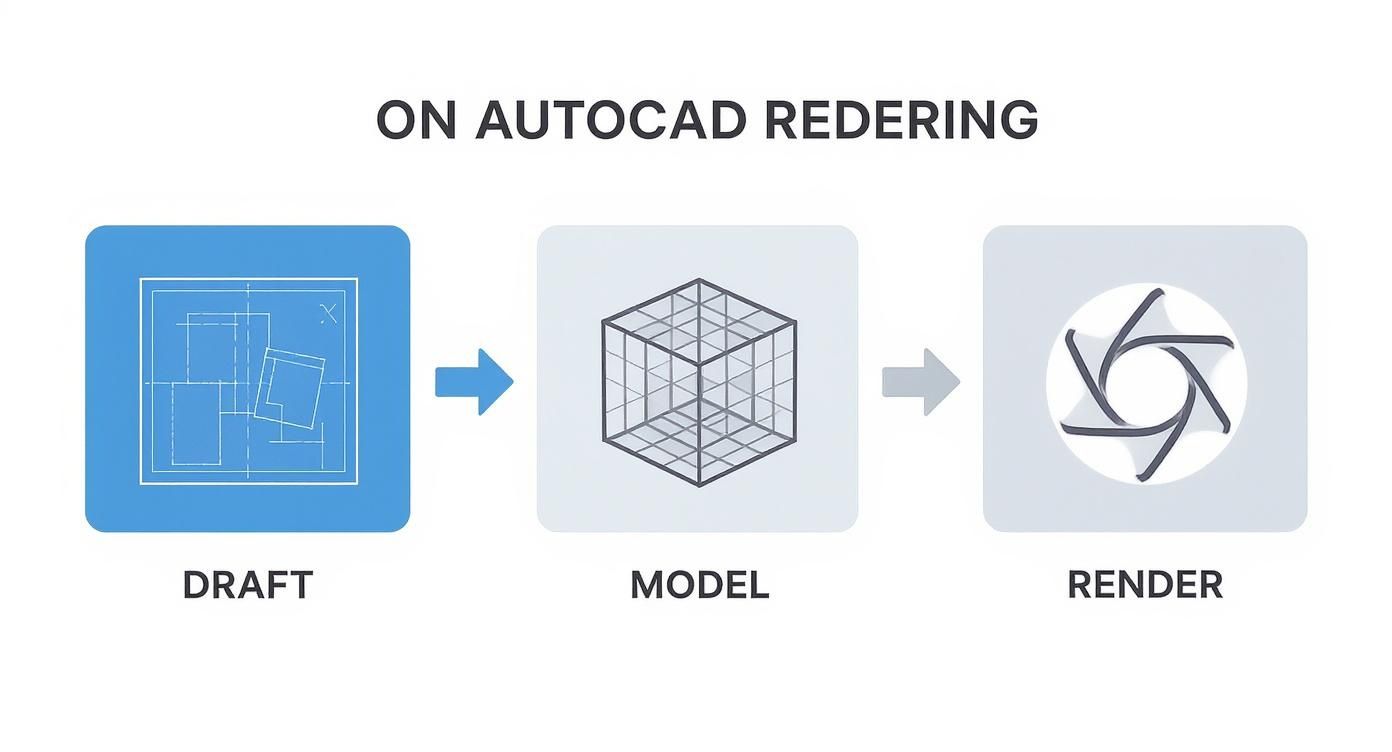
You can see how each step builds on the one before it, logically moving from a flat 2D plan to a solid 3D model before all the visual magic happens.
A Skill in High Demand
You don't just have to take my word for it—the market trends tell the same story. In India, for instance, the boom in the architecture, engineering, and construction (AEC) sector has led to a massive uptake in rendering. With a commanding market share of 31%, AutoCAD is the go-to tool for Indian AEC professionals.
Looking at the bigger picture, the Asia Pacific 3D rendering market was valued at USD 1,107.1 million in 2024, and India is pegged to have the fastest growth in the coming years. You can dig into the numbers yourself in these market growth projections from Grand View Research.
This industry growth highlights a crucial point: knowing how to render in AutoCAD is no longer a "nice-to-have" skill. It's a core competency that directly affects how well you can communicate your ideas, keep clients happy, and stay competitive.
Ultimately, getting this process right means you can present your designs with total confidence. It ensures your vision is communicated perfectly, long before a single brick is laid. This guide will walk you through the entire workflow, giving you practical, actionable advice for creating incredible visuals without ever leaving AutoCAD.
How to Prepare Your Model for a Flawless Render
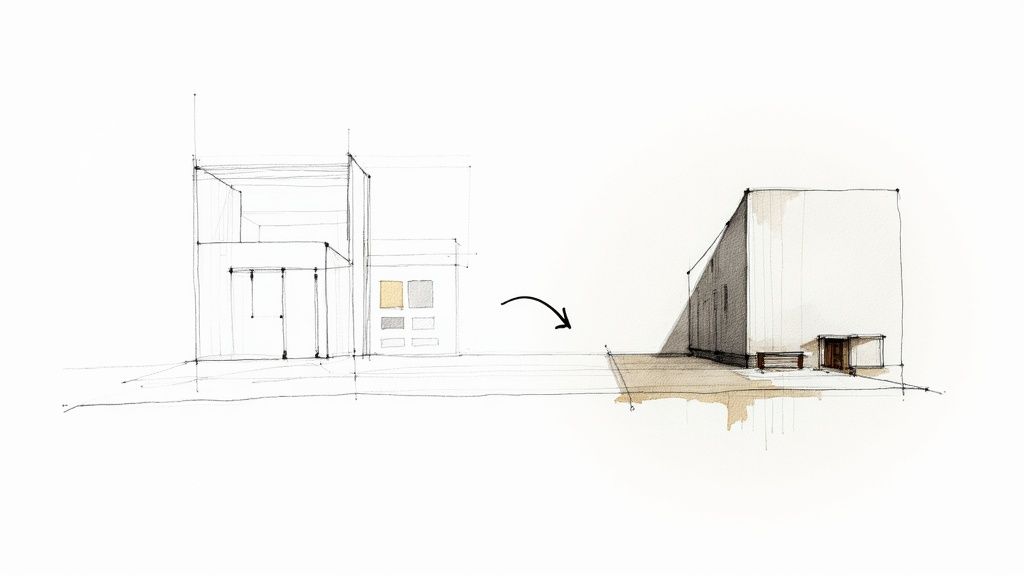
A photorealistic AutoCAD rendering is only ever as good as the 3D model it starts from. This first stage is absolutely non-negotiable. Getting it right is how you prevent painfully slow renders, weird visual glitches, and frustrating errors before they even have a chance to pop up.
Think of it as setting the stage for a perfect performance. All the meticulous prep work you do now ensures everything runs smoothly when the lights finally come on. A clean, well-organised model isn't just a sign of professionalism; it's a technical necessity. Unnecessary data and sloppy geometry will bog down your machine, jack up render times, and introduce strange artefacts like light leaks or blotchy shadows.
Start with Some Model Hygiene
Before you even dream about applying materials or setting up lights, your first job is to give the drawing file a good spring clean. Over the life of a project, AutoCAD files get cluttered with all sorts of digital junk—unused blocks, layers, and line types that bloat the file size and kill performance.
The PURGE command is your best mate here. Running it opens a dialogue box that shows you all the non-essential items you can safely get rid of. It's often shocking to see how much redundant data gets stripped away. I've seen this simple command cut file sizes by over 50%.
Once you've purged, it's always a good idea to run the AUDIT command. This handy utility scans the entire drawing database for errors and gives you the option to fix them on the spot. It’s a simple but powerful way to guarantee your file’s integrity before you get into the heavy lifting of the rendering process.
Organise with a Rendering-Focused Layer System
A logical layer structure is absolutely critical. The layers you use for your construction documents are perfect for drafting, but they’re not always cut out for rendering. My advice? Create a separate layer system specifically for visualisation.
The trick is to group objects logically based on the materials you're planning to assign later.
For example, you could set up layers like:
-
A-GLAZ-EXT: For all your exterior glass.
-
A-WALL-PNLS-WOOD: For those interior wood panels.
-
F-FURN-MTL-CHRM: For all the chrome elements on your furniture.
This approach makes applying and tweaking materials a breeze. Instead of tediously selecting hundreds of individual window frames, you can just apply your glass material to the entire A-GLAZ-EXT layer in one click.
Pro Tip: Don't forget to use Layer States to your advantage. You can save a "Drafting" state with all your construction lines visible, then switch to a "Rendering" state that hides all the annotations, dimensions, and 2D blocks, leaving you with a clean view of just the 3D geometry.
Troubleshoot Your Geometry
Complex or sloppy geometry is the root cause of most rendering headaches. Your main goal here is to make sure your model is "watertight." This means checking for any gaps or holes where light could leak through, which would create unrealistic bright spots or weird dark splotches in your final image.
Keep an eye out for these common culprits:
-
Gaps Between Surfaces: Get in close and inspect the corners where walls meet floors or ceilings. Even a hairline gap can cause rendering problems. Use commands like EXTEND and FILLET to make sure every surface meets perfectly.
-
Flipped Normals: In 3D, a "normal" is the direction a face is pointing. If a face's normal is flipped inward, that surface might render as pure black or even seem transparent. While AutoCAD doesn’t have a straightforward "show normals" command like 3ds Max or Blender, this issue often crops up when you import geometry or mess up a boolean operation. If a surface looks wrong, your best bet is often to just recreate it.
-
Overlapping Faces: Try to avoid having two surfaces occupying the exact same space. This causes a distracting flickering effect called "z-fighting" in the render.
A classic example is when preparing an architectural floor plan. You have to ensure the tops of your walls meet the bottom of the ceiling slab precisely. If they don't, you'll almost certainly see light bleeding through the edges, which immediately shatters the illusion of realism.
While the exact tools differ between programs, the principle of clean geometry is just as vital on other platforms. You can find out more about this in our guide on how to render in SketchUp. Taking the time to meticulously check and fix your geometry is one of the most important investments you can make towards a high-quality AutoCAD rendering.
Bringing Your Model to Life: Lights, Cameras, and Materials
With a clean and organised model in hand, we get to the fun part. This is where the magic happens—transforming those simple lines and shapes into something that looks and feels real. Think of it as a three-legged stool: you need convincing materials, thoughtful lighting, and a well-placed camera to create a stable, stunning image.

Getting these three elements to play nicely together is the secret to photorealism. You could have the most beautifully modelled chair in the world, but with bad lighting, it’ll look flat and fake. Likewise, a brilliant lighting setup can't save a scene where every material looks like plastic.
Creating Believable Surfaces with Materials
Materials are what tell our eyes what an object is made of. Is it rough concrete, polished marble, or warm timber? In AutoCAD, the Material Editor is your command centre for this. Getting away from that default grey solid is your first mission.
A material isn’t just a single colour; it's a collection of properties, often controlled by images called maps. Understanding the main ones is essential.
-
Diffuse Map: This is simply the base colour or pattern. For a brick wall, the diffuse map would be a photo of bricks.
-
Specular Map: This handles shininess. A polished chrome tap will have a high specular value, making it highly reflective, while a terracotta pot will have almost none.
-
Bump Map: This is a clever trick to create the illusion of texture—like bumps, grooves, or grain—without adding more polygons to your model. It uses a greyscale image to fake surface detail, making it perfect for things like wood grain, fabric weave, or the grout between tiles. It’s incredibly efficient and adds a massive amount of realism.
Here’s a pro tip I learned the hard way: nothing in the real world is perfect. Surfaces aren't perfectly flat, and reflections are never perfectly clear. The key to selling realism is to add subtle imperfections using bump maps and tweaking glossiness values.
Take glass, for example. Don't just make it 100% transparent and reflective. Real glass has a slight tint, often a subtle green you see on the edges. It also has tiny surface scuffs and distortions. Adding a very faint noise map to the bump channel can mimic this, instantly making it feel more authentic.
While AutoCAD’s material tools are powerful, sometimes you need even more granular control. For those scenarios, many professionals turn to dedicated software; you can see how this works in our guide to 3ds Max for interior design.
Setting the Mood with Lighting
If materials give objects substance, lighting gives the scene its soul. It's the single most important factor for creating mood, depth, and drama. Lighting tells the viewer where to look, creates beautiful shadows, and sets the entire emotional tone of your render.
You’ll be working with two main types: natural and artificial. For daylight, AutoCAD’s Sun and Sky system is fantastic. It accurately simulates sunlight based on a real-world location, date, and time. This is a game-changer for architectural visualisation, allowing you to show a client exactly how the afternoon sun will spill into their new living room.
For interiors or night scenes, you'll be placing artificial lights yourself. This is where you can get really creative.
Here's a quick rundown of the lighting tools you'll be using most often.
Key Lighting Types and Their Best Use Cases
This table is a quick reference for picking the right light source for the job and knowing what setting to tweak first.
| Light Type | Primary Use | Key Setting to Adjust |
|---|---|---|
| Point Light | Acts like a bare light bulb, casting light in all directions. Ideal for general ambient fill or decorative lamps. | Intensity and Colour. |
| Spotlight | Emits a focused cone of light. Perfect for directional lighting like downlights or track lighting. | Cone Angle and Falloff. |
| Distant Light | Simulates parallel light rays from a far-off source, like the sun on a clear day (if not using the sky system). | Intensity and direction vector. |
| Web Light | Uses an IES (Illuminating Engineering Society) file to replicate the exact light distribution pattern of a real-world light fixture. | IES File and Intensity. |
Seriously, don't sleep on Web Lights. Using them is a professional technique that can elevate your renders instantly. Most major lighting manufacturers provide IES files for their products for free. This means you can show your client exactly how a specific brand's pendant light will illuminate their kitchen island. It’s an incredible touch.
Framing the Perfect Shot with Cameras
Finally, everything you create is seen through a virtual camera. The position and settings of this camera are just as important as the model itself. A good camera angle can make a small room feel airy and spacious or draw the eye directly to a stunning design detail.
Start thinking like a photographer. The main settings you'll want to master are:
-
Focal Length: This controls how much of the scene you see. A low focal length (like 24mm) gives you a wide-angle view, which is great for capturing a whole room. Just be careful, as it can distort things near the edges. A higher focal length (85mm or more) is more like a portrait lens, flattening the perspective and making it ideal for detailed shots of furniture or decor.
-
Depth of Field (DoF): This is the effect where your subject is in sharp focus, but the foreground and background are softly blurred. Used subtly, DoF adds a layer of professionalism and artistry, guiding the viewer’s focus right where you want it. It’s especially effective for close-up product shots.
-
Composition: Don't just point and shoot. Use classic photography principles like the rule of thirds. Imagine a 3x3 grid over your view and place key elements along those lines or at their intersections. This almost always creates a more balanced and engaging image than just sticking your subject smack in the centre.
By mastering the interplay between materials, lights, and cameras, you move beyond just documenting a design. You start telling a story with it, turning your technical AutoCAD models into compelling, evocative images.
Optimizing Render Settings for Speed and Quality
Finding that sweet spot between a lightning-fast render and a stunningly beautiful image is more of an art than a science. When you first open the render settings in AutoCAD, it’s easy to feel a bit lost in a sea of sliders and technical jargon. But getting a handle on what these settings actually do is the key to a sane and efficient workflow, saving you countless hours just waiting for progress bars to fill.
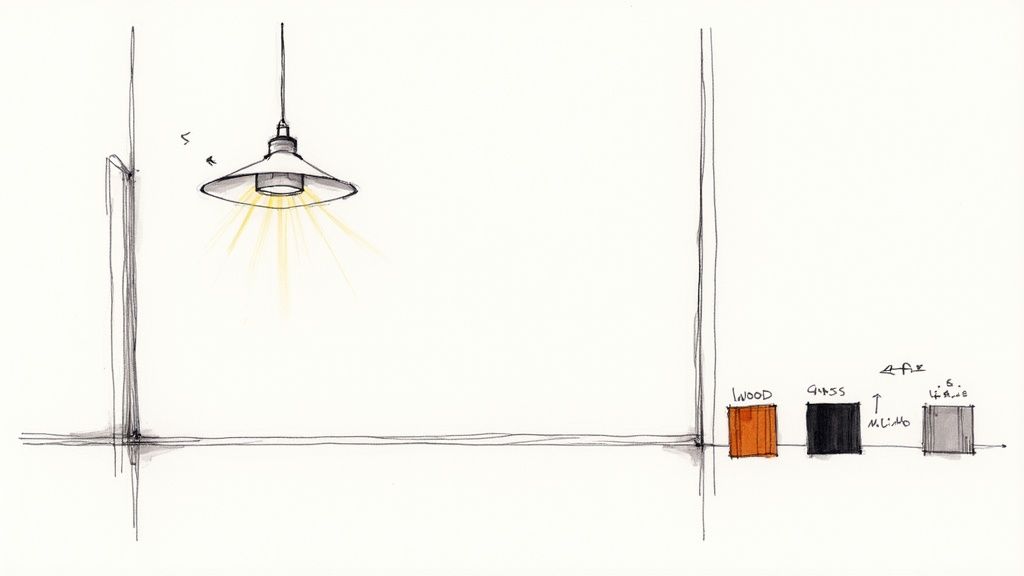
The real trick is to tailor the quality of your render to the current stage of your project. Trust me, there’s absolutely no reason to spend three hours on a final, high-resolution image when you just need to check if a new material looks right. This is where a tiered approach to your AutoCAD rendering settings becomes a game-changer.
Matching Render Presets to Your Project Stage
AutoCAD’s built-in render presets are your best friend here. Think of them as pre-made recipes designed for specific tasks, from quick sanity checks to final client-ready visuals.
-
Draft Quality: This should be your go-to for most day-to-day work. It's quick and dirty, using minimal light bounces and simplified calculations. It's perfect for quick material tests, checking camera angles, and roughing in your lighting.
-
Low Quality: A small step up, this preset gives you a better feel for how light and shadow will interact in your scene without a huge time penalty. It's great for internal team reviews when you need something a bit more presentable than a draft.
-
Medium Quality: Now we're getting somewhere. Shadows start to look softer, and reflections have more realism. This is a solid middle ground for sending progress shots to a client for initial feedback.
-
High/Presentation Quality: Save these for the home stretch. These settings crank up all the important calculations, like Global Illumination and Final Gather, to produce the most accurate and photorealistic results. Just be prepared for significantly longer render times, so only use them when you're confident the scene is locked in.
Don’t just jump to the highest setting and hit render. A huge part of an efficient workflow is using the lowest possible quality setting that still gives you the information you need for that specific task.
Essential Settings to Tweak for Performance
Once you're comfortable with the presets, a few key parameters give you more granular control over that speed-versus-quality trade-off. Learning these will let you create your own custom settings that are perfectly suited to your hardware and project needs.
The most impactful tool, by far, is the Render Region. Instead of re-rendering the entire image every time you tweak a single material, just draw a small box around that specific object. This simple action can cut test render times from minutes down to seconds, allowing for incredibly rapid iteration.
Another critical area is anti-aliasing, which is what smooths out those jagged, "stair-stepped" edges you often see on diagonal lines. Different anti-aliasing filters (like Box, Triangle, or Lanczos) offer different results. For most architectural work, I've found the Mitchell filter often provides a great balance between sharpness and render time.
Understanding Key Rendering Concepts
You'll see two terms pop up a lot: Global Illumination (GI) and Final Gather (FG). They sound complicated, but their job is pretty straightforward.
-
Global Illumination (GI): This simulates indirect lighting—basically, how light bounces off one surface and illuminates another. Turning on GI is what gives scenes that soft, natural look and stops shadows from being pitch-black voids.
-
Final Gather (FG): This is a specific method for calculating GI that's especially good at adding detail and realism to corners and crevices. It helps get rid of light leaks and adds those subtle contact shadows that make objects feel grounded in the scene.
For architects, enabling both GI and FG is pretty much essential for realistic interior shots. The catch? They are computationally intensive. When you're just doing quick drafts, you can often turn them off entirely to get a much faster result. While speed is great, the ultimate goal is always achieving high image quality to ensure your final designs are as compelling as possible.
Ultimately, mastering your render settings is about making informed decisions. By starting with presets, leaning on tools like Render Region, and understanding what concepts like GI actually control, you can produce better visuals, faster. And for those projects where you need even more power, exploring the /blog/best-architectural-rendering-software that integrate with AutoCAD is a logical next step.
When to Use External Rendering Engines
While AutoCAD's built-in rendering tools are surprisingly capable, every designer eventually hits a wall. This is the moment when you need to look beyond AutoCAD and explore the world of dedicated, external rendering engines. Making this jump isn't a sign of AutoCAD's failure; it's a strategic move towards achieving the exceptional quality, speed, and specialised visual effects that will make your work stand out.
The logic is simple: specialised tools do a specialised job better. Software like V-Ray, Corona Renderer, or Lumion are built from the ground up for one thing—photorealism. They pack more advanced algorithms for light calculation, more sophisticated material shaders, and huge libraries of ready-made assets that can dramatically accelerate your workflow.
Identifying the Tipping Point
So, when is it time to export your model? It really boils down to your project's specific demands. If you just need a quick, clean visualisation for an internal design review, AutoCAD's renderer is often perfectly fine. But if your project calls for any of the following, it’s probably time to bring in the big guns.
-
Hyper-Realistic Materials: You need to simulate tricky effects like the subsurface scattering that gives marble its soft glow, or the intricate weave of a fabric that requires displacement maps to look right.
-
Advanced Lighting Scenarios: The design involves physically accurate caustics from light filtering through a glass sculpture, or you need to use IES profiles from real-world lighting manufacturers for truly authentic fixture simulation.
-
Complex Atmospheric Effects: You want to add environmental touches like volumetric fog settling in a valley, god rays streaming through a window, or a realistic depth of field that mimics a high-end camera lens.
-
Animation and Fly-throughs: AutoCAD can do basic animations, but dedicated renderers offer far better tools for crafting smooth camera paths, animating objects, and producing flicker-free final videos.
For many of us, the decision simply comes down to client expectations. When you're bidding for a high-stakes project, that subtle but crucial visual edge from a dedicated renderer can be the thing that seals the deal.
Preparing Your Model for Export
Getting your model out of AutoCAD and into another program isn't just a "save as" click if you want a smooth ride. A clean handoff is critical to avoiding headaches with scale, geometry, and materials on the other side. First, make sure your model is spotless, following all the cleanup practices we’ve already covered.
Next, you have to choose the right file format. Even though DWG is native to AutoCAD, it doesn't always play well with external renderers. Here are your most reliable bets:
-
.FBX (Filmbox): This is usually your best option. It’s fantastic at preserving geometry, material assignments, and even your camera and light positions, making it an efficient bridge between different software.
-
.3DS: It's an older format but still has wide support. Be aware that it can sometimes struggle with long object names or high polygon counts, so it’s best reserved for simpler models.
-
.OBJ: A universal and very reliable format for pure geometry. The big catch is that it often strips out material assignments, meaning you'll have to reapply everything in your rendering software.
Before you even think about hitting export, triple-check that your model's units are correctly set and that everything is located near the origin point (0,0,0). This one simple step can save you hours of frustration with scaling and import location errors later on.
Why Different Professionals Choose Different Tools
The choice of an external renderer often comes down to industry-specific needs. An architect creating marketing visuals for a new building might lean towards V-Ray or Corona, which are famous for their physically-based lighting and material accuracy. They are perfect for crafting those sun-drenched, hyper-realistic exterior shots that sell a vision. You can see a great lineup of top choices in our breakdown of the best architectural rendering software.
On the other hand, a product designer who needs to generate dozens of images of a new chair in different finishes might go for a GPU-based renderer like OctaneRender or an AI platform. These tools are all about speed and iteration, allowing for rapid-fire changes based on client feedback. This workflow effectively connects your solid AutoCAD modelling skills to a broader professional pipeline.
Common AutoCAD Rendering Questions
Sooner or later, every project hits a snag. Rendering in AutoCAD is no different. You'll inevitably run into issues that can stop your workflow dead in its tracks. Let's walk through some of the most common questions I hear and get you back to creating great images without the headache.
Think of this as your go-to troubleshooting guide for those "why is this happening?!" moments.
Why Does My Render Look Grainy or Blotchy?
This is, without a doubt, the number one frustration for anyone starting out. That grainy, "sandy" look in your images, often called noise, is almost always a lighting problem. It happens when the renderer doesn't have enough data to figure out how light should behave, especially in tricky spots like corners or areas lit by bounced light.
Getting rid of it means diving into your render settings:
-
Tackle the blotches first. If you’re seeing splotchy patches, particularly in corners, your Final Gather (FG) settings are likely too low. Bumping up the FG Rays gives the renderer more information to work with, smoothing out those areas where indirect light is calculated.
-
Fix jagged edges and "salt-and-pepper" noise. This fine, speckle-like grain can often be tamed with a better anti-aliasing filter. I find the Mitchell filter is a great all-rounder, giving you a nice balance between sharpness and smoothness without being too aggressive.
-
Use the right presets for the job. When it's time for the final shot, don't hesitate to switch to the "High" or "Presentation" quality presets. They're designed to crank up the light sampling values automatically, which directly targets noise. Yes, it takes longer, but the clean result is worth it.
The big takeaway here is that render quality is always a trade-off with time. For that final, client-ready image, you have to be prepared to let it cook for a few hours. It’s a necessary investment for a polished, professional-looking result.
How Can I Make My Glass Look Realistic?
Making glass look believable is a true rite of passage in 3D visualisation. The default material often looks flat and lifeless because it’s just too perfect. The real secret is in the subtle details and imperfections that you see in real-world glass.
Here’s how you can take your glass materials from basic to believable:
-
Nail the refraction. First things first, get the Index of Refraction (IOR) right. For typical glass, a value of 1.52 is physically accurate. This controls how much light bends as it passes through the object, which is key to making it look like a solid, transparent volume.
-
Add a hint of colour. Perfectly clear glass is almost a myth. Look at the edge of a real glass panel—you'll see a slight green or blue tint. To replicate this, go into your material settings and add a very subtle tint to the "Refraction" colour. A little goes a long way here.
-
Break up the surface. The final touch is to introduce tiny imperfections. A very faint noise map or a subtle smudge texture plugged into the material's bump slot will do the trick. This breaks up the perfectly smooth surface, creating far more realistic highlights and reflections that truly sell the effect.
What Is the Best Way to Speed Up Test Renders?
Nothing kills productivity faster than waiting ten minutes for a render just to see if you like a new texture. Test renders are all about getting quick feedback, not creating a masterpiece. The goal is to see your changes in seconds, not minutes.
Your best friend for this is the Render Region command. Instead of rendering the entire scene, you can draw a small box around just the part you changed. All the computer's processing power gets focused on that one small area, giving you an almost instant preview.
On top of that, always use the "Draft" quality preset for these quick checks. This preset deliberately scales back all the complex light-bouncing and anti-aliasing calculations, putting raw speed above everything else. Combining Render Region with the Draft preset is how the pros iterate quickly and stay in the creative flow.
Ready to transform your AutoCAD models into stunning visuals without the wait? At Vibe3D, we've built an AI-powered platform that delivers photorealistic renders in seconds, not hours. Simply upload your model and let our intelligent engine handle the rest, so you can focus on design instead of render settings. Experience the speed of AI rendering with Vibe3D today.

